Curious About Creating Cartoon Caricatures? Let’s Dive In!
Transforming a regular photograph into a cartoon caricature is a quirky and engaging way to play with your images. Whether you’re aiming to create a satirical representation or simply add a fun twist to your photography portfolio, the art of exaggerating facial features is a skill worth mastering. And guess what? With Photoshop’s powerful tools, it’s easier than ever. Let’s break down how you can turn any plain portrait into a vibrant cartoon character.
Unleashing the Power of the Liquify Tool
The key to turning a face into a caricature lies within Photoshop’s liquify tool. More specifically, it’s the Face-Aware Liquify tool that’s your magic wand. Introduced in Photoshop CC, this feature enables intuitive adjustments on facial landmarks—eyes, nose, mouth, and more—making it the perfect tool for manipulating your images into cartoonish masterpieces.
Getting Started: Prepping Your Image
Before you can begin altering features, you need a high-quality, head-and-shoulders portrait. Start by cropping the photo to focus solely on the subject’s face. Make sure the resolution is set to 300 pixels per inch, with a width of 1840 pixels. This preparation ensures the outcome has that crisp, professional look.
Face-Aware Magic: Transforming Features
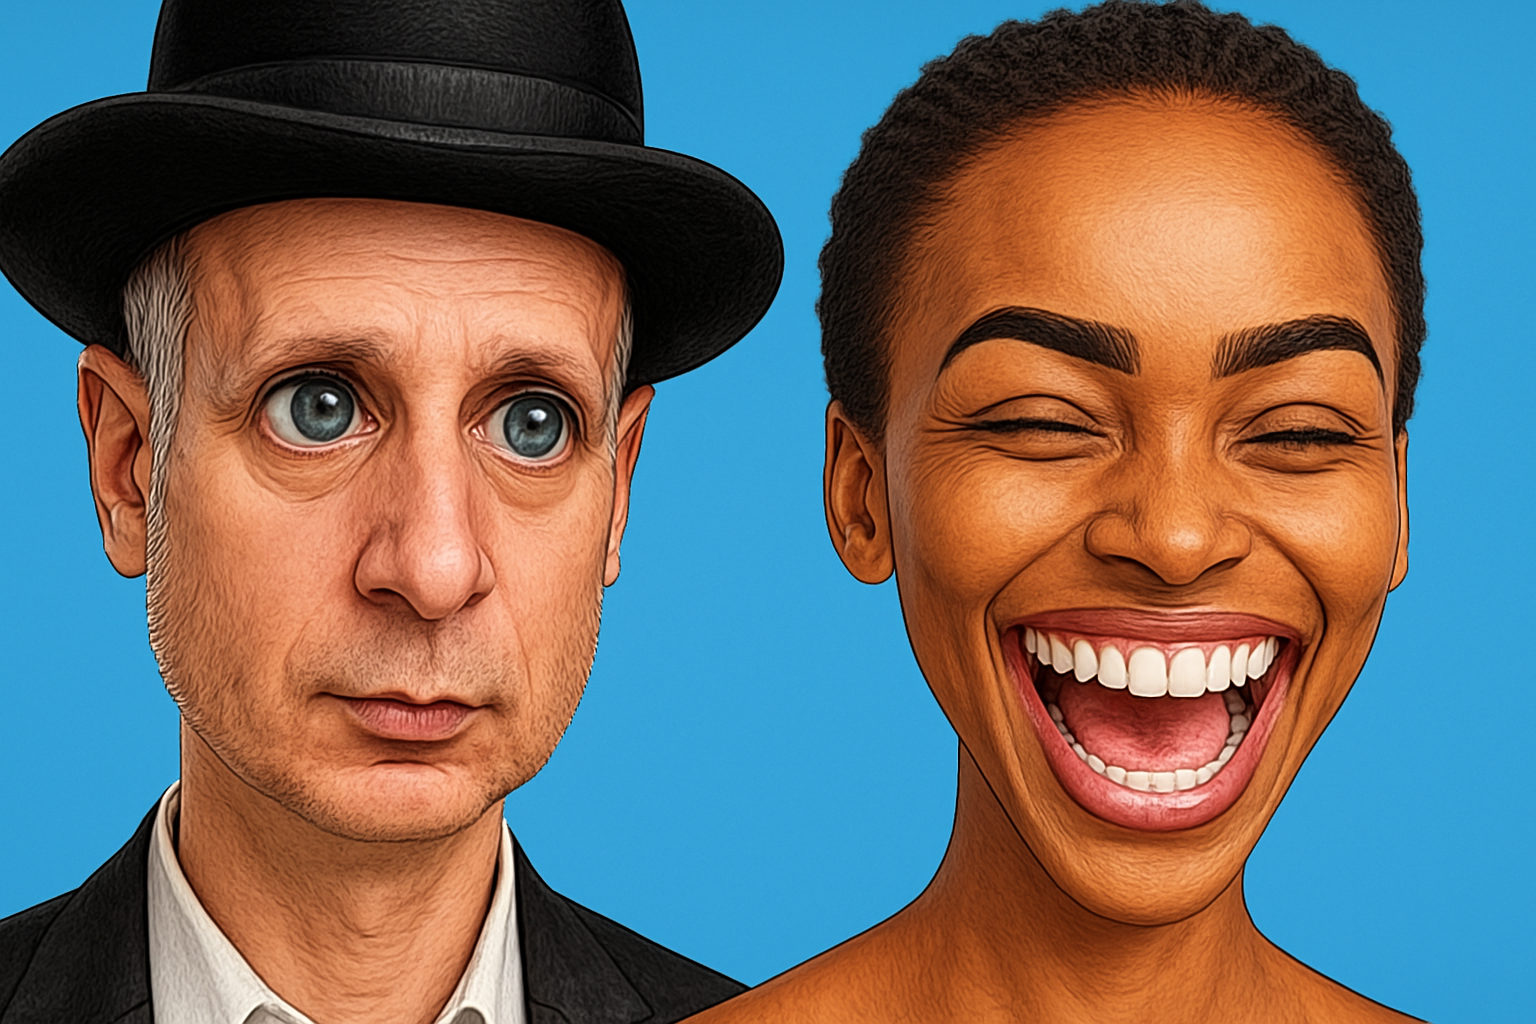
Here’s where the fun begins. With the liquify filter open, locate the Face-Aware Liquify panel. It’s like a control board for your subject’s facial features. Adjust the size and shape of the eyes, tweak the mouth, and even alter the chin or jawline. Want squintier eyes or a smile that rivals the Cheshire Cat’s? Push those sliders to the limits and watch your caricature come to life!
Finishing Touches: Blurring and Stylizing
Once you’re satisfied with the exaggerated facial features, it’s time to finesse the overall look with some artistic filters:
- Surface Blur: Applied to smooth out textures while maintaining edge sharpness. It’s like giving your character a virtual face-lift.
- Oil Paint Filter: This adds an artistic paint-like swirl, perfect for enhancing that cartoonish vibe. Keep your stylization at 5, cleanliness at 3, and make sure the lighting option is off to avoid any unwanted highlights.
Adding Depth with Shadows/Highlights
To ensure your caricature doesn’t fall flat, the Shadows/Highlights adjustment is a go-to tool. Enhance shadow details by setting the shadow amount to 50%. It’s these small tweaks that bring depth and personality to your caricature.
The Cherry on Top: Background and Texture Effects
What’s a cool caricature without an equally vibrant background? Create a playful backdrop by choosing a bold color. You can adjust the vibrancy to match your subject’s colors, and apply a vignette for that cinematic finish.
Finally, turn your texture filters (like poster edges) to create a crisp, hand-drawn effect. A blend mode change to “Multiply” helps blend all layers seamlessly, rounding off your caricature masterpiece!
In Conclusion
Creating cartoon caricatures from photographs isn’t just confined to professional graphic artists anymore. With the right tools and techniques, anyone can craft eye-catching, fun caricatures that pop off the screen. Whether it’s to jazz up your Instagram feed or create unique avatars, these Photoshop tricks will set your creativity ablaze. So go ahead, grab a portrait, and start experimenting with these variations!
By embracing Photoshop’s myriad capabilities, you unlock an avenue of artistic wizardry. Transform, tweak, and let your creative whims run wild—because why not add a little cartoon-inspired flare to your artistic endeavors?
Now, go forth and transform your portraits into remarkable caricatures!
Got any cool caricature creations you’d love to share? Drop them in the comments below. We can’t wait to see what you come up with!