Take Your Photos to the Next Level with Dithering Magic
In today’s digital landscape, creative photo transformations are as trendy as avocado toast with a dash of everything seasoning on TikTok. Dithering might sound like an ancient art form, but it can transform your photos, reducing the number of colors to create super sharp images that dance with a retro appeal akin to your favorite 8-bit game from the ’80s. In our latest guide, we’ll explore this playful and visually engaging technique that bridges modern digital editing with vintage aesthetics. Grab your Photoshop (or any editing tool that can harness this power) and let’s dive into the pixelated brilliance of dithering.
What is Dithering?
Before we decode the magic process behind creating dithered images, let’s take a quick detour to understand what dithering actually means. Dithering is a digital process used to simulate more colors than are actually present, using a mix of dots or other shapes. Imagine crafting an intricate mosaic with a limited palette; that’s essentially what dithering does. It’s a fantastic way to convey depth and texture in a seemingly limited digital space, like conjuring vibrant music from a ukulele.
The Dithering Process: A Step-by-Step Guide
1. Selecting Your Image: Start by opening the photo you want to sprinkle some dithering magic on. The tutorial uses a photo downloaded from Shutterstock, but any image will do.
2. Adjusting Image Size and Resolution: Resize your image for optimal editing. Press Ctrl + Alt + I on Windows or Command + Option + I on Mac to access image size settings. Set the resolution to 72 pixels per inch and adjust the width or height to 300 pixels, ensuring a tidy setup for your creative project.
3. Export Your Image: To embrace the process of transformation, export your image using the “Save for Web (Legacy)” option.
4. Choose a Dither Type: There are several dithering options to play with:
– Diffusion: Creates a symphony of squarish dots.
– Pattern: Features a hybrid mix of dots, Xs, and plus signs for a playful aesthetic.
– Noise: A wild, rebellious combination guaranteed to add noise to your artistry.
For our example, diffusion will be our dither of choice.
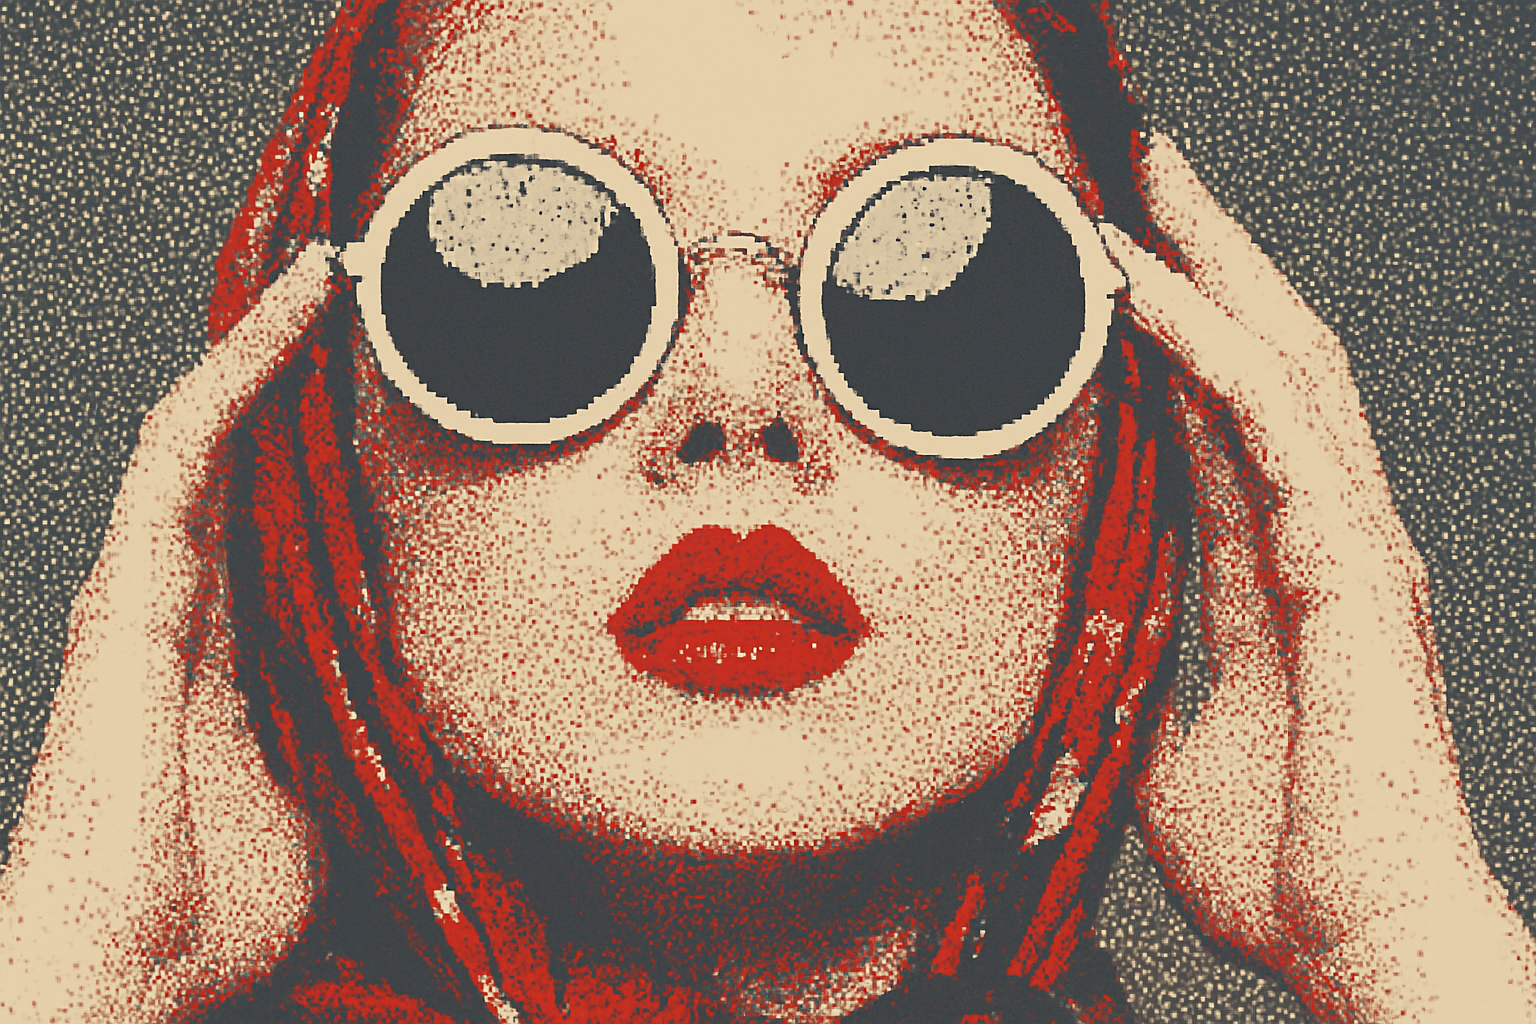
5. Adjust Color Count: Opt for a color count between 2 and 256. Dropping to 2 creates an iconic duotone image ripe for zine covers and vintage posters.
6. Modify Colors: Personalize your masterpiece by double-clicking on any color in the palette to tweak it to perfection.
7. Finalize and Save: Once you’re satisfied with your newly dithered creation, save the file on your desktop under a snazzy name like “PixelMasterpiece”—or precisely whatever suits your digital taste buds.
Why Dithering? Why Now?
So why is dithering worth your time in an era flooded with hyper-realistic imagery? Because it’s strikingly original, nostalgic, and curiously artful. It intersects the line between bygone digital eras and modern design, reminding us all that sometimes, less is delightfully more. It’s digital art brewing in a cozy cafe, where creativity and limitation harmonize like never before.
As you indulge yourself in the beautiful challenge of dithering, remember that every image—much like a fine wine—has its own unique recipe for excellence.
Keep creating, keep sharing, and as always, let your art speak volumes. Let us know how your journey with dithering unfolds. Whether you’re breathing digital life into old photographs or exploring this wonder within your graphics work, keep the pixels rolling.
Are you ready to put your knowledge to work? Try transforming your own images, and let us see your dithered wonders spread those retro-futuristic vibes across the digital frontier.
Happy dithering!


