Transform Your Images with a Splash of Color
When it comes to altering the look of our digital photos, few things are as transformative as changing the color of an object. Whether you want to play with aesthetic vibes or dynamically highlight parts of an image, changing colors in Photoshop can elevate your visual game. In today’s post, we’ll explore a swift and intuitive method to change the color of objects using Adobe Photoshop, making the entire process feel less like rocket science and more like a fun design experiment.
The Selection Game: Isolate Your Object
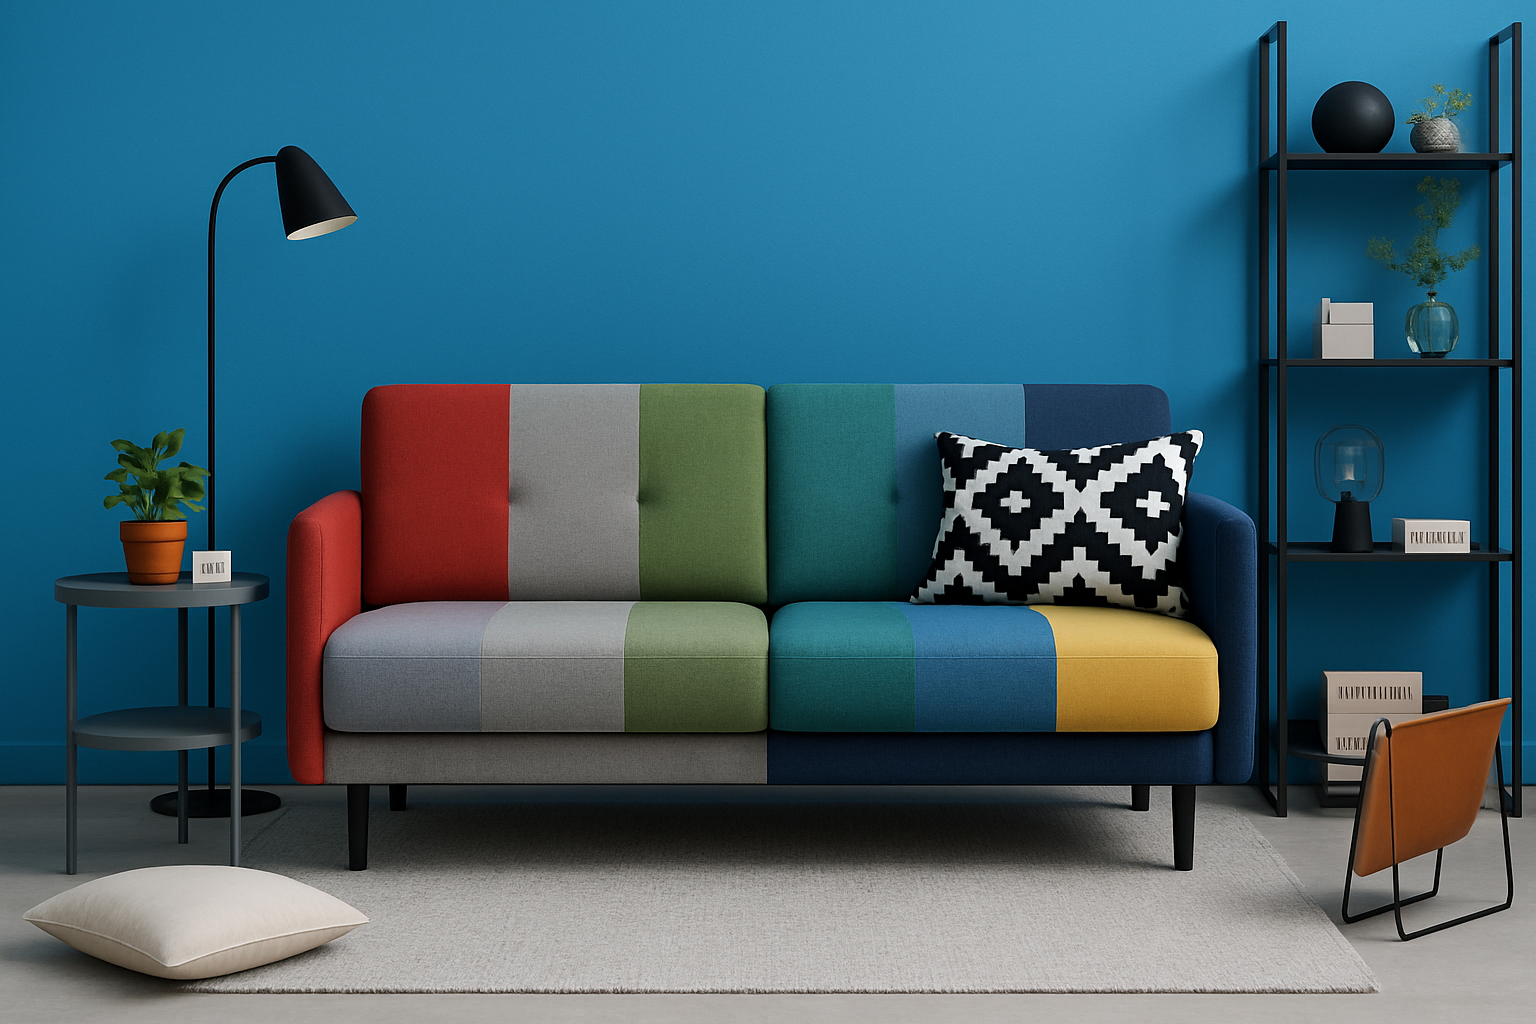
Whether you’re swapping your sofa’s shade from drab to fab, or simply giving old photos a new twist, the first step is usually the trickiest—getting that selection just right.
- Select Your Image:
Open your desired image in Photoshop. For this guide, we’re working with an image sourced from Shutterstock. - Drag to Select:
Use the “Object Selection Tool” to highlight the areas you wish to change. If you accidentally include items you don’t want to alter, hold Alt (Win) or Option (Mac) while clicking to deselect them. Similarly, the Quick Selection Tool can help refine your areas if needed.
Layer Play: Get Your Colors in Order
Once you’ve honed in on your object, ensuring your color change affects just the right pixels is all about layering.
- Layer Masking:
With your object selected, click on the folder icon to create a new folder.
Create a layer mask by clicking the Layer Mask icon. This will keep your adjustments within the boundaries of your selection. - Solid Color Adjustment:
Tap on the Adjustment Layer icon and choose “Solid Color” to apply a base hue. Worried about picking the wrong shade? Breathe easy—you can change it later! - Blend and Marvel:
Set your layer’s Blend Mode to “Color” for optimal effect. This might require tweaking, but it’s a simple route to vivid color change without altering texture.
Fine-Tuning with Level Adjustments
Here’s where the real magic comes in—tweaking Levels can shore up your masterpiece’s tonal integrity.
- Adjust Levels:
Utilize Levels to toy with your image’s shadows, midtones, and highlights. A fine balance is often needed to ensure that your color change doesn’t throw off the image’s natural light and shade dynamics. - Layer Positioning:
Move the Solid Color layer above the Levels adjustment layer. This assists in preserving tonal quality when colors adjust.
Make It Shine: From Average to Astonishing
- Pick Your Poison (or Color):
Open the Color Picker; this is your playground. Experiment with different shades to find the ideal pop of color that suits your composition. - Tweak to Your Heart’s Content:
Ensure your adjustments keep the backdrop eye-catching yet seamless by varying input and output levels. - Rinse and Repeat: Want a light gray today, and a vibrant teal tomorrow? You’re just a few clicks away from transforming your digital canvas.
Concluding Thoughts: Efficient Yet Effective
And that’s it—no elaborate artistry required, just a Photoshop user armed with a well-placed layer and the willingness to play.
Understanding and altering the color dynamics in Photoshop can elevate the ordinary to the extraordinary, save time, and open a plethora of opportunities for creativity. So don’t shy away from experimenting with different tools and techniques—error is often the first step toward where real discovery lies!
Happy editing and may your palettes always be vibrant!


