Say Hello to the Triple Exposure Poster Effect
Are you ready to level up your photo editing game? Today, we’re diving into the fantastic world of triple exposure effects. Think of it as a symphony of colors and layers, all dynamically mixed to create a visually stunning masterpiece using just one image. Whether you’re crafting the perfect poster or adding a creative touch to your photography portfolio, this guide will help you create a colorful triple exposure poster with ease.
Start with the Basics: Preparing Your Image
Every great image-editing project begins with a solid foundation—your original photo. Select an image that you’d like to transform. Can’t decide? No worries, the one Marty uses in the tutorial is linked in the video description, so you can follow along step-by-step.
Begin by separating your subject from its background. Adobe Photoshop offers several sleek ways to do this:
- Remove Background via Properties Panel: For those using Photoshop CC 2020 or later, unlock the layer and access the Properties panel. Click Remove Background, and voilà! Your subject floats free with a magical layer mask.
- Quick Selection Tool: Use this tool to finesse your selection. Click Select Subject, and paint away any strays. Adjustments can be made by dragging your tool while holding Alt (or Option on a Mac).
- Object Selection Tool: A glimpse at your subject, and you’ll see the helpful pink outline. One click, and your subject is neatly separated.
Smart Object Manipulation
Convert your meticulous selection into a Smart Object. This clever move ensures non-destructive edits, which means you can tweak your masterpiece all day long without losing any quality. Simply click the icon at the upper right and choose Convert to Smart Object.
Create Something Out of This World: The Triple Exposure Technique
You’re on your way to becoming Picasso of Photoshop! Now, let’s create a new blank canvas. Open a fresh document with the size set to 1920×1080 pixels, ensuring a dramatic backdrop with a black canvas. Trust us, it makes the colors pop!
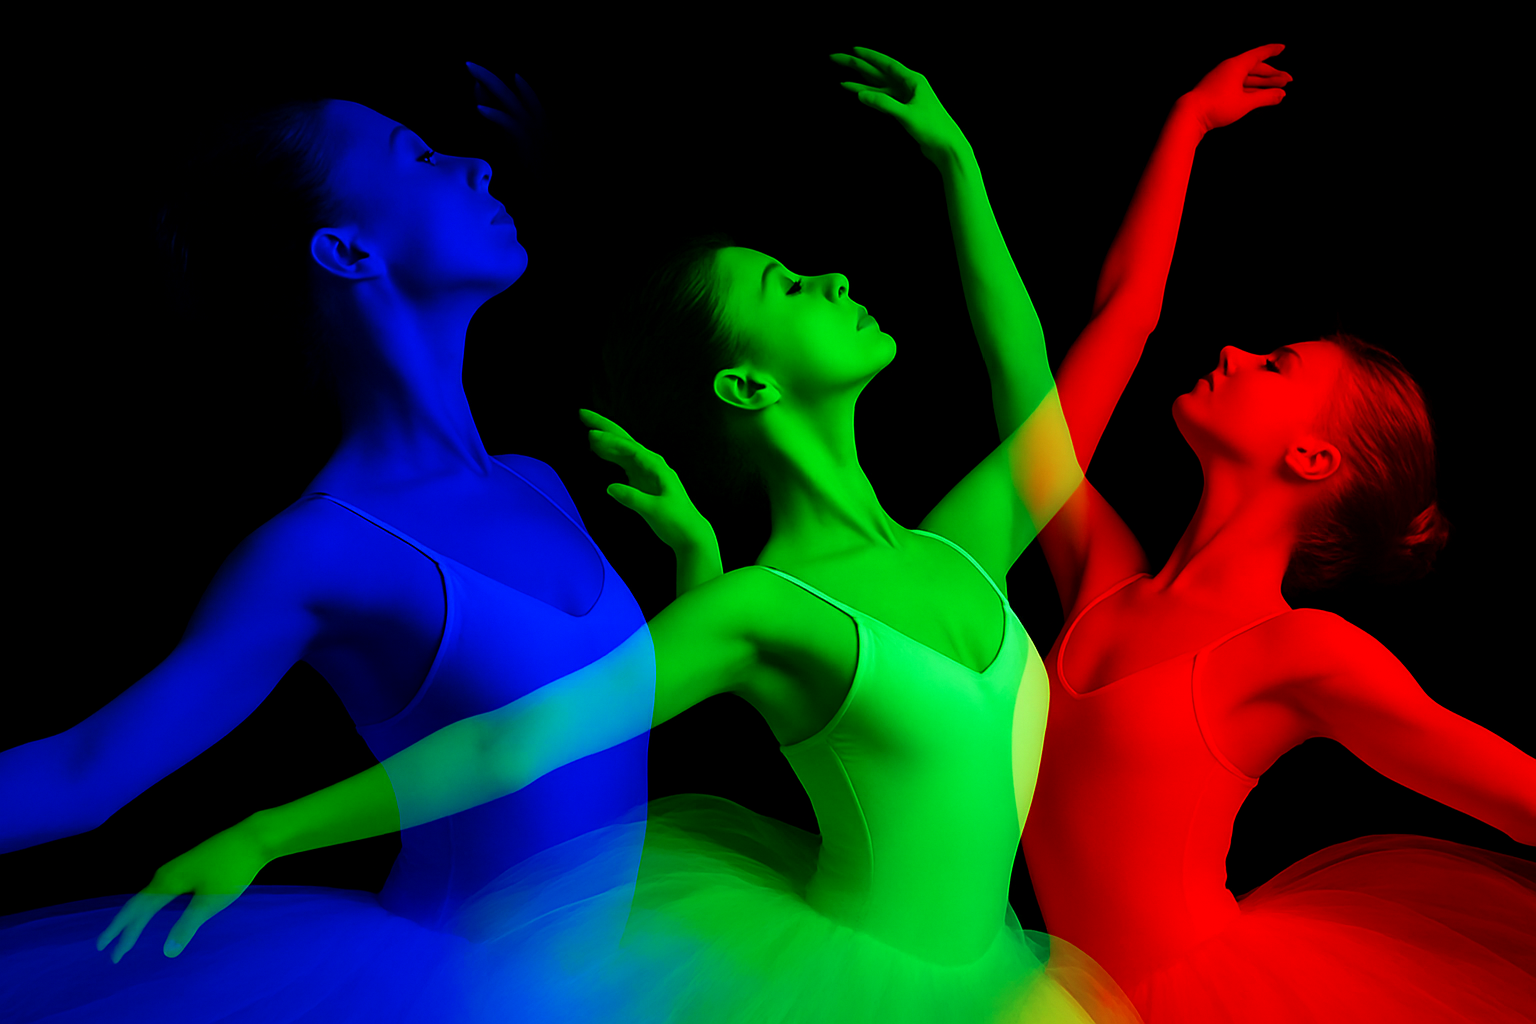
Next, it’s time to duplicate your subject threefold: rename each layer to match our RGB color trio—Green, Red, and Blue. Here’s a handy cheat sheet to guide your creativity:
- Blue Layer: Uncheck the Red and Green channels for luscious blue vibes.
- Red Layer: Swap out the Green and Blue channels for that fiery finish.
- Green Layer: Drop the Red and Blue channels to let your subject embrace the green light.
Position Dance Party
Each color layer deserves its own spotlight. Use the Transform tool (Ctrl/Command+T) to resize and move your layers around until you find that sweet spot. Adjusting the opacities and positions will uncover exciting overlaps with unique color combinations.
Spring a twist by flipping the Red layer horizontally to see the unexpected—and often magical— color results from the overlaps. Let that creativity loose and witness a unique spectrum born in your overlap areas.
Finale: Elevate the Design with Effects & Text
The cherry on top of your epic picture parfait? Borders and text! These elements frame your masterpiece and convey powerful messages, mood, or informational tidbits.
Add an enthralling inner glow and stroke border—a slim yet bold outline that snuggles your document. Play around with the pixel settings and sizes until they meet your growth and precision needs.
Typography Matters
To weave words into your masterpiece, select the trusty horizontal Type Tool and choose a font that vibes with your poster’s theme. If you love Marty’s choice, Bream Catcher, feel free to download it and set it to 168 points (or any size your heart desires).
Adjust the text’s spacing, known as ‘tracking,’ for that oh-so-perfect alignment. This is your chance to annotate your visual wonderland with information, quotes, or even your signature.
And…that’s a wrap! With a little bit of patience and a whole lot of layers, you’ve just crafted an eye-popping triple exposure poster that’s sure to captivate.
Feel free to experiment further with other effects, and let your personal style shine through. Keep exploring, keep creating, and, who knows, you just might find yourself in the world of digital artistry where tech meets tremendous talent!


