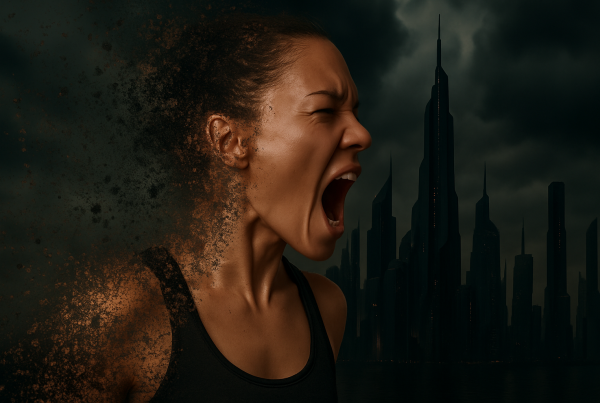
See Your Photos in a Brand-New Light
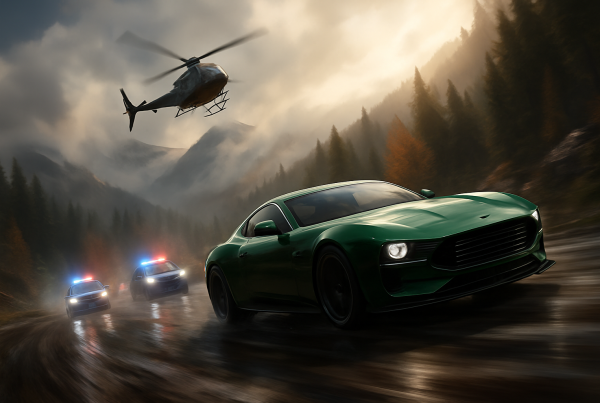
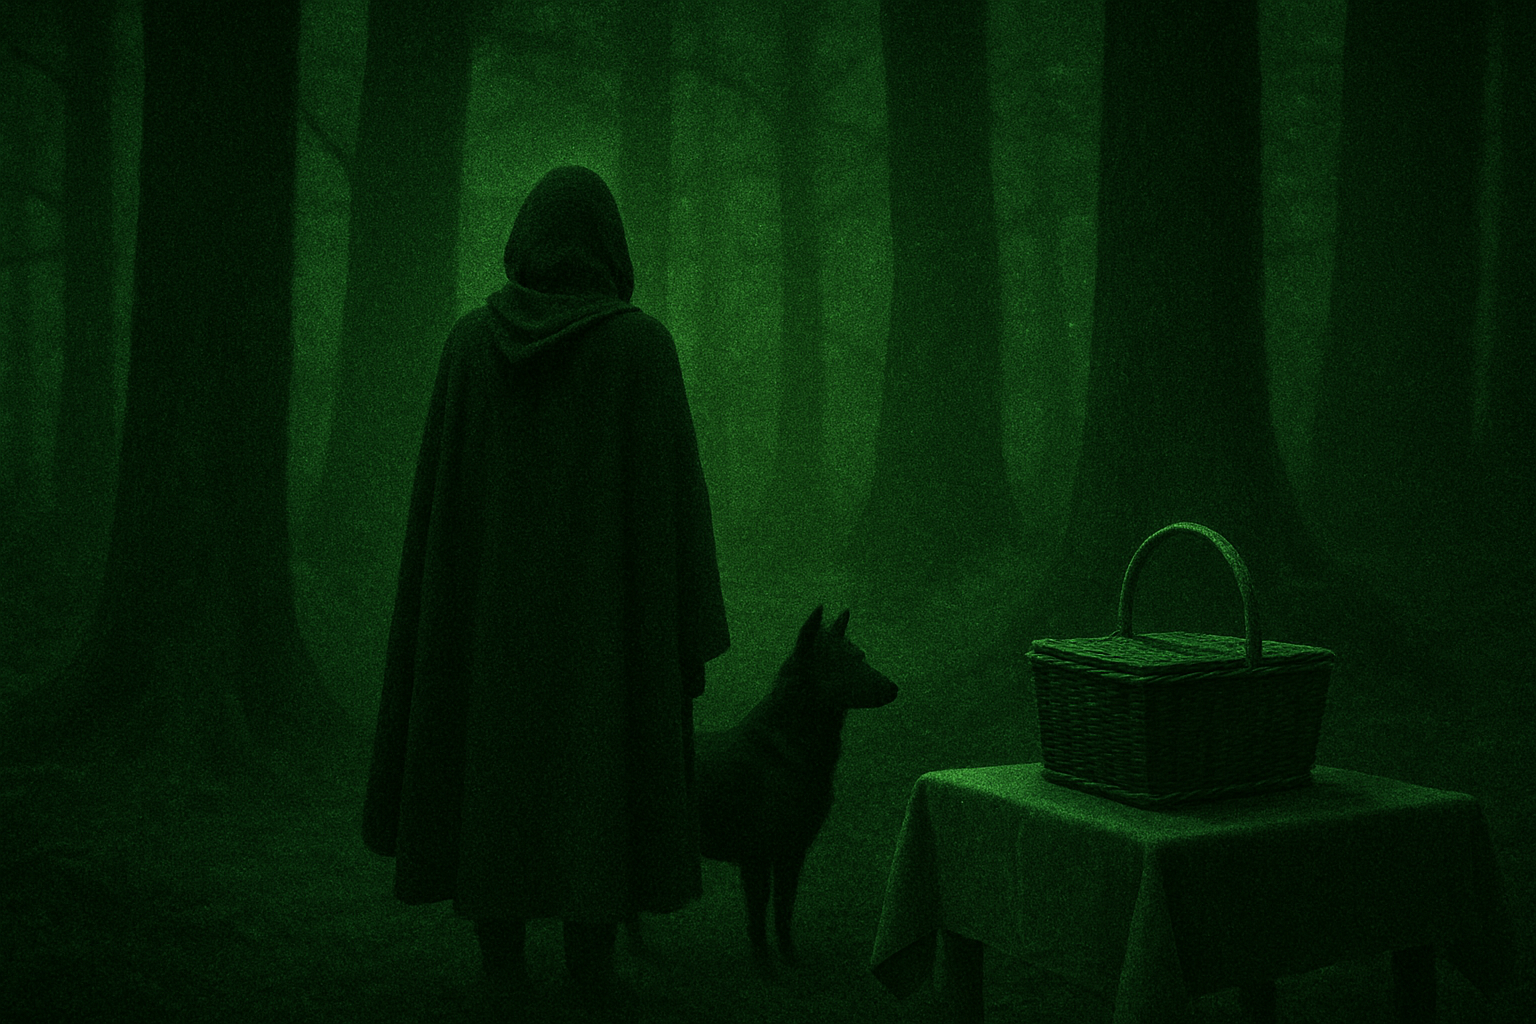
Ever wondered how to give your images that cool night vision look, like they’re fresh off a high-tech spy operation or straight from an ’80s action movie? In this post, we’re diving into the world of Photoshop to create your own night vision masterpiece. Say goodbye to your regular, run-of-the-mill photos and hello to images that look like they’ve been taken under the stars with top-secret equipment. Yes, it’s possible to achieve this cinematic look—you just need the right tools and a splash of creativity.
Why Night Vision?
Before we jump into the Photoshop tips and tricks, let’s talk about why this effect is so compelling. Night vision imagery is not only iconic in the realms of surveillance and military operations but also possesses a distinct aesthetic that makes your photos stand out. It’s perfect for projects that need a touch of drama or espionage flair, and it gives a cinematic quality that feels both nostalgic and modern.
Prep Your Image
Before applying any effects, adjust your image to ensure it mimics the gritty yet thrilling look of night vision:
– Resolution: Always start by ensuring your image is primed for perfection. In Photoshop, check that your image resolution is set at 150 pixels per inch. This setting ensures quality while allowing your effects to pop.
– Smart Objects: Always, always convert your image layer into a smart object. This simple step allows for non-destructive editing, which means you can tweak and adjust to your heart’s content without worrying about wrecking your image. Just right-click on your background layer and select Convert to Smart Object.
Adding the Night Vision Magic
Now comes the fun part. Follow these steps to imbue your everyday photos with an unmistakable night-vision vibe:
Step 1: Desaturate the Scene
– Use a Black & White adjustment layer to strip the image of its color. This makes it ready for the night vision’s hallmark green tint.
Step 2: Bring on the Green
– Add a Channel Mixer adjustment layer, set the Output Channel to Green, and boost that slider to around 127%. Welcome to a world bathed in eerie green light!
Step 3: Balance Your Colors
– Click on the Color Balance adjustment layer. Under Midtones, crank the Magenta-Green slider to +100, and set the Yellow-Blue to -40. Ensure Preserve Luminosity is ticked to maintain brightness while achieving that glowing green effect.
Step 4: Create Atmospheric Distortion
– Apply some diffuse glow to your image to mimic the characteristics of night vision interference. Navigate to Filter > Filter Gallery, then find the Distort folder and select Diffuse Glow. Here, you’ll juggle Graininess, Glow Amount, and Clear Amount until you find your perfect, grainy sweet spot.
Step 5: Smooth Out the Rough Edges
– Add a touch of Gaussian Blur for that authentic, slightly out-of-focus night vision experience. Go to Filter > Blur > Gaussian Blur, and set it to 1 pixel. This softens the harsh edges and rounds out the whole effect beautifully.
Fine-Tuning Your Night Vision Masterpiece
You’re almost done, but no masterpiece would be complete without a few final touches:
Noise Effect for Added Realism
– To finalize the gritty, authentic night vision look, introduce some noise. Go to Filter > Noise > Add Noise and apply an amount of about 6% with Uniform distribution. This noise captures the chaotic texture often seen in night vision goggles.
Vignette Touch
– For added impact and to simulate the circular field of view typical of night vision, craft a vignette. Use the Elliptical Marquee Tool to capture the central focus of your image, invert your selection, fill it with black, and apply a Gaussian Blur to soften the edges. Set this layer’s blend mode to Darken and dial back opacity to around 33%.
Think of these tweaks as your spices—add them to taste to achieve just the right amount of authenticity for your scene. Every photo tells a different story, so don’t shy from experimenting with these settings to capture the perfect night vision look.
There you have it—you’re equipped and ready to transform your photos with the dramatic allure of night vision. Tasked with creating secretive, spy-like imagery? Go forth and bring your illustrative ideas to life with these steps, armed with nothing more than Photoshop and your creativity.
For a more visual guide, you might want to check out some resources on this transformative effect.
Remember, the world is your creative playground—so why not see it through the lens of night?