
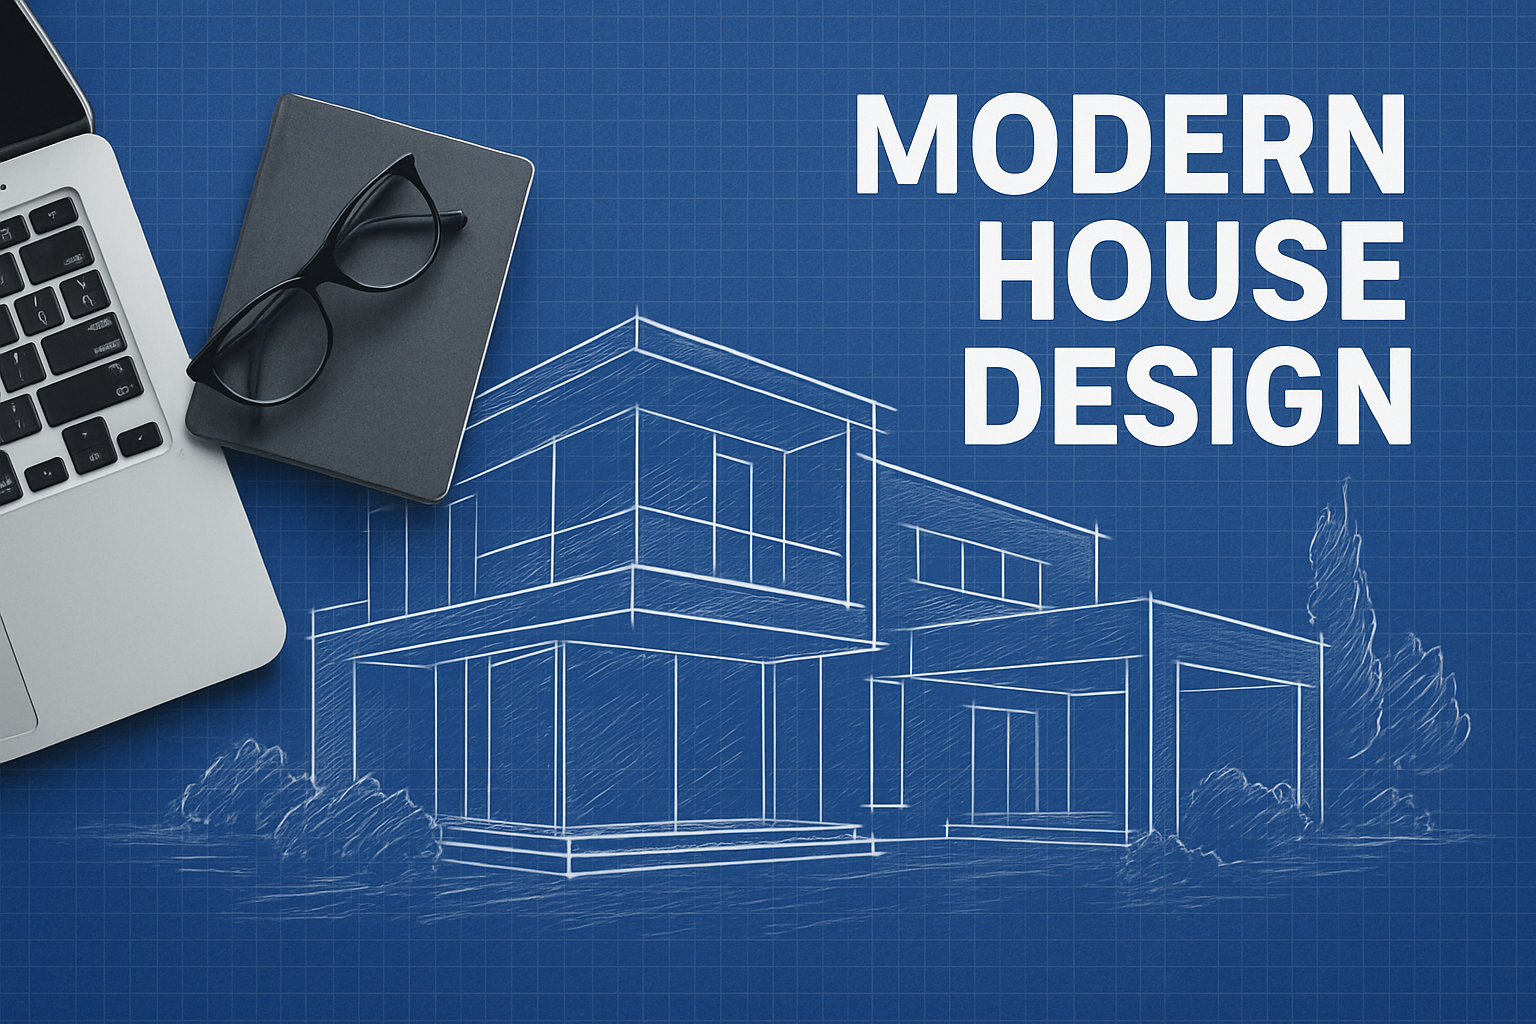
Unleash Your Inner Architect with a Dash of Photoshop Magic
Every creative soul has undoubtedly envisioned themselves transforming their mundane photographs into awe-inspiring works of visual inventiveness. If you’ve ever yearned to reinterpret your favorite cityscape or building photograph into a chic architectural blueprint, you’re about to find your happy place. Our post today is all about how you can wield the might of Photoshop to turn ordinary images into striking architectural blueprints. Type in those lines, place that photo, and let the transformation begin!
Photoshop Template: Your Blueprint for Success
First, here’s a little gift—a Photoshop template already replete with the essentials like graph paper and paper texture to kickstart your blueprint journey. To follow along, just download this template from the video description or project files. Fear not if you only see one image in the preview; once you open it in Photoshop, two layered options will reveal themselves to you like a magician pulling a rabbit from a hat.
Make Your Photo Blueprint-Worthy
Open a photo you’d like to use (grabbed mine from the trusty Shutterstock) and drag it into the template. The simple act of holding the Shift key centers your photo like a breeze, because no one likes off-center disasters.
Time to resize! Open that resizable friend, the Transform tool, with a confident press of Ctrl+T. Drag from the corners while holding onto the Alt or Option key to fill the template. No more, no less, just perfectly in place. Set the photo below the other layers and let’s make it smart—convert it to a smart object for the sake of non-destructive editing (which we absolutely love).
Into the Abyss and Back: The Stylization Process
Dive into the fun, wizardry section of Photoshop! Convert your image into a stylized masterpiece by heading to Filter > Stylize > Find Edges. What’s cooler than turning the complex into simple lines? Absolutely nothing. Apply a mystical filter: Camera Raw Filter and hit those vertical icons to span your creativity further. Make vertical lines straight with but a click. It’s like befriending the laws of physics—and getting them to bend for you!
The Art of Layering: Shaping and Textures
We want that image looking as blueprinty as possible. Let’s add some sophistication with a soft, inner glow frame by tweaking those layer styles. Shift through bunches of options, but mostly get Inner Glow and Stroke sorted. This is your moment to shine, so go ahead and make that adjustment.
Blend modes are pure magic too. Activate your paper texture and unleash the Linear Burn. Don’t forget to make the graph paper feel welcome and nudge its transparency down a bit. Balance—for when an artist meets science, Wondershare happens!
Add Some Color—Kind of
Open the charming Solid Color adjustment and choose hexadecimal 0036A5 (like our secret blueprint elixir!). Set the blend to Screen and let the magic unfold. Now, your photo is looking blueprint-tastic!
The Final Scribbles: Adding Text
Any self-respecting blueprint has knowledgeable annotations, so let’s get typin’. Tap on the Horizontal Type Tool and go rogue like a scribe of old! Sprinkle that text with a little customization. Fancy fonts? Sure! Feistiness in spacing? Absolutely.
Control the canvas as you craft a new layer beneath for a tidy little rectangle to cradle that text. Outline it with a black stroke for some good old-fashioned prowess. Musical notes not included, but feel free to hum while you work!
Reverse the Universe (Inverted Colors FTW!)
Lo and behold, scroll to the top and ‘Invert’! Flip the colors and stand back to admire your creation. You’ve taken an ordinary photo and sculpted it into an awe-inspiring visual narrative. It’s architectural blueprint, the Blue Lightning way.
So, arm yourself with this knowledge, unleash Photoshop, and transform your digital dreams into reality, one cut, line, and shape at a time!





