
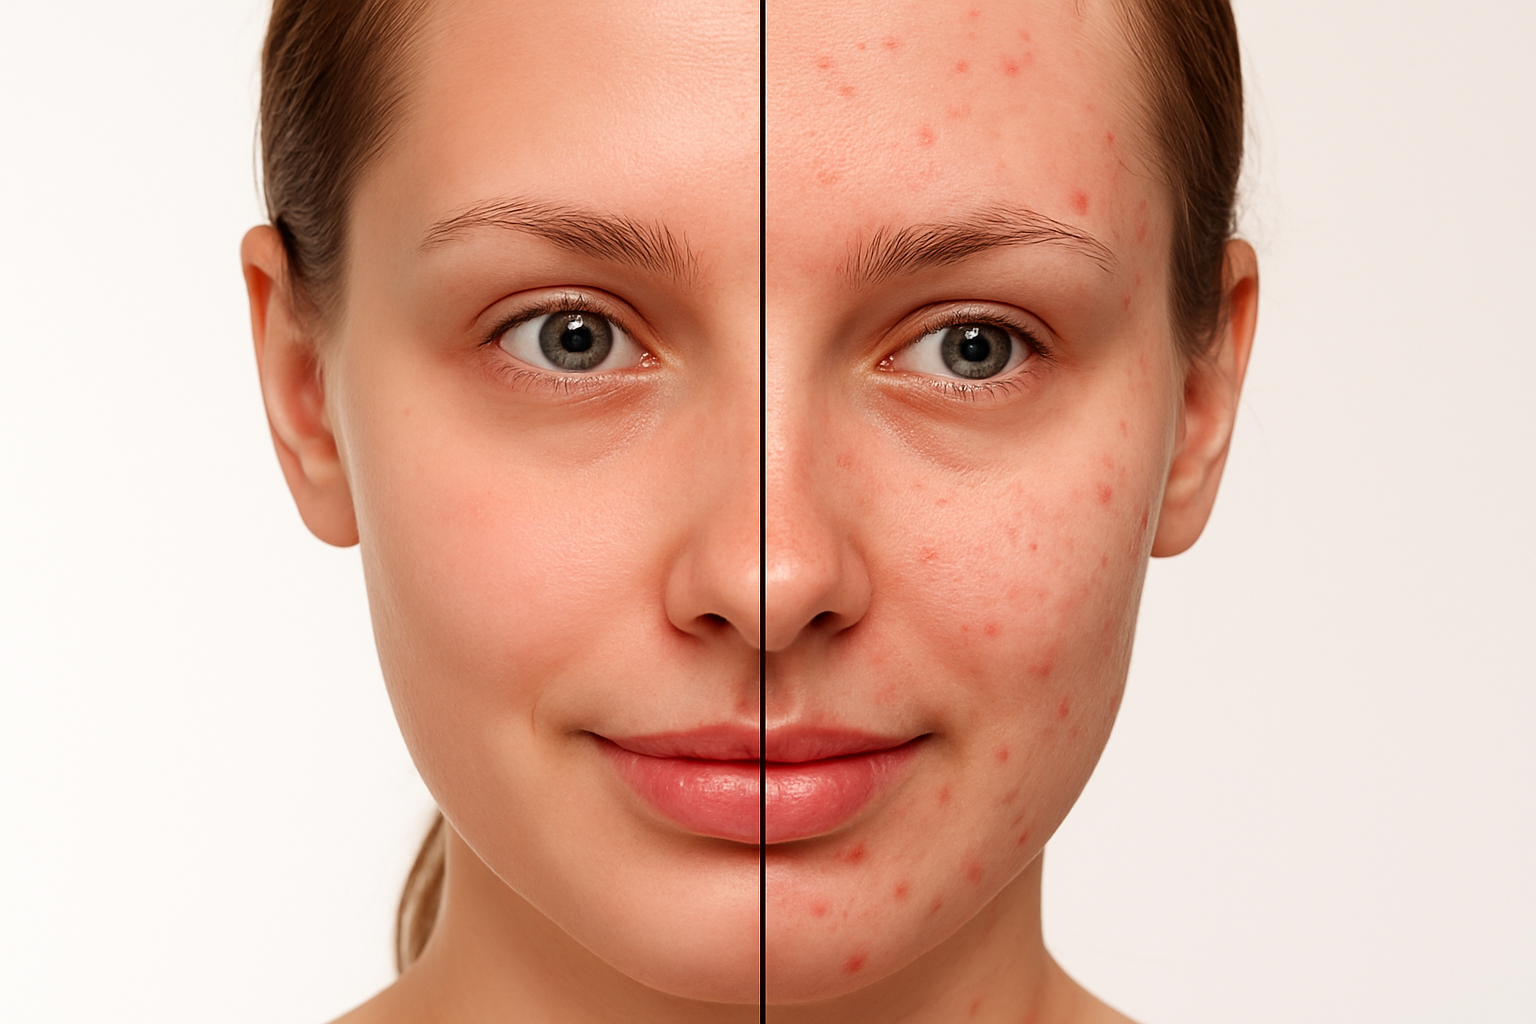
Elevate Your Skin Retouching Game in Photoshop
Let’s be real. In the world of digital photography and social media, perfect skin is almost a mandate. However, achieving that Instagram-ready skin tone without losing the essence and texture of the skin can be a challenge. We’ve all scrolled through images of people whose skin looks more plastic than human. Fear not. Here’s a quick, effective, and surprisingly easy method to elevate your Photoshop skills with skin retouching while maintaining a flawless, yet realistic appearance.
Before You Begin
In any retouching endeavor, it’s essential to start with a high-quality photo. Select an image where the subject’s skin texture is visible, like one from Shutterstock. This clarity is crucial, as Photoshop filters excel when they have texture to work with.
Key Tools at Your Disposal
- Healing Brush Tool: Targets specific blemishes by sampling pixels from a clean area and blending them into the problematic area seamlessly.
- Spot Healing Brush Tool: A more intuitive tool that doesn’t need a sampled spot. Just brush over imperfections, and Photoshop will handle the rest.
- Patch Tool: Excellent for removing large areas of blemishes like under-eye circles. It works by dragging a selection over the flawed area and offering a clean patch to replace it.
- Dodge and Sponge Tools: Ideal for lightening and desaturating specific portions of the skin, aiding in achieving a natural texture and tone balance.
Step-by-Step Retouching Process
Step 1: Duplicate the Layer
The magic starts with duplicating the current layer — preserving your image’s original quality should Photoshop’s tools play hardball. Use Ctrl or Command + J to create a new layer effortlessly.
Step 2: Say Goodbye to Major Blemishes
Zoom into areas requiring touch-up and use the Healing Brush Tool. Press Z to zoom and the spacebar to pan around the image. With a deft hand and alert eye, let Photoshop work its charm.
Step 3: Tackle Those Pesky Under-Eye Bags
For stubborn eye bags, draw on the Patch Tool. Construct a selection under the eyes and replace it with a more vivid section of skin. A touch of the Dodge Tool, set to Midtones with 10-20% exposure, can help illuminate those dark patches under the eyes.
Step 4: Dealing with Excessive Saturation
If over-saturation is a concern, especially around the eyes, the Sponge Tool is your ally. Set its mode to Desaturate and go over these areas lightly to correct skin tones meticulously.
Perfecting the Finish
Step 5: Smoothing & Blending
Duplicate the retouched layer, invert it using Ctrl or Command + I, and convert it into a smart object. This step ensures that any modifications, like using the High Pass Filter to define areas to enhance, aren’t destructive.
Adjust the filter settings — typically around 15 pixels for a 150 PPI image—but tailor it to your image’s resolution. The formula here is balance: Too smooth and it’s unrealistic; too sharp, and it’s not retouched enough.
Step 6: Sharpening for Realism
The last stage involves applying Gaussian Blur to the High Pass layer, blurring the high pass effect slightly to maintain pores while leading to overall skin smoothness. Precision is key here. Ensure the final effect stands just at the border of real and retouched.
Step 7: Restoring Natural Features
With the soft round brush tool set at zero hardness, restore those natural features like hair, eyes, and eyebrows while maintaining underlining sharpness. It’s about refining but not redefining the face your camera captured.
In the end, if there are sharp edges around the brows or lips, they can be revived by painting over them with a brush.
Retouching doesn’t have to leave faces looking like mannequin heads. Just remember, retouching isn’t about making someone look like a completely different person — it’s about enhancing their natural beauty while staying true to their authentic look.
Explore this technique with confidence and add a professional touch to your portrait game.
Happy retouching!





