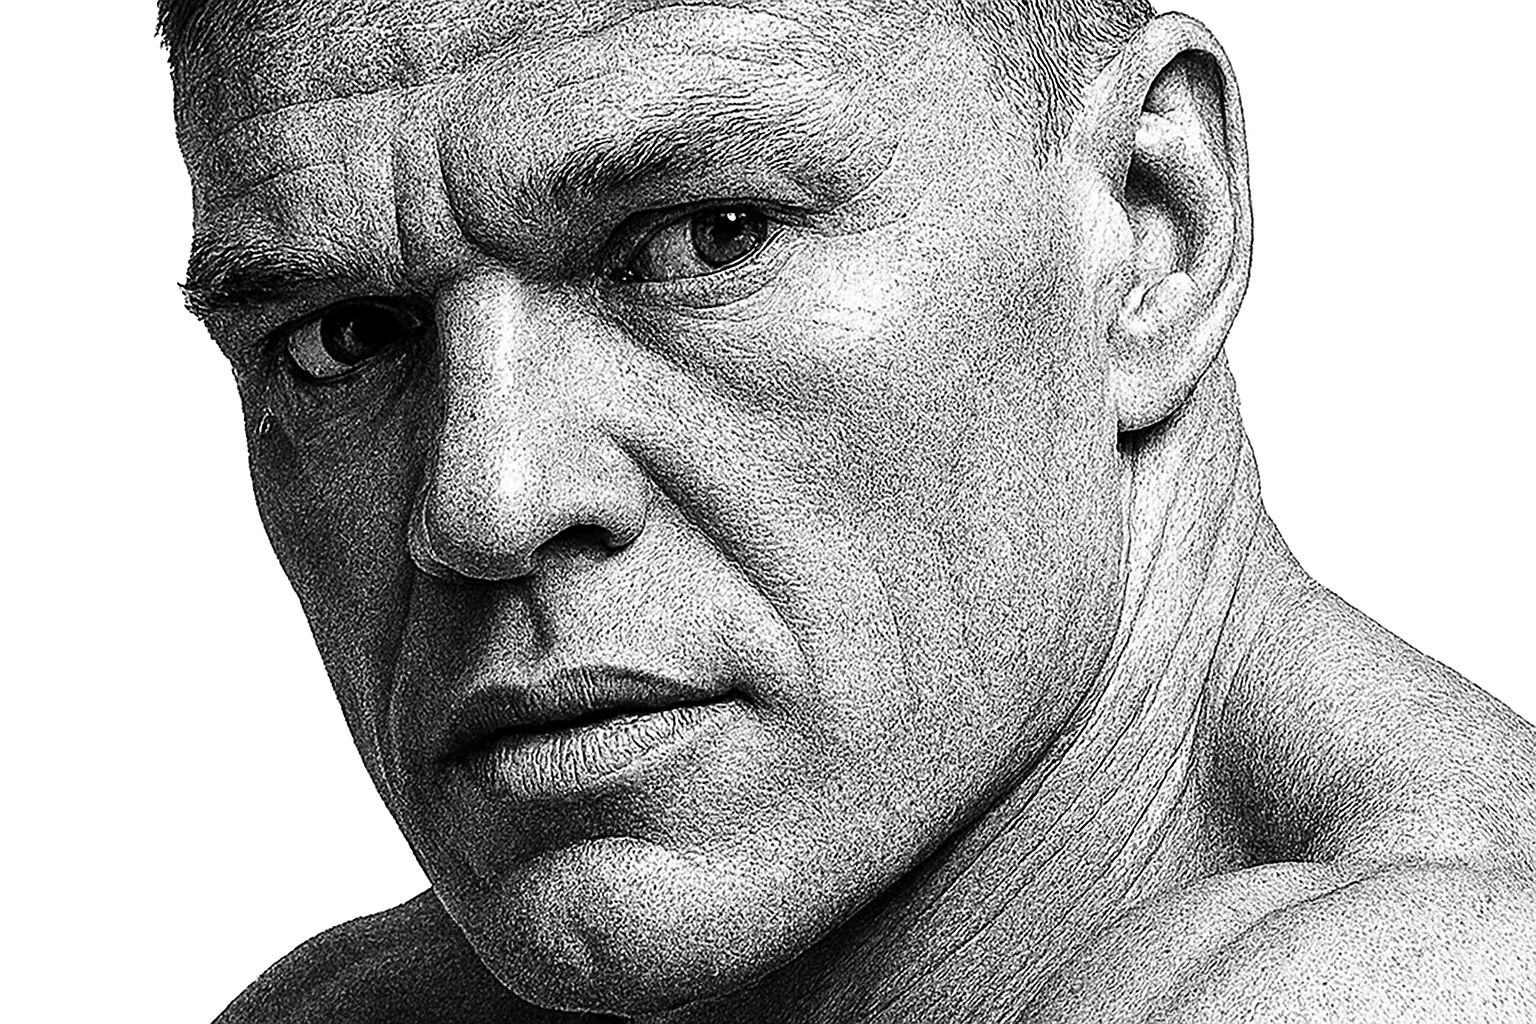
Dive into the Art of Black and White Illustration
Have you ever yearned for your photographs to echo the powerful emotion and striking contrast of classic black and white illustrations? Well, Photoshop has you covered, my creative wizards! This piece will teach you how to transform ordinary photos into stunning black and white illustration-style portraits. Step up your editing game with this walkthrough, and make those grayscale masterpieces pop like never before.
Pixel-Perfect Prep: Start With the Right Dimensions
Before you get down to the nitty-gritty of Photoshop wizardry, ensure your image is prepped correctly. Use the crop tool to adjust your image to a height of 870 pixels at a resolution of 150 pixels per inch. This aligns your photo for consistency when applying the effects, ensuring results reminiscent of the intended illustration vibe.
Making Magic with Selections
The first spell in your Photoshop toolkit is selection. Separate your subject from the background with the precision of a hawk-eyed editor. The quick selection tool is your best friend here—set it at a 10-pixel radius for optimal nimbleness. Glide over your subject to highlight them and, for any overzealous selections, hold the Alt key to exclude unwanted areas.
Refining Edges to Perfection
Choosing edges is like picking outfits for a fashionista—it’s all in the details! Depending on your version of Photoshop, you’ll either refine edges or select/mask with options to check smart radius and smooth out those stubborn edges. Output all this elegance to a layer mask—it’s non-destructive, drama-free editing at its finest.
Layer Love: Building Blocks of Illustration
Create a fresh layer beneath your working layer and fill it with white—like the canvas of a master painter. It’s time to transform your workspace into a smart object, giving you the power to refine and replace without re-do looping through effects. Like a remix artist with a perfectly conditioned vinyl, you’ll have pristine flexibility.
The Filter Gallery: Where Effects Come Alive
Next, we venture into the storied chambers of the Filter Gallery, precisely the ‘Artistic’ folder and its ‘Paint Daubs’. Set brush size to 1, sharpness to 40, and brush type to simple. What does this do, you ask? It mimics the hand-painted texture and tone, like a legendary artist’s signature touch.
Blend Your Way to Dramatic Contrasts
Activate the middle layer and switch it to the ‘Linear Light’ blend mode. This little tweak bumps up the contrast like a caffeine shot for your picture. With your base layer adjusted, enhance the drama yet balancing brightness with an adjustment layer dedicated to levels.
Fine-Tuning with Dodge and Burn
Breathe life into hidden shadows and undertones using the Dodge and Burn tools. Channel your inner sculptor and bring out the details in dark areas like a maestro unraveling the crescendo. Whether it’s dark gloves or the depths of a shadowy backdrop, these tools are your detailing pen and ink.
Concluding Your Masterpiece
Every adjustment adds a piece to your illustrative puzzle. After each tweak, save your smart object adjustments; you’ll be able to see the before and after in glorious comparison. Voilà, you’ve turned overexposed photos turning them into dynamic, striking black and white illustration portraits that would make anyone do a double-take.
Embark on this editing journey, unravel these techniques and let your photos tell their monochrome stories, capturing the sophistication and elegance that only the most masterful illustrations possess.
Happy Crafting!


