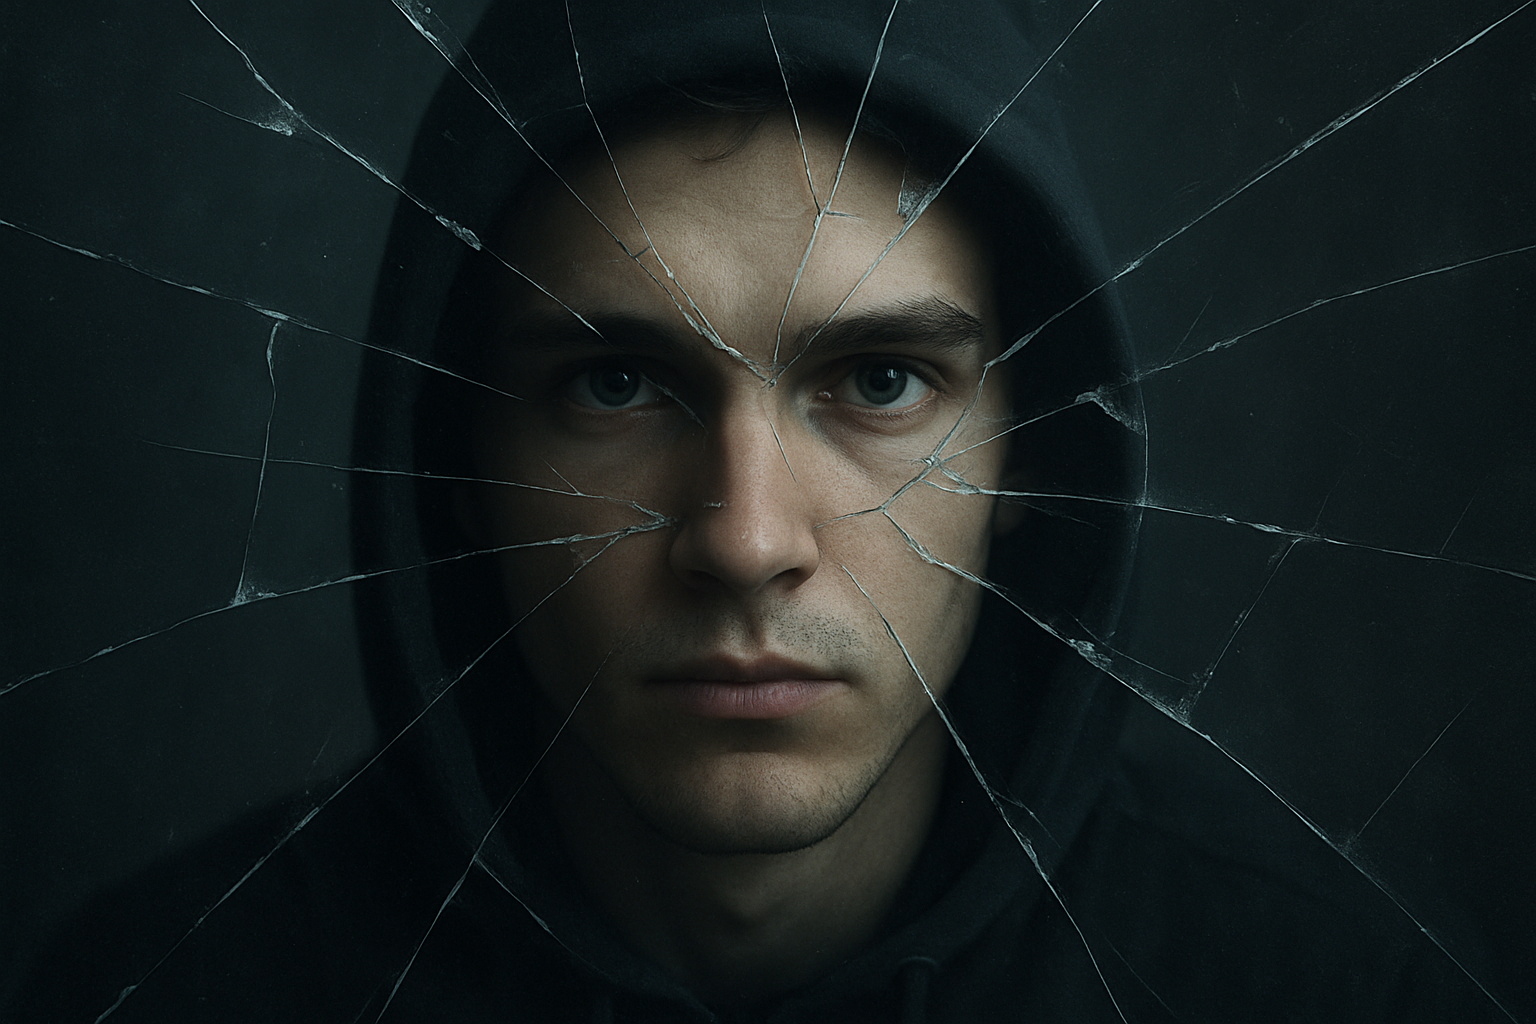
Elevate Your Portrait Photography with a Stunning Shattered Glass Effect
Photography enthusiasts and digital artists, are you tired of the same old portrait effects? Looking to spice up your digital creations with a touch of the dramatic? Well, say hello to your new favorite technique: the shattered glass effect. This guide will show you how to make an image appear as if it’s being viewed through a dynamic and dramatic sheet of broken glass — perfect for adding an edgy twist to your portraits.
A Peak Behind the Shattered Glass Curtain
Creating a portrait through shattered glass may sound daunting, but it’s more straightforward than you think, thanks in part to a downloadable PSD file that comes with all the necessary elements: a shattered glass image, a gray gradient for overlay, and the shape of a jagged hole. Once you have your PSD file, you’re well on your way to crafting mind-blowing portrait effects.
Getting Started: File Essentials and Setup
You will need a dramatic image of shattered glass, usually set on a dark or black background, to serve as the primary layer. This will be the canvass upon which the rest of the effect sits. The provided PSD file contains three integral parts: the shattered glass image, a gradient for softer overlays, and a jagged void where your subject’s face will peer through the destruction.
Subject Placement: Mastery Over Layers
To begin, open up a portrait you wish to modify. Drag the subject’s photo onto your open shattered glass document as a new layer. Transparency is key initially, as reducing the opacity helps position the face within the shattered glass’s jagged hole. Ensure that your subject is correctly situated by using Photoshop’s Transform Tool (Ctrl or Command + T) to resize and reposition.
Fine-Tuning with Smart Objects
Convert your subject’s layer into a Smart Object — a must for non-destructive editing. This also allows you the convenience of replacing the subject’s photo later without having to redo your effects from scratch.
The Intricacies of Layer Interaction
At this stage, controlling layer interactions will make or break your image’s realism. By altering blend modes and utilizing both screen and darken effects, the shattered glass effect begins to manifest. Invert layers, adjust positions with arrows, and make minute tweaks to achieve that delicate balance where your subject nestles among the shards and shadows just right.
Masking and Channel Magic
Navigate to the Channels panel (found under Window > Channels if it’s not visible by default). Select the center hole shape to create a mask based on this selection. This step allows further refinement of your subject’s presence within the jagged void. From here, an additional layer mask is created to selectively hide and show elements of the glass and the face as they intermingle.
Adding Depth: Blur and Shadows
No shattered glass effect would be complete without proper blur and shadowing. Gaussian blur techniques soften the harsher aspects of the image, while the glass overlay comes to life through Bevel and Emboss effects, as well the notorious Drop Shadow.
Final Touches: The Show-Stopping Luts and Vignettes
To pull your creation together, venture into color-grading territory with 3D LUTs (Look-Up Tables). The Fuji F125 Kodak 2393 LUT offers a cinematic quality that paints your portrait in a lifelike hue.
Next, draw the viewer’s gaze inward through a feathered vignette, achieved by inverting elliptical selections and blending with the existing layers.
Adding Color Tint for Realism
For a touch more authenticity, a green tint can be applied, mimicking reflections and refractions akin to real-world shattered glass. Through careful application of hex colors and smart blend mode use, the green hue adds that missing layer of realism, ensuring your photo is Instagram-ready.
Wrap-Up: Unleash Your Creativity
With your newly acquired knowledge, the shattered glass portrait effect opens new avenues in your creative workflow. This complex yet rewarding technique provides a professional sheen that can be personalized in countless ways — bound only by the limits of your imagination.
And there you have it! Armed with these steps, you’re ready to tear down the wall of creative monotony, one shattered pane at a time. Embrace this technique, and watch your portrait photography take on a whole new dimension of storytelling and flair.
Ready to dive even deeper into Photoshop’s potential? Stay curious and keep exploring the limitless bounds of photo manipulation and digital artistry. Happy editing!


