Time Travel Through Your Lens: Mastering the Vintage Photo Effect
Nostalgia is seductive. It wraps us in a haze of sepia and whispers of yesteryear. But what if you could summon that nostalgia at will, transforming your digital color photos into captivating vintage masterpieces? Today, we’ll unlock the creative alchemy of Photoshop to do just that—giving your modern images a charmingly aged transformation, complete with light leaks, faded colors, and vintage textures. Strap in, because we’re about to create the perfect throwback aesthetic, sans time machine.
Setting the Stage for Nostalgia
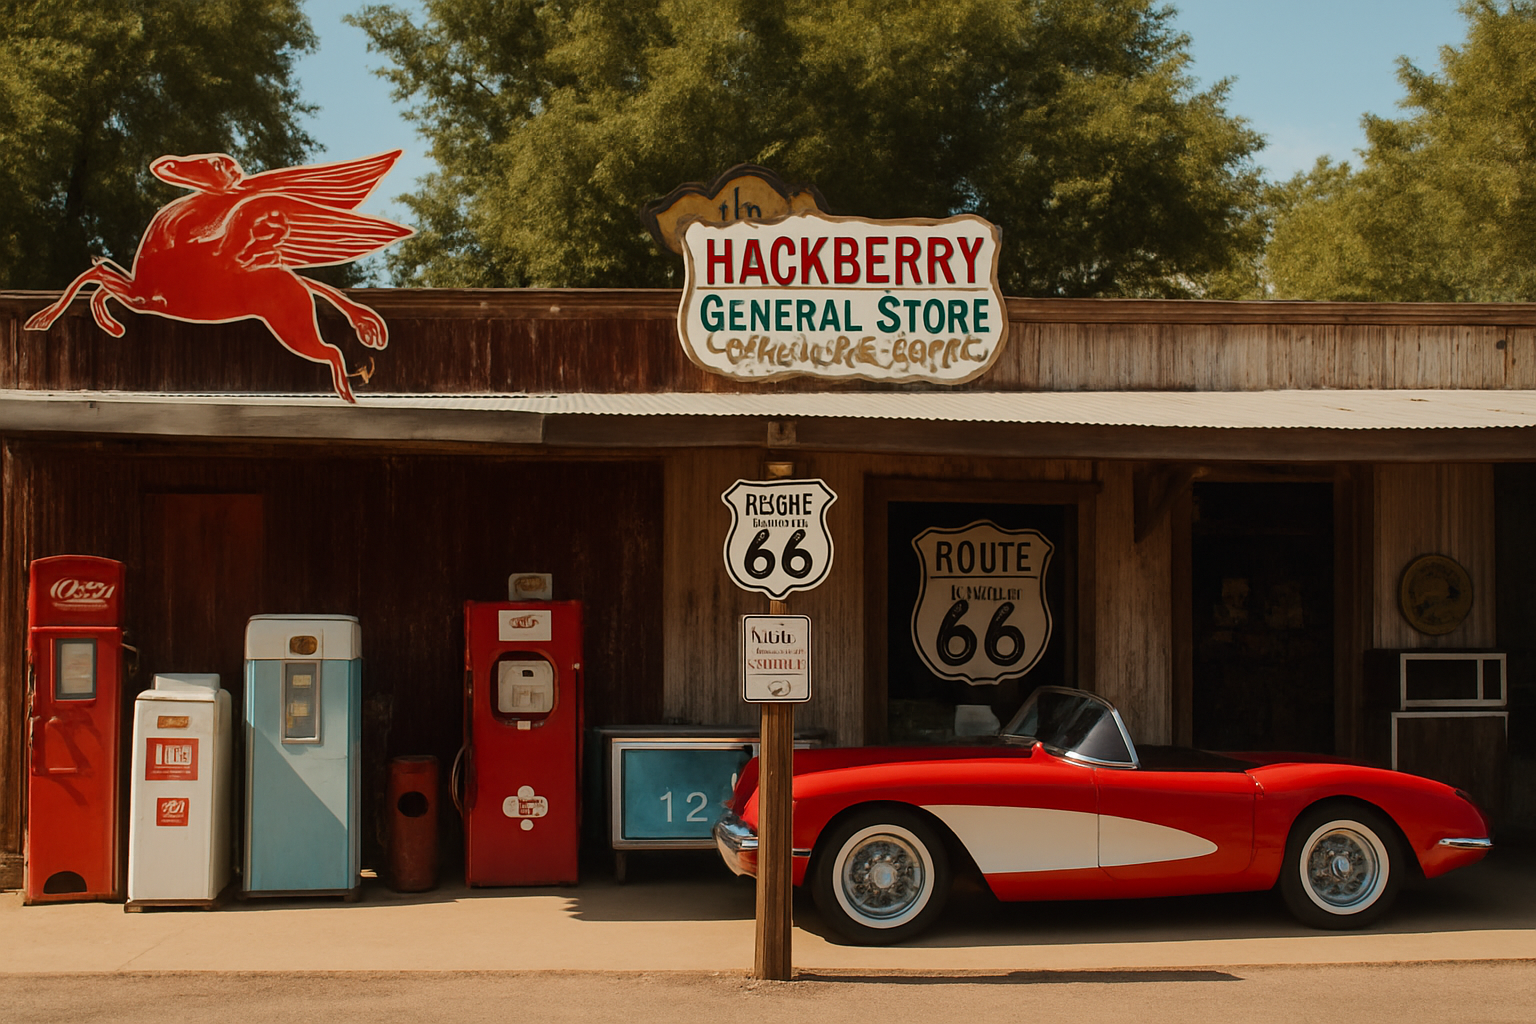
First things first, you’ll need to download the PSD file provided in the video description. This handy file is the critical backstage pass to your vintage photo journey. It includes two layers: a crack texture that screams “I’ve been around the block,” and a vibrant contemporary photo of a rural gas station ready to be cast in a historical hue.
The Method to Our Madness:
- Converting Your Photo: Begin by converting your photo layer into a Smart Object. Why, you ask? A Smart Object allows for non-destructive editing and lets you easily swap out the image without messing up your carefully applied effects.
- Curves Adjustment: Once your photo is a Smart Object, you’ll slap on a Curves Adjustment Layer to shift those modern hues into historical tones. Through the magic of Photoshop, manipulate the red, green, and blue channels to give your image a color palette that’s seen better days (in the best way possible).
Adding Vignettes for Drama
Vignettes are the unsung heroes of photo editing. They add subtle drama by softly darkening the edges of your photo, drawing focus to the center like a spotlight in a noir film. With Photoshop’s adjustment layers, it’s as simple as a few clicks and brush strokes to create that coveted effect.
Steps to Add a Vignette:
- Create another Curves Adjustment Layer, but this time, drag that highlight level down like you’re casting a shadow over the witness stand.
- Arm the Brush Tool with the power of 700 pixels width and zero hardness, and reveal your original image through the mask—it’s pure Photoshop magic.
Blur and Distort Like a Pro
Old photos often had that soft, sometimes mysterious blur—blame it on the lenses of yesteryear. To mimic this, apply a light Gaussian Blur and then head over to Lens Correction to bend the image slightly, recreating the concave distortion reminiscent of classic photo albums your grandparents hid in the attic.
Pro Tip: Always preview your changes to ensure you’re not going full Rembrandt when you meant 1930s charm.
Unleashing the Light Leaks
Here’s the pièce de résistance: adding those iconic light leaks. They embody the quirks and imperfections of vintage cameras, the happy accidents of time that add character to the photo.
- On a new layer set to Color Dodge, paint bright reds and yellows with your brush tool to mimic accidental light spills. Play with opacity to create that perfect “aged” glow.
Final Accord with Cracks and Imperfections
What’s a vintage photo without a bit of wear and tear? Make your image look like it’s lived a little by inviting the crack texture back into the picture. Photoshop’s selection and masking tools will help blend this texture subtly over your image, giving those tell-tale early 20th-century vibes.
- Use the Select and Transform tools to adjust the texture’s size and position, until your background whispers stories of dusty shelves and thumb-worn edges.
Conclusion: As nostalgic as watching your favorite reruns, creating a vintage photo effect in Photoshop can transform a modern picture into a historical echo. By blending textures, adjusting hues, and creatively using light effects, you can craft authentic vintage vibes that are just a click away from your digital collection. Now, take your photos for a walk down memory lane—and maybe give your Instagram feed a taste of the past it never knew it needed.
Keep exploring, keep creating, and let the magic of Photoshop guide your storytelling through visuals.


