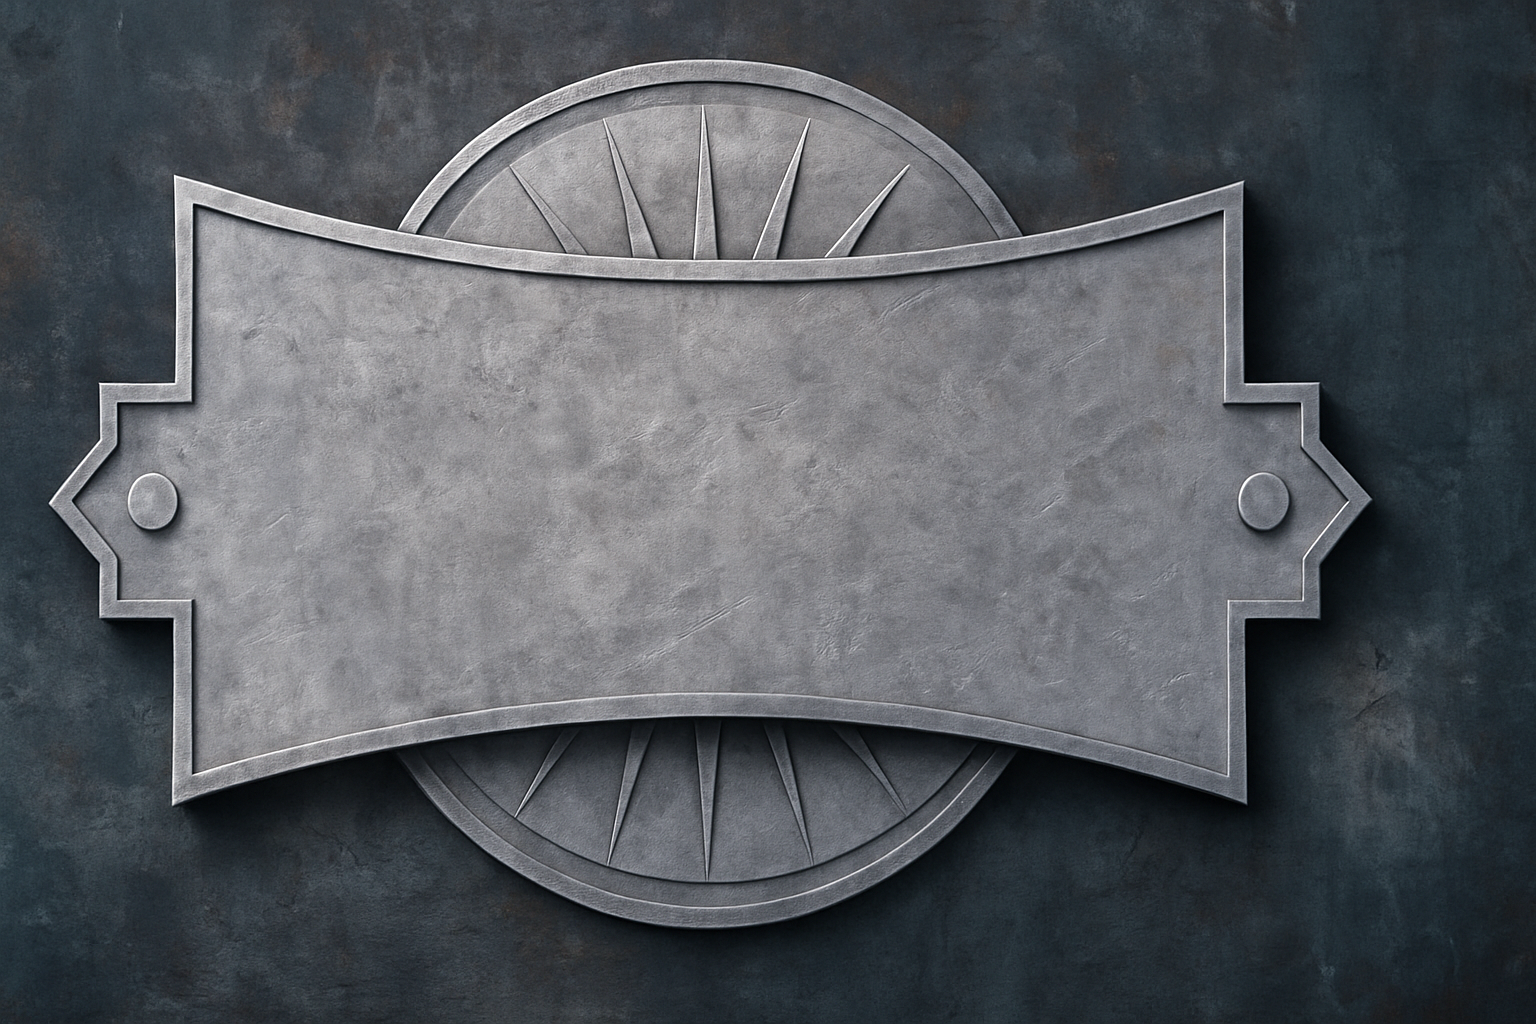
Mastering Digital Artistry: Crafting an Iron Emblem in Photoshop
Creating digital art isn’t just about using tools—it’s about transforming imaginations onto the screen. And in today’s tutorial, we’ve got something powerful and mystic in store. We’re diving into the depths of Adobe Photoshop to craft an imposing iron emblem with your text at its heart.
This is a two-part series. In the first leg of our journey, we’re setting the stage by sculpting recessed text nestled within a sturdy iron frame. We’ll then move on to complete our emblem with a starburst shield, deep shadows, and custom lighting in the next installment. Armed with creativity and Photoshop skills—you’re seconds away from creating digital alchemy.
Step-by-Step Creation of Your Custom Iron Emblem
Start with the Basics: Textures & Guidelines
To give your emblem an industrial flair, we’ll begin by introducing a bare metal texture. The goal is to incorporate it into your background, setting a gritty tone. Once you’ve made a copy of it (Ctrl/Cmd + J), guidelines are essential for precision. Found under ‘View’, ‘New Guide Layout’ offers this if you’ve upgraded to Version CC or later—older users don’t fret! Create guides manually by typing in 50% under the orientation options.
Craft Your Message: Designing the Text
Your message is the core of this piece. Start by ensuring your palette is crisp—black foreground and white background. Then, grab the Horizontal Type Tool and make your font choice. For this tutorial, “Wide Latin Regular” is suggested, and set it at about 90 points for initial sizing. Entrust your expression in clean typeset lines.
Looking to boost or ease up on those letters? With the Move Tool and Transform (Ctrl/Cmd + T), adjust your text’s scale by pressing Alt/Option + Shift as you drag. We aim for a bold look fitted snugly in the frame.
Layer Effects: Adding Depth
Achieving that emblematic quality requires nuanced layering. Set the Fill to 40%—allowing your graphic’s core transparency to play while leaving styles intact. Navigate to the ‘fx’ icon to delve into ‘Bevel & Emboss’, opt for the Inner Bevel with Chisel Hard technique. Tweak the Depth to 100% with a downward direction, and see depth taking shape.
To nail the lighting, adjust accordingly: 135-degree angle with 65-degree altitude, 90% opacity under Screen mode for highlights, and 25% for shadows under Linear Burn.
Building the Frame
Framing your artistry makes the statement. Create a new layer beneath the text, and utilizing the Rectangular Marquee Tool, persistently follow the guidelines while crafting the encompassing border. Fill this with black, and then let Photoshop magic take over as you define the frame’s subtler aspects with ‘Bevel & Emboss’.
Merging Elements with Style
Once the key elements are set, merging is the alchemical step that ensures cohesive alterations. Convert your text and frame layers into a Smart Object. By using the Warp Transform Tool, you can then embody the ‘Bulge’ preset, setting the Bend at a calculated -20 for a subtly dramatic flair.
The Takeaway: Unleashing Your Inner Designer
Completing this first part of your journey is about precision, creative manipulation, and a touch of digital bravado. But hold the hammer and chisel; you’re halfway there. What you’ve learned here not only contributes to building this emblem, but adds finesse to your digital skill set.
And as we gear up to dial things a notch higher in the next segment, reflect on the artisan precision each step demanded—allowing the aesthetic vision to lead the way. With these steps masterfully captured in your creative toolkit, the world of emblazoned art is your playground. Stay tuned.
Craft on, digital artisans.


