Discover the Mesmerizing World of Water Reflections
Have you ever looked at a photo and marveled at how the reflections in water make an image seem almost surreal yet incredibly grounded? Not surprisingly, this stunning visual effect can be achieved with just a few clicks in Adobe Photoshop. Today, we’re diving deep into the secrets behind creating realistic water reflections in your photographs. Spoiler alert: You don’t even need to get wet!
Preparing Your Image for Reflection Magic
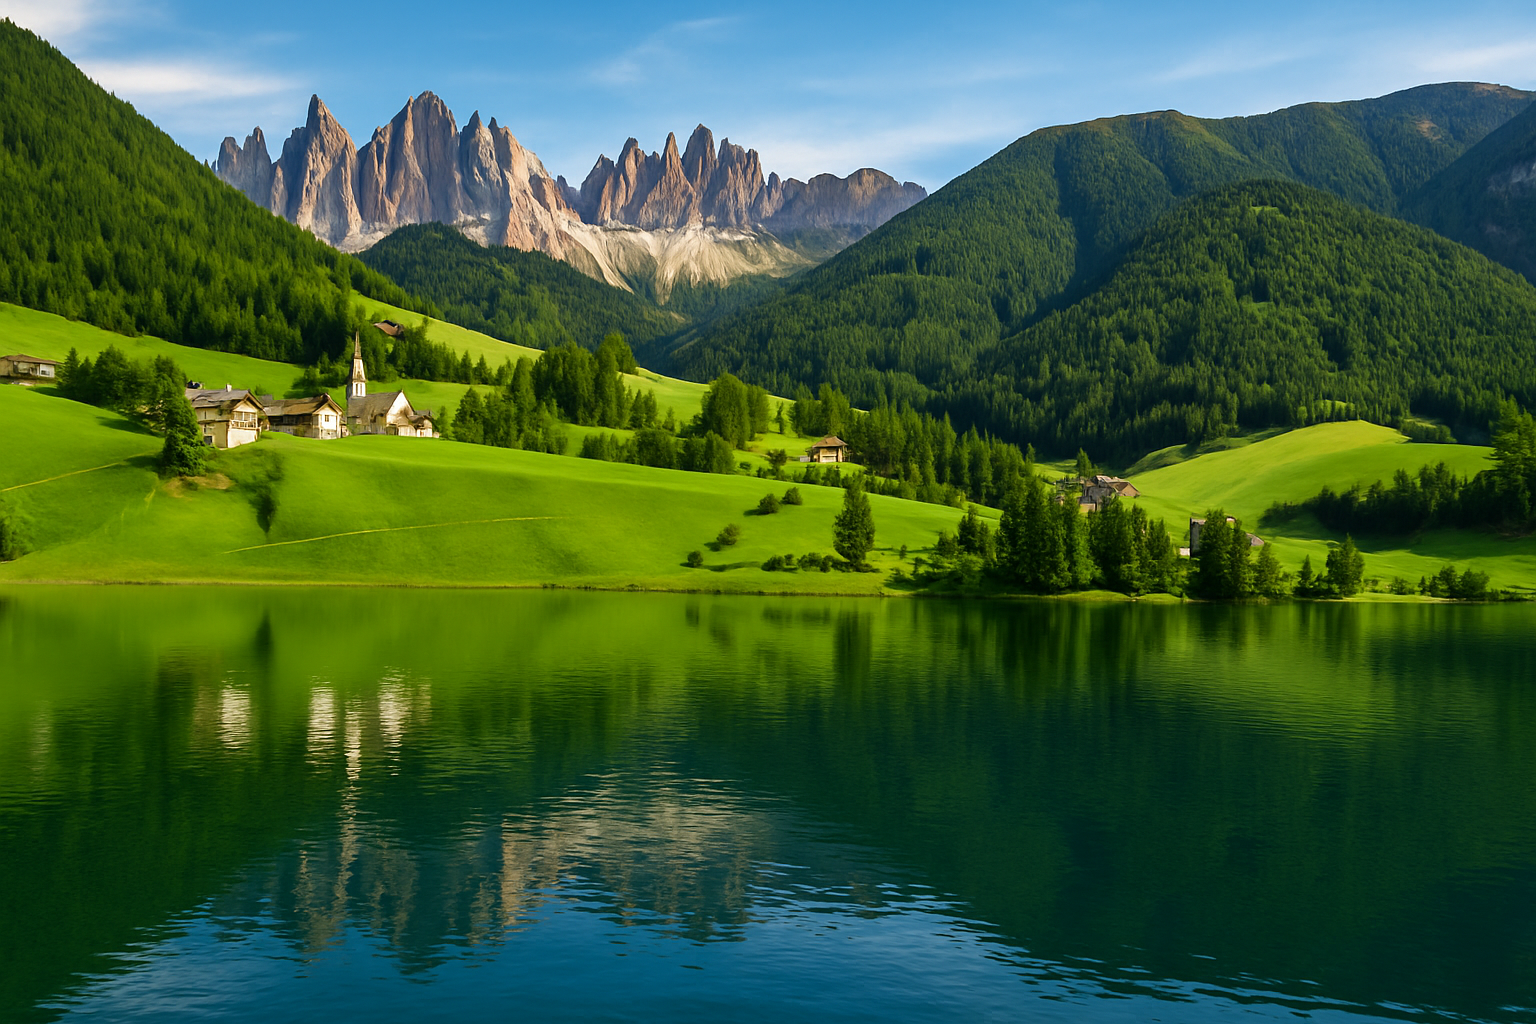
The journey begins with selecting a captivating photo that you wish to reflect. Ideally, download a high-resolution shot from platforms like Shutterstock to ensure picture-perfect results. Ensure the resolution is set to 150 pixels per inch to match the exact detailing we’re aiming for.
Steps to Check Image Resolution:
- Navigate to Image > Image Size.
- Adjust the resolution to 150 pixels/inch.
- Confirm by clicking OK or hitting Enter/Return.
Once ready, you’ll want to make your image a Smart Object. This ensures you have the flexibility to tweak with filters and effects without a second thought.
Expanding and Duplicating the Canvas
A vital aspect of reflecting images is having enough space to create the effect seamlessly. This involves expanding the canvas:
- Go to Image > Canvas Size.
- Set the measurement to Percent.
- Double the height by setting it to 200%.
This gives us a beautiful blank slate to work with, allowing room for the reflection.
Pro Tip: If the image overflows the canvas, hit Ctrl or Cmd + 0 to fit it neatly within bounds.
Reflecting Your Image: The Transformation Game
Now, let’s make a duplicate of your image layer and flip it. This will act as our reflection:
- Copy the photo layer using Ctrl or Cmd + J.
- Enable snapping: View > make sure Snap is checked.
Utilizing the Transform Tool (Ctrl or Cmd + T), drag your image duplicate vertically down, ensuring it snaps to the bottom of your canvas, and voilà, meet your reflection!
Breathing Life into Reflections with Blur and Waves
The magic in realistic water reflections lies in the subtle nuances—like blur and wave distortions. And trust us, it’s not as complicated as it sounds:
- From Filter, apply a Motion Blur:
- Set Angle to 90 degrees and Distance to 30 pixels.
- Next, a Wave Distortion:
- Generators: 100
- Wavelengths: 1 to 17
- Amplitude: 1 to 20
- Scale: 100% and 1%
These steps add a genuine feel of flowing water beneath your reflected image, ensuring authenticity in every pixel.
Elevating the Reflection with Color Balance
Adjusting color tones can significantly enhance the reflection, lending it a more natural appearance:
- Click the Adjustment layer icon and select Color Balance.
- For Midtones, adjust the Yellow/Blue field to 60.
This warming touch mimics the natural dynamic between light and water.
Organizing and Final Touches
Let’s simplify by nesting the ‘Reflection’ layer into a cozy folder. Grouping layers and making subtle tweaks will ensure your reflection transitions smoothly:
- Make adjustments visible by applying a clipping mask with Ctrl + Alt + G on Windows or Cmd + Option + G on Mac.
- Modify Wave settings in the lower layers to achieve a softer ripple effect as needed.
Final Touch: Het ready for a genius move! Add a layer mask, apply a gradient, and invert as necessary to highlight water ripples convincingly.
Conclusion: Seamless, Reflective Perfection
Congratulations! You’ve just unlocked the secret to transforming everyday scenes into ethereal, water-mirroring masterpieces. These methods not only enhance the optical appeal of your images but expand your skill set for awe-inspiring Photoshop creations. When next at a lake, river, or ocean, see the world in reflections, and remember—the perfect water reflection is just a few clicks away. Happy creating!


