
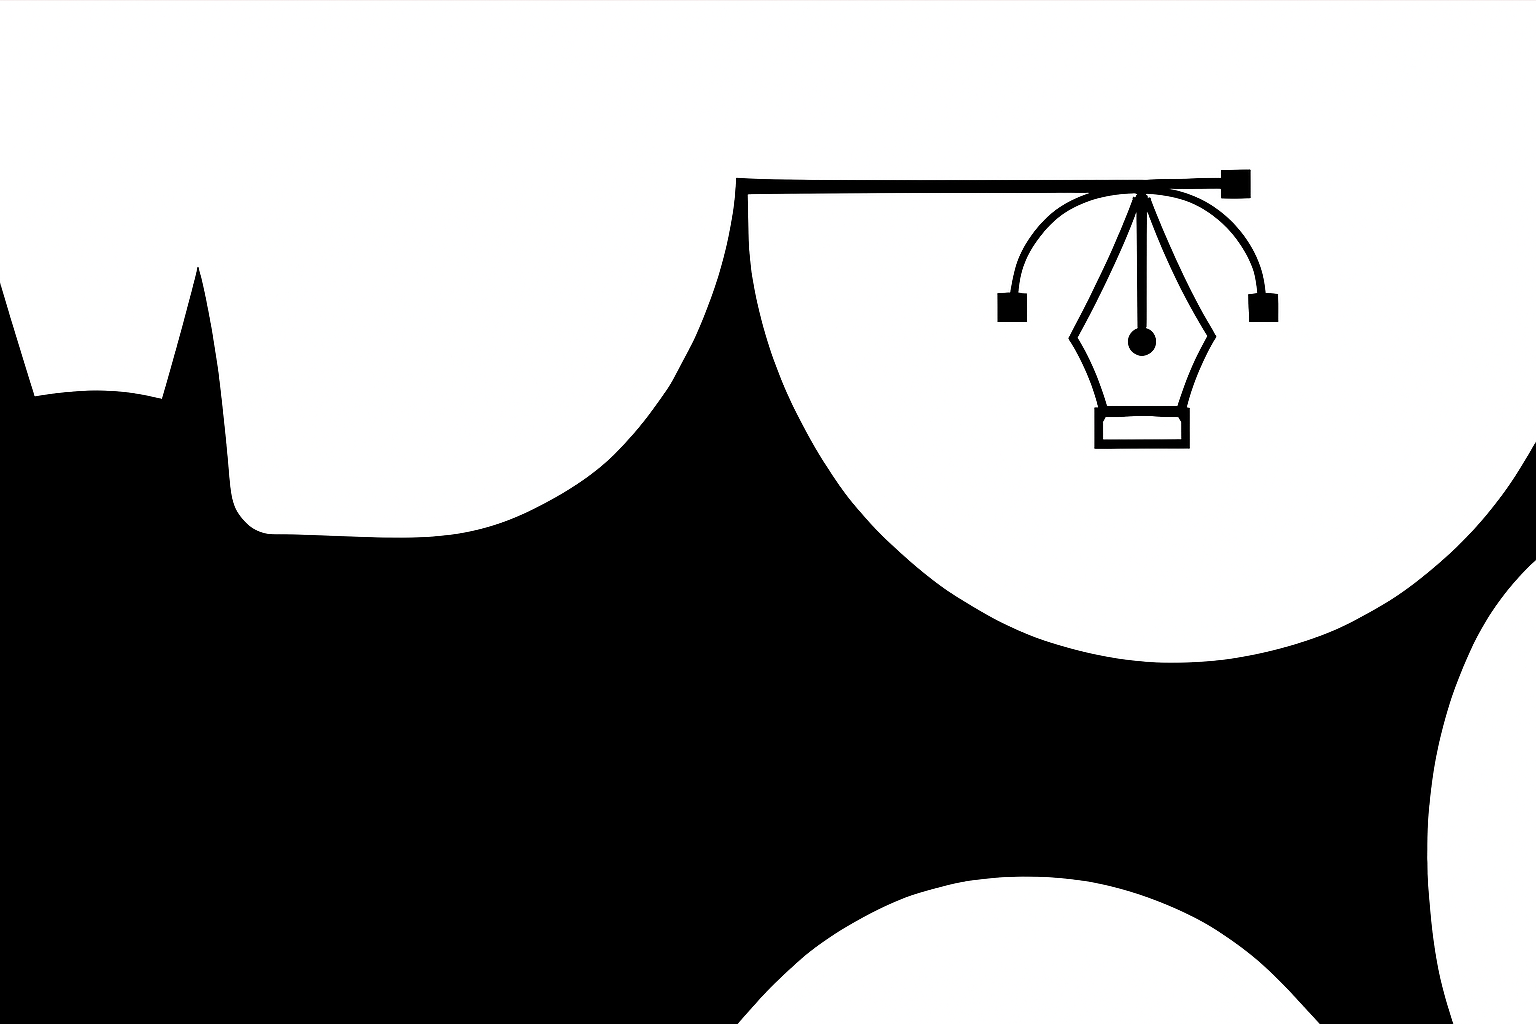
Transform Your Design Skills with Iconic Path Techniques
Have you ever found yourself gaping in awe at a superhero movie poster and wondered, How do they create that look? Well, you’re in the right place. This tutorial reveals the magic behind crafting a Dark Knight-inspired wallpaper using Adobe Photoshop. We’re going from novice strokes to professional curves in the quest to establish the perfect path to creativity.
Your Handy Guide to Path Making Mastery
Creating paths in Photoshop is a transformative tool for any creative looking to design custom shapes, logos, or even artwork with complex outlines. The method we’re exploring today is versatile and could just be the gateway skill you need to make the leap from basic editing to specialized graphic design.
The Dark Knight Template
To recreate the dramatic feel of a Dark Knight wallpaper, we first need a template—a 1920 by 1080 pixel document, graciously provided in the video description. This precision setup is fundamental, serving as the base where we’ll sculpt and define our vision.
Path Creation: Methods to Your Madness
The techniques covered in this tutorial aren’t just meant for this singular design—they’re foundational skills. Why? Because whether you’re plotting the cape of a vigilante or the edges of a dream landscape, understanding and dexterously employing paths gives your work a professional, refined look.
Your Toolkit: Zoom, Pen, and Command
To start, tools at your disposal include the Zoom Tool (for details up close) and the Pen Tool, the star of this creation universe. By mastering simple commands like Control (or Command) and Shift, you’ll marvel at your newfound ability to maneuver curves with exquisite precision.
Drawing the Path: Precision at Every Point
The Head and Tail
- Start by using the Zoom Tool to focus on key elements—the iconic head and tail.
- Use the Pen Tool to establish your path, creating a vertical line by connecting top and bottom through deliberate clicks and shifts.
Crafting Curves
Here’s where the magic happens. When drawing curves, remember to:
- Adjust the control handles to perfectly fit the natural shapes.
- Use the Convert Point Tool to finesse these handles with meticulous care.
- Be patient; each drag and drop is a step toward the perfect arc.
Closing Paths and Manipulating Magic Anchors
Completion feels sweet when you finally make that last connection and see the circle that signifies a closed path. Unlock added precision with:
- The Control/Command click to reveal and adjust anchor points.
- Seamlessly tweaking these until the digital replication of your chosen form aligns with your vision.
From Path to Masterpiece
Making a Selection
- Right-click the path and choose Make Selection—keep the feather radius snug at zero for crisp edges.
Bringing Shapes to Life
- Create a new layer and fill it with black—it sets a dramatic stage for your Dark Knight figure.
- Duplicate, flip, merge, and adjust until your layers align and convey the depth you desire.
Adding Dimension with Background Layers
Complete the scene with a blank canvas of white below, enhancing your figure’s prominence. This contrast is crucial for emphasizing your creation’s depth and allure.
Path to Future Creations
While this tutorial orbits around a Dark Knight, the skills you’ve picked up form the backbone of countless graphic adventures. Mastery of paths doesn’t just fill quotas—it transforms creative potential into kinetic action, shouting I’m ready to design the world!
So go ahead, open Photoshop, download that template, and let your creativity soar to new heights with this path-making prowess.
And remember, more incredible tutorials and tips are just a click away on Blue Lightning’s YouTube channel. Let’s keep those creative juices flowing!





