Channel the Bold, Stark Style of Classic Hollywood Crime Dramas
Film Noir, with its stark, dramatic black-and-white aesthetics, is an iconic visual style that evokes the allure and mystery of classic Hollywood crime dramas from the 1940s and 1950s. If you’ve ever wanted to recreate that distinct look for your own projects, you’re in luck. We’re diving deep into how you can use Adobe Photoshop to create a mesmerizing Film Noir movie opening title design. This guide is perfect for those who are familiar with Photoshop’s interface and are ready to harness its advanced features, including 3D effects.
The Foundation: Setting Up Your Document
First things first: creating a suitable canvas for your cinematic masterpiece. The example provided uses a document size of 2400 by 1800 pixels with a resolution of 150 pixels per inch. You don’t have to stick to these exact numbers, but it’s a good starting point for creating clear, crisp designs.
For a seamless experience, download the PSD file provided with accompanying assets such as movie studio information, an outer edge stain, and a cloth texture similar to backgrounds used in vintage film titles. Use these resources to build a solid foundational base for your title design.
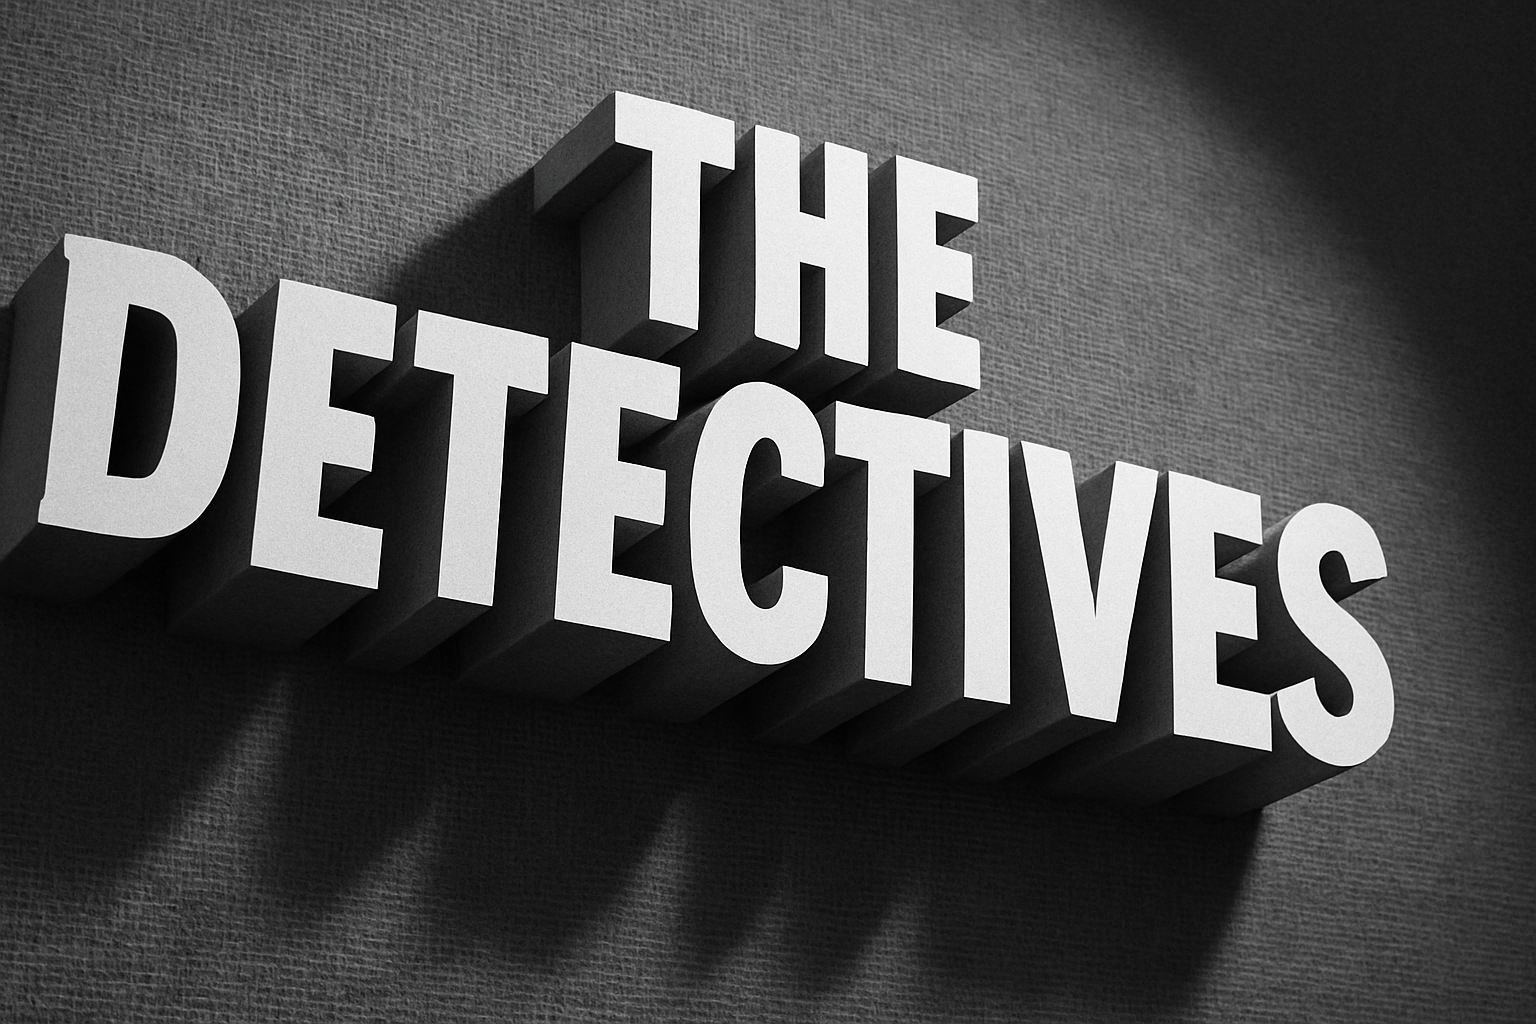
Text Design: Channeling Vintage Typography
Vintage typography plays a pivotal role in evoking the Film Noir aesthetic. Open the Type Tool in Photoshop and choose a font that reflects the era’s style. “Montgomery” is a recommended choice and can be easily downloaded from provided resources.
Set your text alignment to the center for that authentic look and adjust the brightness to 60% to match the iconic Film Noir vibe. If you’re unsure about font installation, refer to tutorials linked in the video description, or search the mighty Google for guidance!
Incorporating Textures: Adding Depth with Cloth Texture
Textures are integral in simulating the grainy, gritty essence of old movie films. By incorporating a cloth texture beneath your text, you’ll add a layer of depth that draws viewers right into the noir world.
Desaturate your cloth texture by pressing Ctrl + Shift + U on PC or Command + Shift + U on Mac. By doing this, you’re getting rid of color distractions, allowing your design to fully embrace black-and-white glamour. Center this texture on your document and ensure it’s beneath your text layer for added authenticity.
Exploring 3D: Creating Dynamic Angles and Lighting
Photoshop’s 3D features, available in its extended versions, allow us to bring a fresh layer of dynamism to our designs. It’s important to note, however, that these features aren’t supported on Windows XP.
To infuse your text with depth, transform it into a 3D Extrusion and play around with the positioning until you achieve the desired angle. Highlight both your text and texture layers, and then merge them into 3D space for seamless integration.
Explore various 3D modes such as rotate, roll, drag, slide, and scale until you accomplish the cinematic angle that speaks to your inner filmmaker. Once aligned, it’s all about the lighting!
Lighting Your Scene: The Power of Spotlight
No Film Noir scene is complete without dramatic lighting! By implementing a new spotlight, you can simulate that striking contrast between light and shadow, a staple in noir films.
Manipulate the spotlight’s position using the 3D modes to find the perfect balance where mystery and clarity intersect. You may need to experiment with shadows and softness to conjure the desired noir feel.
Rendering Your Masterpiece: Final Touches
After rectifying your angles and lighting, rendering completes the process of bringing your art to life. Depending on your computer specs, the rendering time can vary significantly. Ensure your Photoshop settings allow for efficient rendering while still maintaining enough resources for other programs by checking with Adobe or your device’s manufacturer.
Once your image is rendered, consider adding grain to mimic the classic cinematic feel. Utilize Photoshop’s filter gallery—apply the grain texture and adjust its intensity and contrast to imbue that vintage film charm.
Conclusion: Crafting a Timeless Film Noir Essence
With these steps, you’re not just creating an image; you’re crafting an atmosphere, reviving an era where shadows told stories as powerful as the scripts. Let your creativity resonate with the classic intrigue of Film Noir, and remember, it’s not just about mimicking the past—it’s about channeling that energy into something uniquely yours.
Unleash your inner artist, and have fun finessing the fine line between the chiaroscuro of classic film design and your vision.


