
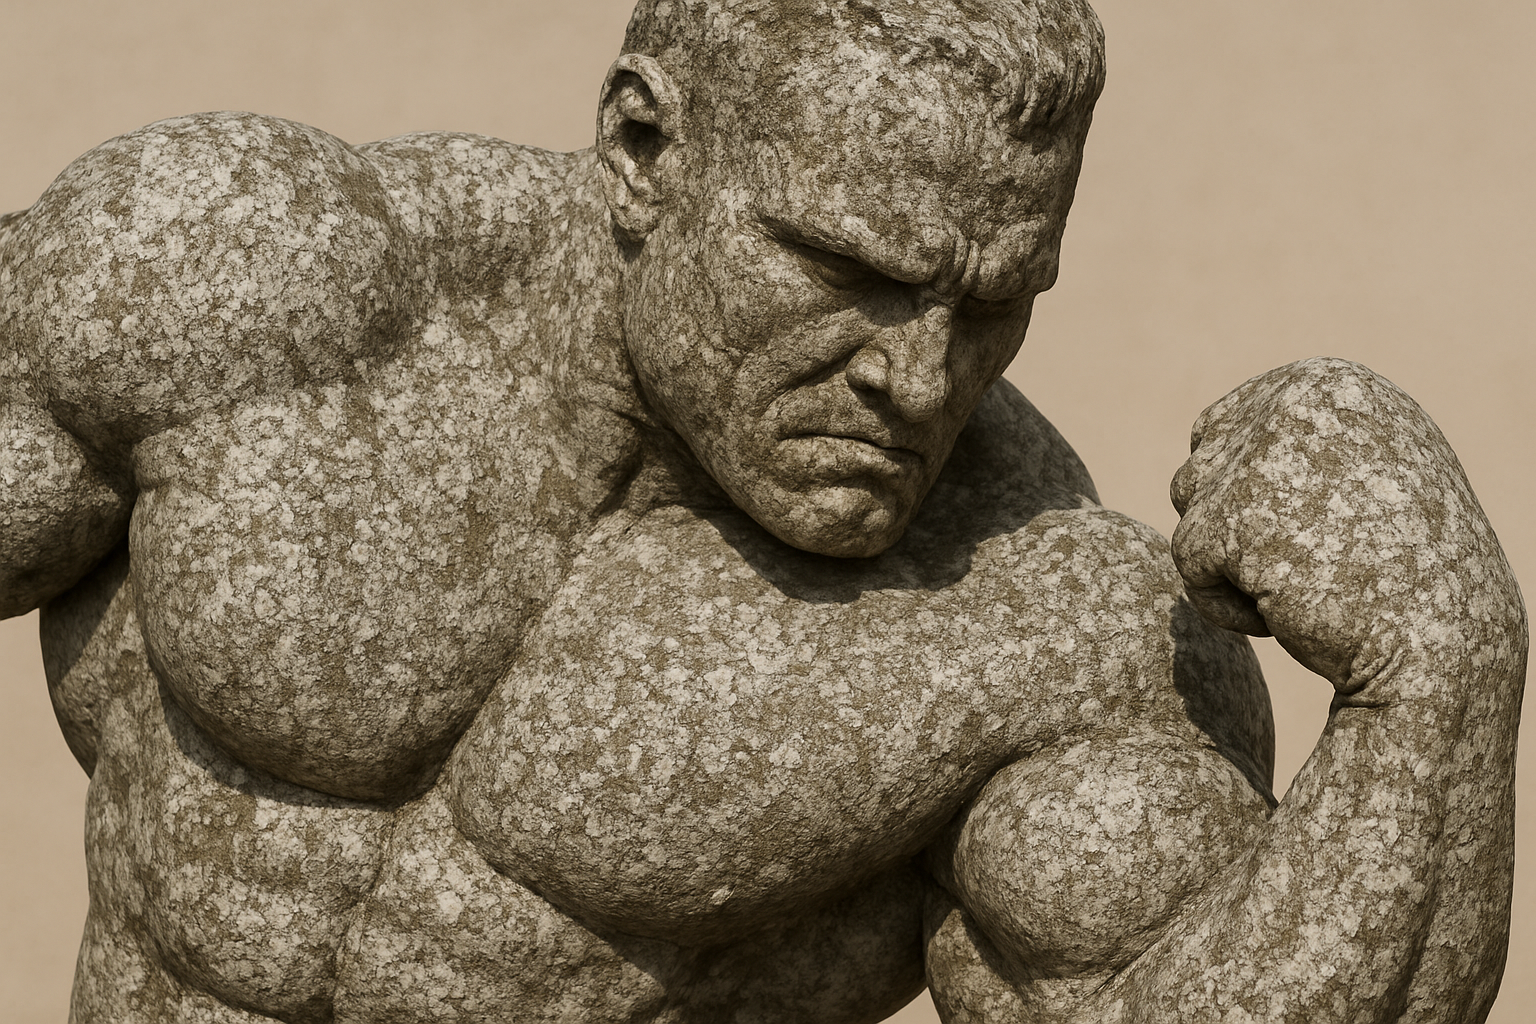
Unleash Your Creativity: Stone Statue Photo Transformation
Have you ever stared at a marble statue, amazed by its elegance and timelessness, and wished you can turn your photos into such stunning art? Well, hold on to your digital paintbrushes because we’re about to make that classic transformation happen with a few Photoshop magic tricks.
Setting the Stage with Pixels
First things first, we start with a perfectly sized digital canvas. Here’s the spec: 1886 x 1220 pixels, 72 pixels per inch. This setup is like the secret ingredient you didn’t know you needed. Grab the files from the description—background, stone texture, and a figure—and you’re good to go.
Let’s Rock: Making Selections
Oh, the joys of selections! You’re going to isolate your figure from the background. Whether you’re a fan of the pen tool’s precision or you’re a lasso lover, the key is getting a snug fit around your subject. Choose wisely; the contrast in clothing makes or breaks the illusion. Pro tip: Starter images without heavy contrasts work wonders. Once you’ve got your perfect selection, let’s strip that color and expose the monotone majesty. This is where Control/Command + Shift + U comes into play to drain all color and give you a righteous grayscale.
Moving Mountains (Or Stone Statues)
Time to flex those moving muscles. Take your desaturated creation, and drag it right over your background. Hide your original background layer, and you’re setting up a beautiful scene for your stone masterpiece. We’re styling stone statues like pros, and the dramatic flair is palpable.
The Art of Displacement: Wrapping Stone
Here’s where the real fun begins: making the stone texture hug those curves and edges like it was carved in Renaissance times. Trick the eye with the “displacement map”. Duplicate the layer, label it “displacement”, and let the magic unveil with filters. Displace and distortion are your new BFFs as you fit the texture ‘just right’ with horizontal and vertical scales by five. Hit save, then re-open and marvel at how the texture molds and shifts.
Blending and Brightening: Final Touches
Switch the blend mode of this textured layer to “Multiply” giving it that craggy stone appeal. Brightening the whole scene just means visiting the trusty Levels window, light slider to the rescue. Don’t just stop there! Enhance those shadows like a barista topping off a cappuccino with a delightful foam flourish.
Wrap It Up with Backdrops and Blur
Now, let’s get artsy with the background. Mimic camera magic by blurring it out as it fades into the distance – our nod to depth of field. Copy the background layer, Gaussian blur it by 3.5 pixels, and make a mask to blend the two together seamlessly with the gradient tool. This effortlessly creates a cinematic focus.
The Final Shift
Finally, if your statue placement seems a bit off – no worries! A tiny shift, where both texture and figure layers move as one, and voilà, you’re art gallery ready. Just a few pixel nudges and you’re in the zone.
Have fun with this transformative technique and watch as ordinary people (or pets, or that random lamp-post shot you took last summer) morph into majestic stone statues. Dive into your image library, and turn the ordinary into the extraordinary with all the grace of a classical sculptor, minus the chisel and marble dust.
Stone cold, that’s how you roll!
Remember, practice makes perfect and experimenting with these tools can make your art, not just cool, but legendary. Happy Photoshopping!





