
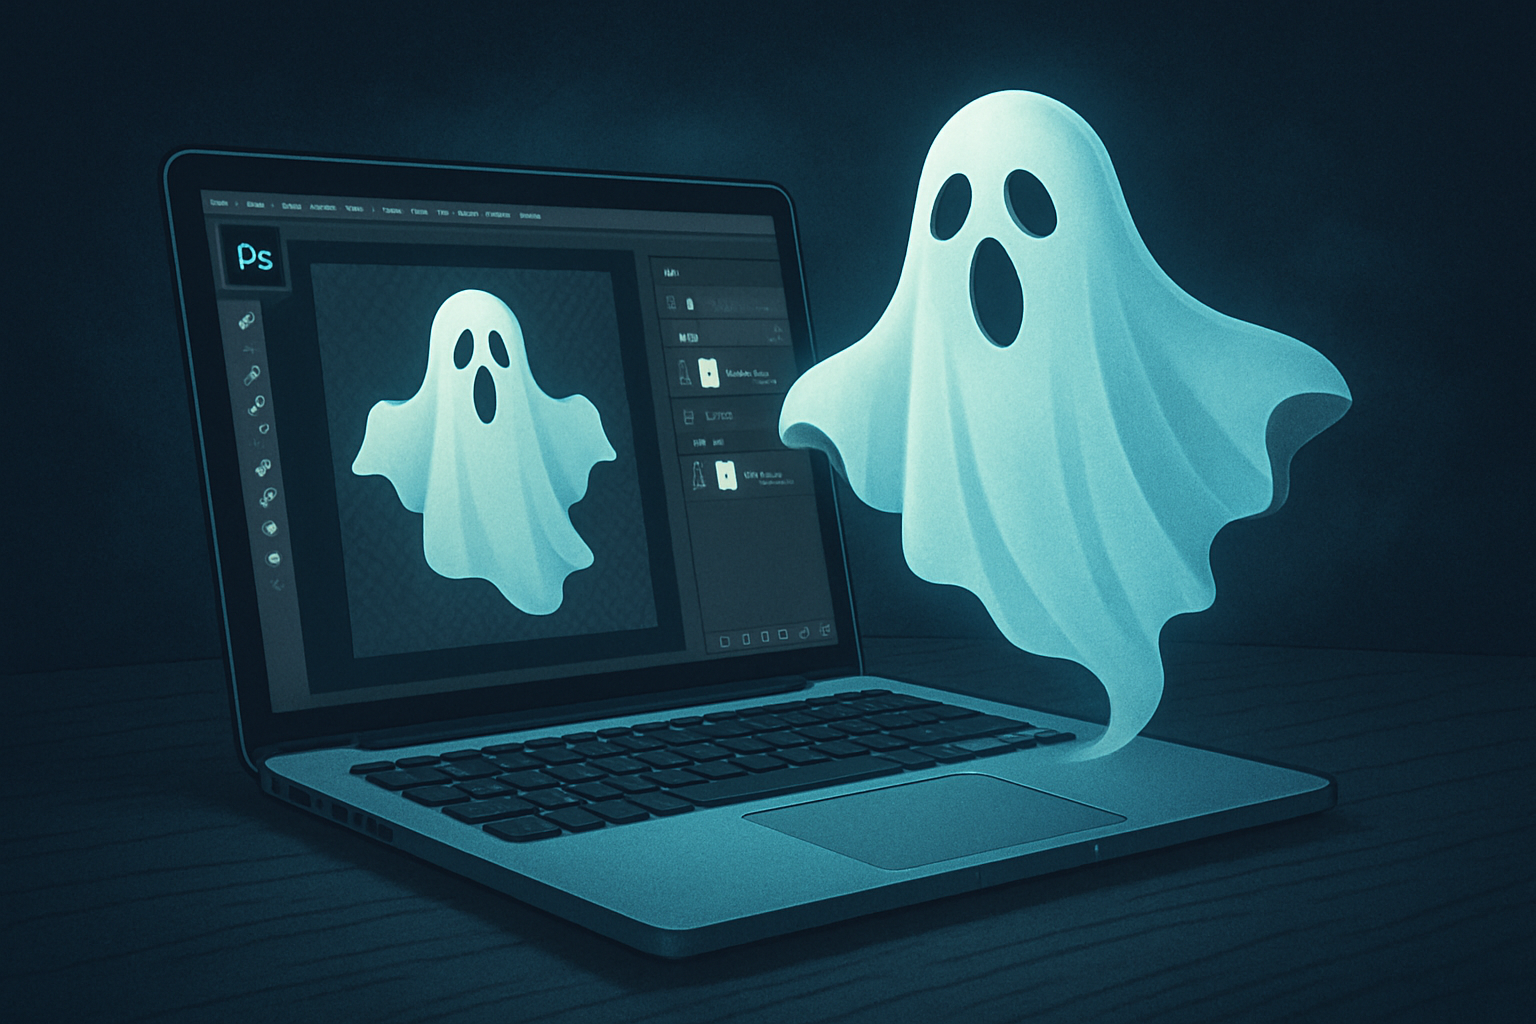
Unleash Your Inner Ghost with Photoshop
Are you ready to infuse your digital creativity with a touch of the supernatural? Whether crafting freaky Halloween party invites or aiming to scare your friends just for fun, creating a ghostly image in Photoshop is a skill every digital enthusiast should have up their sleeve. What’s more? It’s a quick, effective technique you need to learn. Buckle up, as we walk through the spectral charm of turning a regular photo into an eerie apparition.
Setting Up Your Spooky Canvas
First things first, let’s set the groundwork for your ghoulish creation. Begin with a document size of 1280×720 pixels, at a resolution of 72 pixels per inch. A relatively dark photo makes the perfect canvas for your ghostly image, enhancing the eerie atmosphere you’ll want to evoke.
Add Some Texture with Noise
To start your spectral transformation, a bit of noise or grain is essential. This adds a textured layer, reminiscent of an eerie, old-timey photograph that might just send shivers down your spine. Navigate to Filter > Noise > Add Noise and opt for Gaussian and Monochromatic. If your image already has some texture, you’re ahead of the game. Otherwise, a gentle sprinkle of grain will do the trick.
Extracting Your Ghost
It’s time to select the subject you wish to turn ghostly. Choose an image of a person and if it has color, press Ctrl + Shift + U (or Command + Shift + U on a Mac) to desaturate it. This step strips away earthly pigments, giving your ghost a more ethereal appearance.
To isolate the subject from the background, employ your favorite photo manipulation tool—be it the Brush, Pencil, Pen, or Lasso Tool. For efficiency, have your selection prepared and press Ctrl (or Command) + J to cut and copy the selection onto a new layer.
Distort and Blur: Ghostly Effects
Applying Motion Blur
With your spook in position, refine its ghostly movement by adding a little Motion Blur. Head over to Filter > Blur > Motion Blur. Set the angle to 0° and the distance to around 30 pixels. This will give your ghost a misty, drifting essence.
Go Wavy: Achieve the Otherworldly Look
For that uneasy, shifting look, go to Filter > Distort > Wave. Set the number of generators to 1. Tweak the settings—like wavelength and amplitude—for an otherworldly distortion. Next, reduce that layer’s opacity to 50%, making the apparition blurrily uncanny.
Add Diffuse Glow
Revert to the unaltered original image and duplicate it. Go to Filter > Distort > Diffuse Glow to endow your ghost with an ethereal luminescence. Set the graininess to 6, the glow amount to 9, and the clear amount to 20. Rename this layer as ‘Diffuse Glow’ and reduce its opacity to around 60%. This lends a glow that’s eerie enough for a moonlit graveyard.
Final Touches: Clouds and Colors
Veiling in Mysterious Clouds
Enhance the unsettling allure by adding a cloud effect within a layer mask. Make the diffuse glow layer less intense by clicking on the Layer Mask icon, then proceed to Filter > Render > Clouds. This gauzy effect softens and blends the lurid glow seamlessly with its surroundings.
Hue and Saturation: The Final Kiss
To complete your undead transformation, bring out the color! In the Layers panel, click the Adjustment Layer button and choose Hue/Saturation. Click ‘Colorize’ and set the hue to 188, producing a ghostly cyan hue that creeps like a twilight fog. Utilizing a full clipping mask ensures this transformation envelops every aspect.
Wrap-up: Crafting Your Haunting Spectacle
With these steps, you’re equipped to create your own haunting spirit with Photoshop. Experiment, play around with different effects, and watch as your digital specter comes to life. Whether you’re designing for fun, showing off your Photoshop skills, or preparing for a spooky season, these steps will ensure your images have a chilling impact—a pixel ghost story all your own. Grab your graphics tablet or mouse, and let the haunting begin!
Remember, creativity is your domain. Happy ghost hunting… or should we say… haunting?





