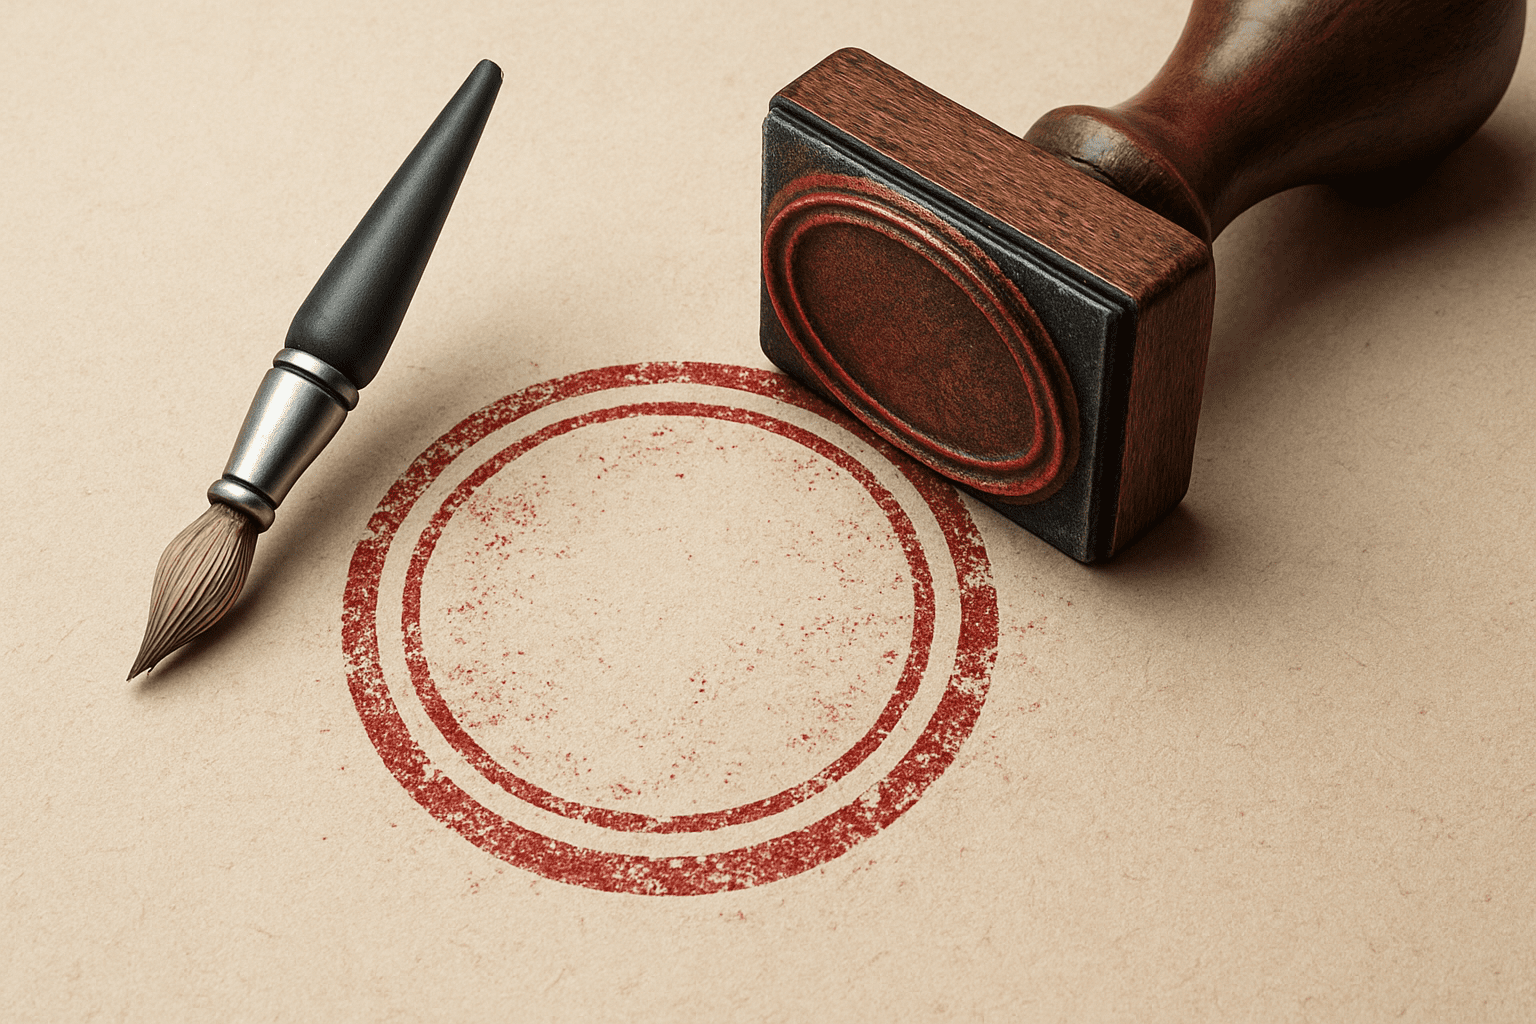
How to Transform Your Text into a Worn-Out Rubber Stamp
In today’s fast-paced digital landscape, having the ability to convey authenticity and nostalgia through design is more important than ever. Whether you’re adding an extra touch to your graphic design projects or seeking to evoke a sense of vintage charm, mastering the art of creating a realistic rubber stamp effect in Photoshop is a skill to treasure. In this guide, we’ll walk you through an effective method to achieve this captivating look.
Creating a worn-out rubber stamp effect is more than just dragging and dropping elements onto your canvas—it’s about mastering the nuances of texture and typography. This tutorial breaks it down into a straightforward process, making it accessible even if you’re new to design.
Setting Up Your Canvas
Every great design starts with a solid foundation. For our rubber stamp effect, we’re beginning in a document sized at 1280 by 720 pixels, with a resolution set at 72 pixels per inch, which is perfect for our purpose.
- Select Your Typeface: Call up your type tool and click on the character text box. We recommend using a stencil font, like “Stencil Standard,” which you can find for free at websites like Urban Fonts.
- Choose Your Color: Click on the color box and opt for a punchy hue—I’m going with a vibrant red for maximum impact.
- Type and Adjust: Place your text on the canvas. If the space between the letters is too wide, fine-tune it by placing your cursor between the characters, holding Alt (or Option on Mac), and pressing the left arrow key.
Crafting the Border and Layers
Now that we have our text, it’s time to build the authentic look of a rubber stamp.
- Create a Border: Utilize your rounded rectangle tool, setting a radius that complements your document’s size—75 pixels works nicely here. This creates a border around your text.
- Stroke Path: Right-click and select ‘Stroke Path’, ensuring your tool is set to pencil with ‘simulate pressure’ unchecked for crisp, clear lines.
Adding a Realistic Texture
Here’s where the magic happens. To imitate the natural wear and tear of a rubber stamp, we’ll add some texture.
- Composite Snapshot: Create a composite snapshot of your entire image and place it on its own layer. Use
Ctrl + Shift + Alt + Eon Windows orCommand + Shift + Option + Eon Mac. - Apply Spatter Effect: Navigate to Filter > Brush Strokes > Spatter. A spray radius of 20 and smoothness of 8 should suffice, although you can adjust these settings based on your preference for raggedness.
- Isolate Your Colors: Use Select > Color Range to focus on the color of your text (red, in this example). This step is crucial as it allows us to apply effects selectively, imitating the imperfect print of a rubber stamp.
Refining the Stamp’s Aesthetic
To infuse even more character, we can introduce some visual ‘flaws’ with scratches and marks.
- Load Scratch Brushes: You can find scratch brush presets, like those from Doghouse Design Studio, which are perfect for this purpose. Simply download and append them to your brush preset list.
- Apply Scratch Marks: Hover over your stamp with a large scratch brush, then click to add that beautifully imperfect touch.
Cutting Out and Stamping Your Design
Finally, let’s prep your stamp for use on any document you wish to enhance.
- Cut Out Your Stamp: By using the magic wand tool and selecting ‘similar’ colors, you can isolate and cut out the stamp design from its background layer.
- Stamp on New Canvas: Open a new document where you want to apply the stamp and paste it using
Ctrl + VorCommand + V. Then, set the blend mode to ‘Multiply’ for seamless integration with any background. - Adjust Size and Position: Scale and position your stamp to perfection using the transform tool (
Ctrl + TorCommand + T).
Whether you’re looking to add a nostalgic touch to your work or simply experiment with creative design techniques, the worn-out rubber stamp effect is versatile, visually appealing, and fun to create. So, go on, give it a try, and let your creativity leave its mark!


