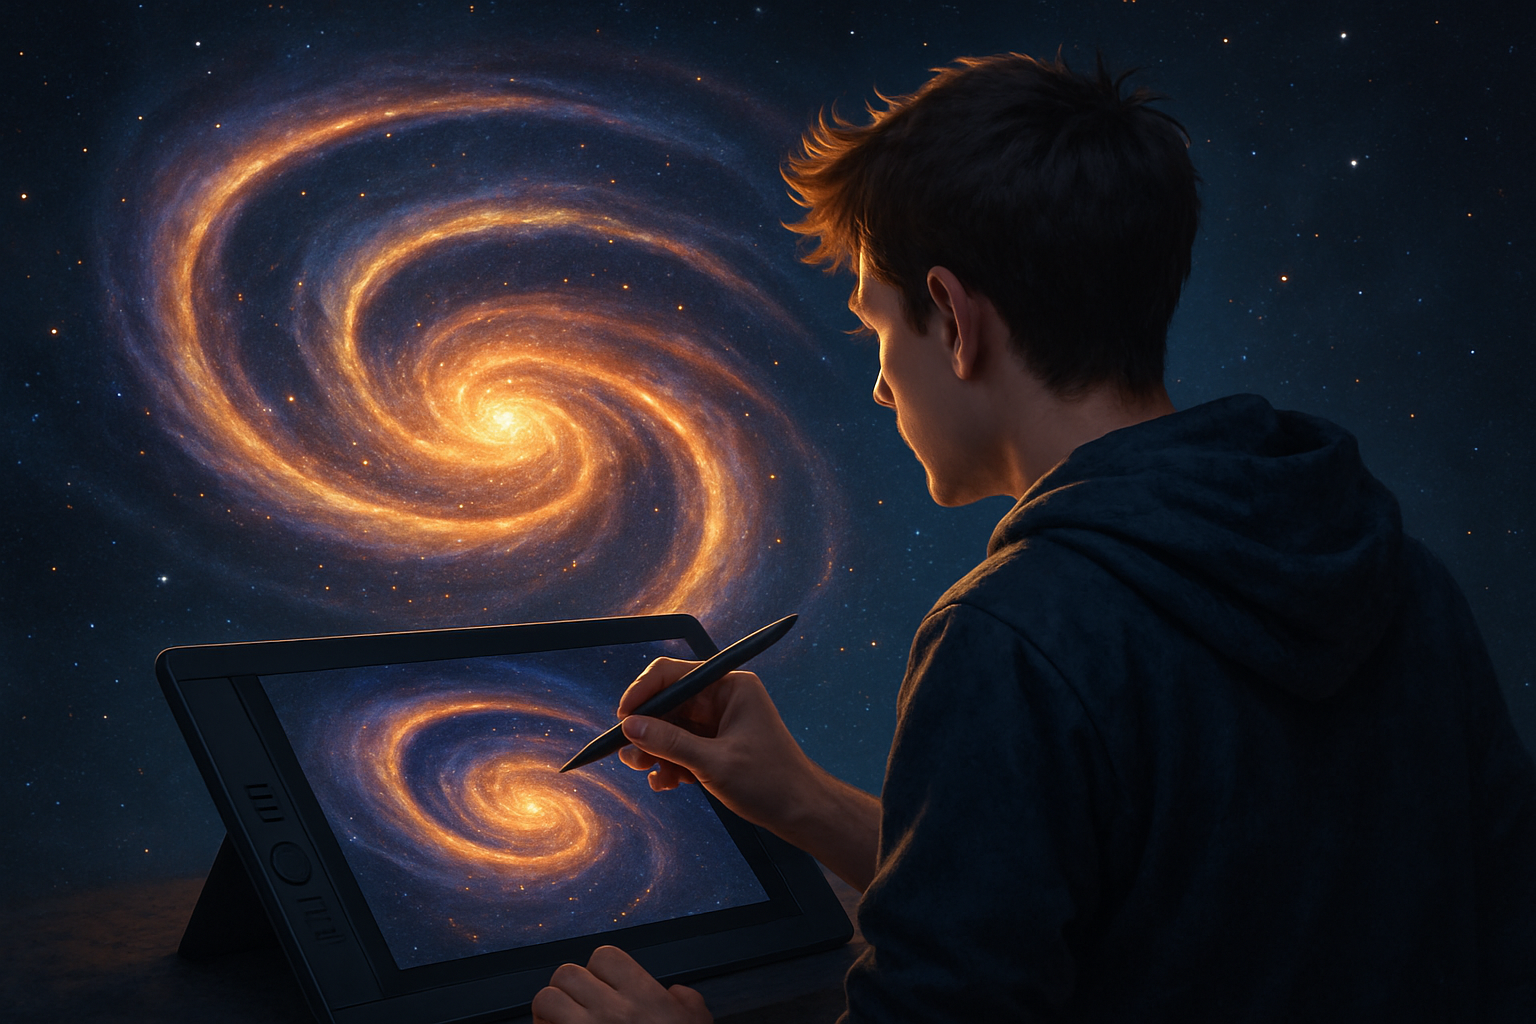
Unveiling the Mysteries of the Cosmos with Photoshop
Picture this: a swirling cosmos, a celestial orb bathed in a mesmerizing halo of light, all captured within your digital canvas. If you’re thinking “Whoa, I want to make one of those,” you’re in the right place. We’re diving straight into the depths of Photoshop to create an ethereal spiral halo effect surrounding a planetary entity—a skill that will add a cosmic touch to your creative projects. This post is all about stretching those Photoshop muscles and giving your projects a galactic spin.
Getting Started: Prepping Your Canvas
First things first: let’s set up our celestial playground. We’re starting with a document sized at 1280 by 720 pixels with a resolution of 72 PPI. Think of it as your digital cosmos. Click that shiny new layer icon to begin carving your universe from scratch.
The next step? Channel your inner astronomer and grab the elliptical marquee tool. By heading to the center of your document and pressing Shift + Alt (or Shift + Option if you’re on a Mac), drag out a perfect circle. Now, we’re talking about creating the base for our orb, an entity that could easily have been the subject of Drake’s “Ghost Writer” album cover. Go to Select > Modify > Feather and set it to a delightfully smooth 50 pixels to soften those edges.
The Galactic Gradient
With your circular selection still catching cosmic rays, it’s time to call up the gradient tool. Make sure the radial gradient icon is activated, ready to morph your plain circle into a stunning display of light. For this, we choose colors that seamlessly transition from white to dark pink and conclude with a rich, deep blue. It’s like watching a cosmic sunset from the comfort of your screen. Starting from the center and dragging towards the right edge while holding Shift keeps everything aligned.
Disband the selection with Ctrl + D (or Command + D) and voilà! The foundation of your celestial orb comes into view.
The Twirl of Destiny
It’s time to kick things up a notch with a little distortion. Make a copy of your radiant layer and hide the original for backup security. Then, navigate to Filter > Distort > Twirl. Crank that angle all the way up to spiral our light into existence. It’s like a blend between a Vincent van Gogh painting and a Tim Burton design movie.
Now, with the superpower of Ctrl + T (or Command + T), adjust the positioning and the scale of your spiral to your heart’s desire. Because when has a little cosmic dance not brought joy?
Let’s Multiply the Magic
Revealing our hidden original, we’re going to make it visible and active again. Throw it a quick Ctrl + J to copy it and drag it to the top of your layer stack. Switch its light-blending magic with the Multiply setting. It enhances those radiant hues and brings depth like adding honey to a pot of tea.
Craft the Central Celestial Orb
Making a new layer, use the elliptical marquee tool once more to construct the heart of the celestial orb. Filling it with a dark blue hue (think, a galaxy dress for your orb), turn to the outer glow style within the layer style options. Tune the blend mode to Color Dodge, hitting that opacity right at 100% with a girthy size of 250 pixels. This flair catches attention faster than a cat meme catches likes.
Inner glow settings add depth with an opacity of 55% and a size of 80 pixels, to add that “just passing through” dimension to your orb.
Starry Night Sky
Select the top layer and a new blank layer enchanting it with a million stars. With it filled black, head to Filter > Noise > Add Noise. Set your level to 100% and the type to Gaussian + Monochromatic, to make those stars shimmer inside your screen.
To make starry softness rise, blur them slightly with a Gaussian blur set at 3 pixels. Adjust the Levels to make them pop by hooking up the black input level to 208 and white to 237. Then, set your blend mode to Screen. It’s official—those stars are shining!
Adding the Final Flare
For extra cosmic flair, a lens flare is the Photoshop version of adding glitter to your craft. Head to Filter > Render > Lens Flare, and set it to a 50-300mm zoom. The flare’s brightness shimmers at 100%, positioned at the upper left like a beacon guiding sailors—or in this case, Photoshop enthusiasts.
Now Go Forth and Create!
This cosmic masterpiece can evoke the awe of a coffee-fueled universe discovery on a Tuesday night. Feel free to experiment with color combinations or the placement of your spirals. Every iteration of this project summons a little more stardust into your design.
Remember, with great power in Photoshop, comes great celestial design responsibility. Go forth, create, and illuminate the universe of your dreams!


