Learn How To Transform Your Designs With Stunning Sunburst and Starburst Effects
Photoshop is like a digital artist’s toolbox—crammed full of brushes, filters, and layers, ready to ignite your creativity. But what if I told you there’s a way to create vivid Sunburst and Starburst effects with just a few clever filters and adjustment layers? Whether you’re looking to add a fiery explosion of colors or cool cosmic vibes to your designs, I’m here to unravel the steps for these electrifying effects. Ready to dive in?
Setting Up Your Canvas
To kick things off, you’ll want to set a blank slate for your masterpiece. For that, create a new document that’s 1000×1000 pixels with a resolution of 72 pixels per inch. Think of this as your digital canvas. By double-clicking the background layer and naming it “Base,” you’re setting the stage for your starburst spectacle. Fill this canvas with black—it’s like a dark night sky waiting for fireworks!
Drag-and-Drop Precision
The next step involves guides that ensure your design stays centered. Activate your rulers and snap options under the View menu. This functionality will enable you to drag guidelines precisely to the middle of your document. That’s right—Photoshop really loves a good center stage.
Crafting the Burst
Call up your elliptical marquee tool to draw a circle originating from the guidelines’ crossroads. Press Shift + Alt (or Shift + Option on Mac) to keep it proportional and constrained. Then, feather this selection by 50 pixels. It’s like smudging the colors just enough without losing shape—perfect for a dreamy, gradual effect.
Color Explosion
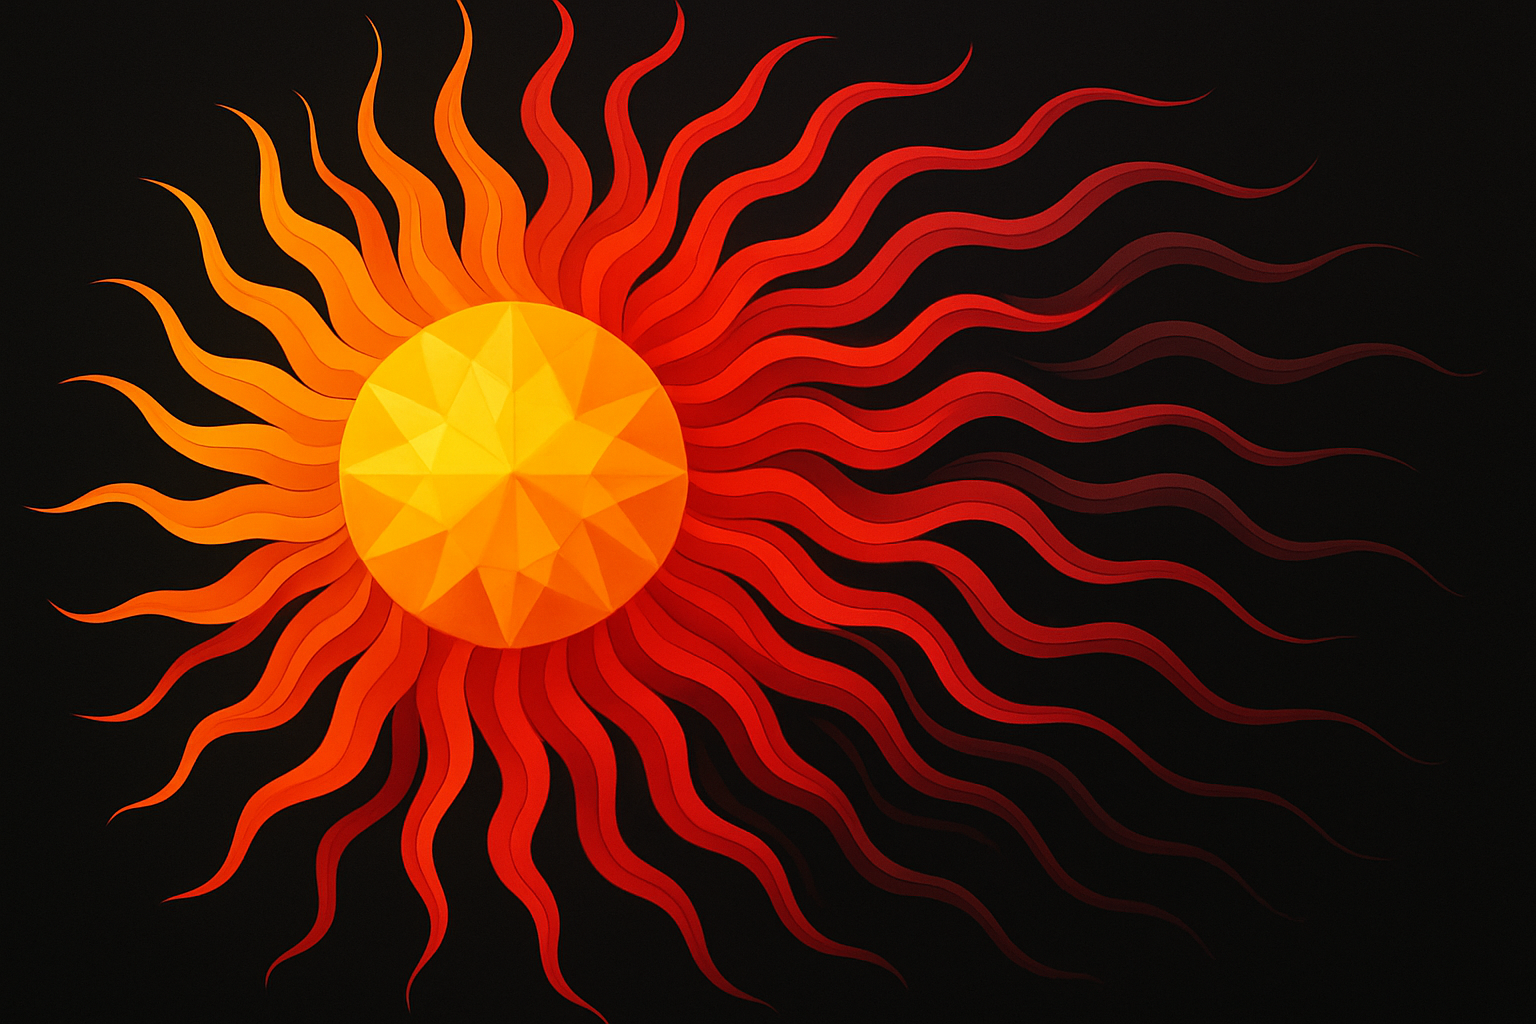
Head to your gradient tool. Make sure it’s set to Radial, and play around with colors. Think sunshine: a light yellow transitioning through orange and erupting into a bright red. Draw your gradient line outward to see a burst unfold. It’s fireworks on your screen, minus the burnt fingers and loud bangs.
Filters: The Photoshop Magic Wand
Here’s where the technical magic happens. By navigating to ‘Filter’ and selecting ‘Stylize,’ followed by ‘Extrude,’ you can create a pyramidal effect with just a few tweaks. And let’s not forget the ‘Wave’ filter under ‘Distort.’ Set your preferred sine waves, and—voila!—watch those rays wave like solar flares. Tailor these numbers to your liking based on your image’s size and resolution.
Refining with Masks and Gradients
Add a layer mask to the wavy layer. By applying a black-to-white radial gradient, you can elegantly mask the wavy center, revealing unblemished areas beneath for stunning depth. It’s like parting clouds to reveal the sun’s brilliant heart.
Going Wide with Your Vision
Need more space for this stellar show? Head to the Image menu and use ‘Canvas Size.’ Increase your width by 175% and watch those rays stretch luxuriously across the screen. Add a new black-filled layer by Ctrl + clicking (Cmd + clicking on Mac) the new layer icon, anchoring your dazzling constellation against a pristine night sky.
Switching Gears: From Hot Sunburst to Cool Starburst
Now that we’ve laid the groundwork for a fiery sunburst, it’s time to switch to a cool Starburst. Simply hide your wavy layer and activate the base layer. Adding a Hue/Saturation adjustment layer lets you slide into chillier color spectrums. The result? A diverse array of hues worthy of any cosmic design.
Experiment and Discover
Photoshop is less about mimicking steps and more about discovering uncharted cosmos. Whether crafting ominous suns or icy stars, never hesitate to play visit different shapes and tonalities. The conclusion is less a final product and more a launching pad. After all, it isn’t just about what you create but about making the journey your own, seeing where it takes you, and wearing those cosmic musings like a creative badge of honor.
Feel free to share your creations or ideas in the comments, and stay tuned for more cosmic endeavors in the world of Photoshop. The universe is your playground!


