Transform Your Photos into Timeless Masterpieces with Photoshop
Embrace a Classical Aesthetic Without a Paintbrush
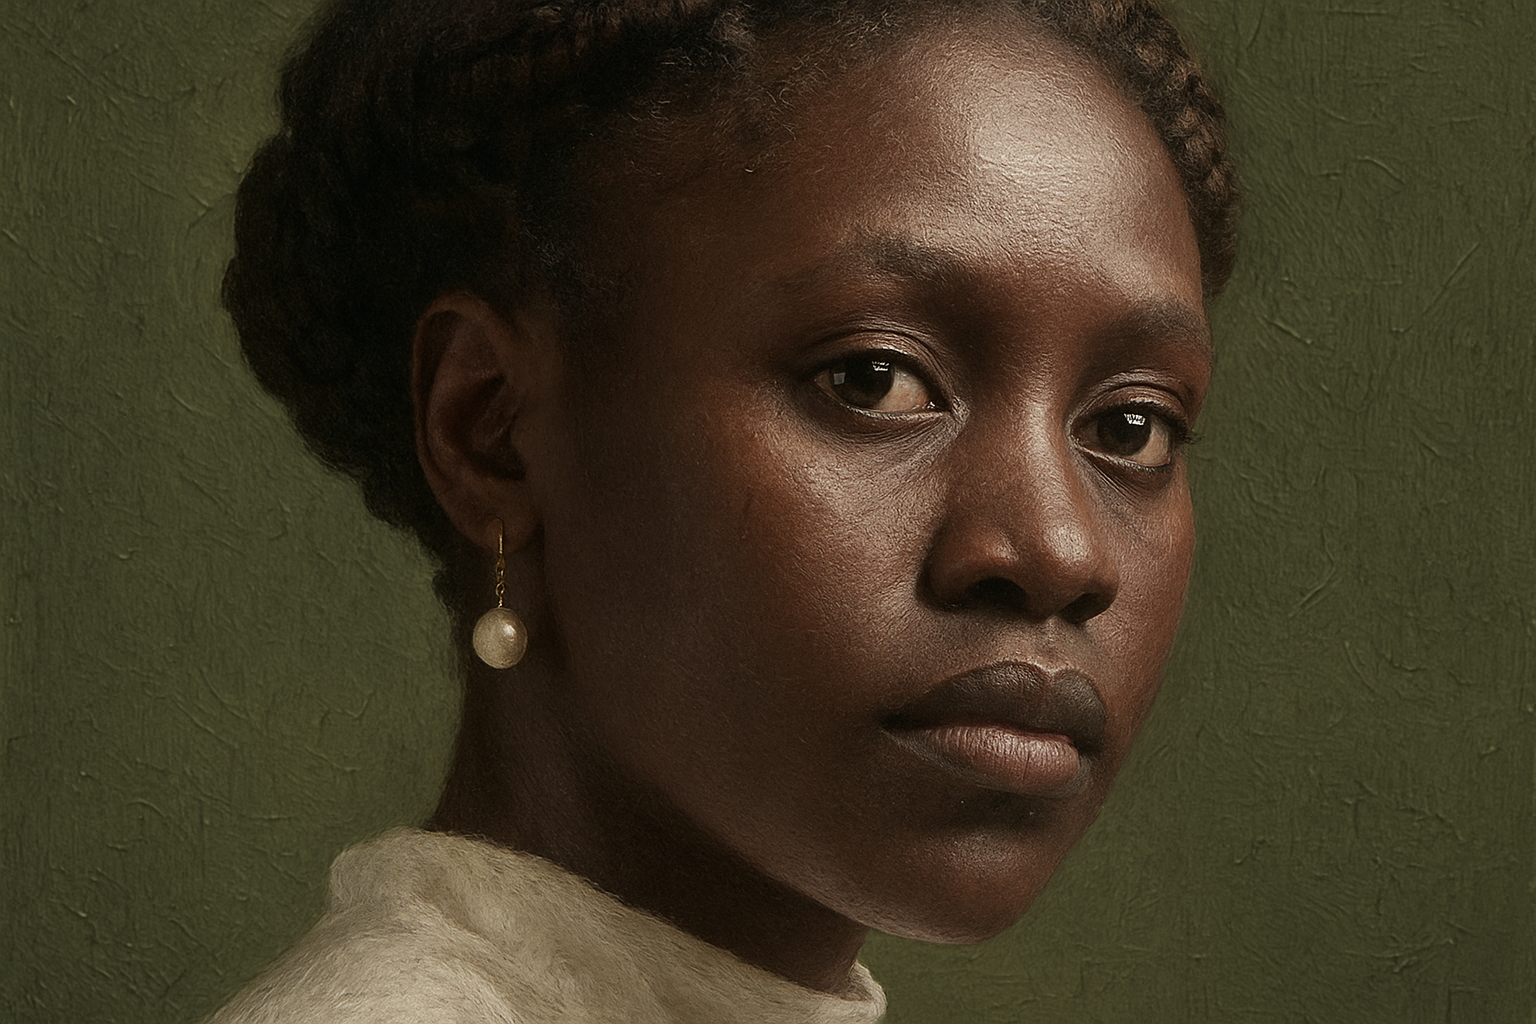
In the age of digital photography, we find ourselves constantly capturing moments, storing them in pixels, and sharing them with the click of a button. But, what if you could give your photos the timeless elegance of an oil painting? Today, we’re diving into just that—transforming your everyday photos into mesmerizing oil paintings using Photoshop. You’ll also learn a nifty way to swap out images without having to redo those painstakingly applied effects.
Templates for the Right Fit
To kick things off, let’s talk templates. We’ve thoughtfully crafted two customizable Photoshop templates—one for vertical images fitting for portraits and another for horizontal landscapes. These pre-built files come equipped with a channel that confines the painting within a chosen shape. It’s time to dust off those photo archives and pick your favorite images.
You can find these templates linked in the video description or in the project files associated. With these templates on hand, you’re all set to level up your images, following along with my guidance.
Step-by-Step to Oil Painting Glory
Placing Your Photo into the Template
Once you’ve selected a photo (maybe something from your last summer holiday—downloaded from Shutterstock, or anywhere), you’ll want to import it into the template. Here’s how: activate the Move Tool by pressing “v.” Simply drag your photo onto the template tab and size it to fit using the Transform Tool (Ctrl/Cmd + T). Pro tip: link the Transform Tool’s width and height with that friendly chain-link icon to keep your proportions polished.
Converting to a Smart Object
Smart Objects are your new best friend. They allow you to edit non-destructively and swap out images on the fly without disrupting your glorious effects. To convert your photo, hit up the Layers Panel—click that handy icon at the top, right and select “Convert to Smart Object.”
Apply the Artistic Filters
When it comes to adding those painterly effects, filters are where the magic happens:
- Sponge Filter: Navigate to Filter -> Filter Gallery -> Artistic folder -> Sponge. Play with a Brush Size of 3, Definition at 0, and Smoothness cranked up to 10.
- Sharpen with Unsharp Mask: Found under Filter -> Sharpen. Set Amount to 100%, Radius to 3 pixels, and Threshold at 0.
- Layer the Filters: Back to Filter Gallery! A smaller Sponge (size 2, smoothness 5) followed by adding an “Underpainting” filter (Brush Size: 0, Texture: 10). Sandstone texture is default, but don’t be afraid to play with others!
- Dry Brush Details: Finally, duplicate that Underpainting filter and try “Dry Brush,” adjusting the Brush Size to 0, Detail to 10, and Texture to 1 for that painted flair.
Fine-Tuning Your Artwork
You can blend these filters like a pro using the Blending Options, accessible by double-clicking on the blending icon next to the Filter Gallery. Tweak your sliders; setting one filter’s opacity to 50%, another to 80%, adds complexity and depth to your work.
Adding and Adjusting Surface Texture
Layer textures give your digital painting an authentic canvas feel. Make the Surface texture layer active and ensure it’s above your subject. You can easily adjust layering order via the keyboard shortcuts.
Change the blend mode to “Overlay,” which is a go-to for texture enhancement.
Creating and Using Layer Masks
Give your photo a refined look by using a Layer Mask. In the Channels Panel, Ctrl/Cmd-click your Inside Shape thumbnail, return to the Layers Panel, and click the Layer Mask icon. Voila, you’re masking like a maestro.
Warm Tones on Cool Canvases
Set your masterpiece on a warm, welcoming background. Create a new layer and fill it with a color that radiates warmth; something like CECCC4 should do the trick. Fill the layer by pressing Alt/Option + Delete and watch your painting vibe change.
Mastering the Swap Game
What if your art piece is missing something? Time to swap your photo. Double-click the thumbnail to open the original. File -> Place Embedded for new images. This keeps your old effects intact, meaning you can test and retry to your heart’s content.
From Screen to Oil Masterpiece
Congratulations! If you’ve followed along, your photo is now an oil painting, capturing elegance and style. Now, go and impress your friends and followers with your new artistic skill set.
Keep experimenting; swap photos, test new textures, or even different blend modes. Remember, digital art is about exploration and expressing your vision. Even in this pixelated world, channeling a classical art form can make your work an enduring classic.
Happy painting!


