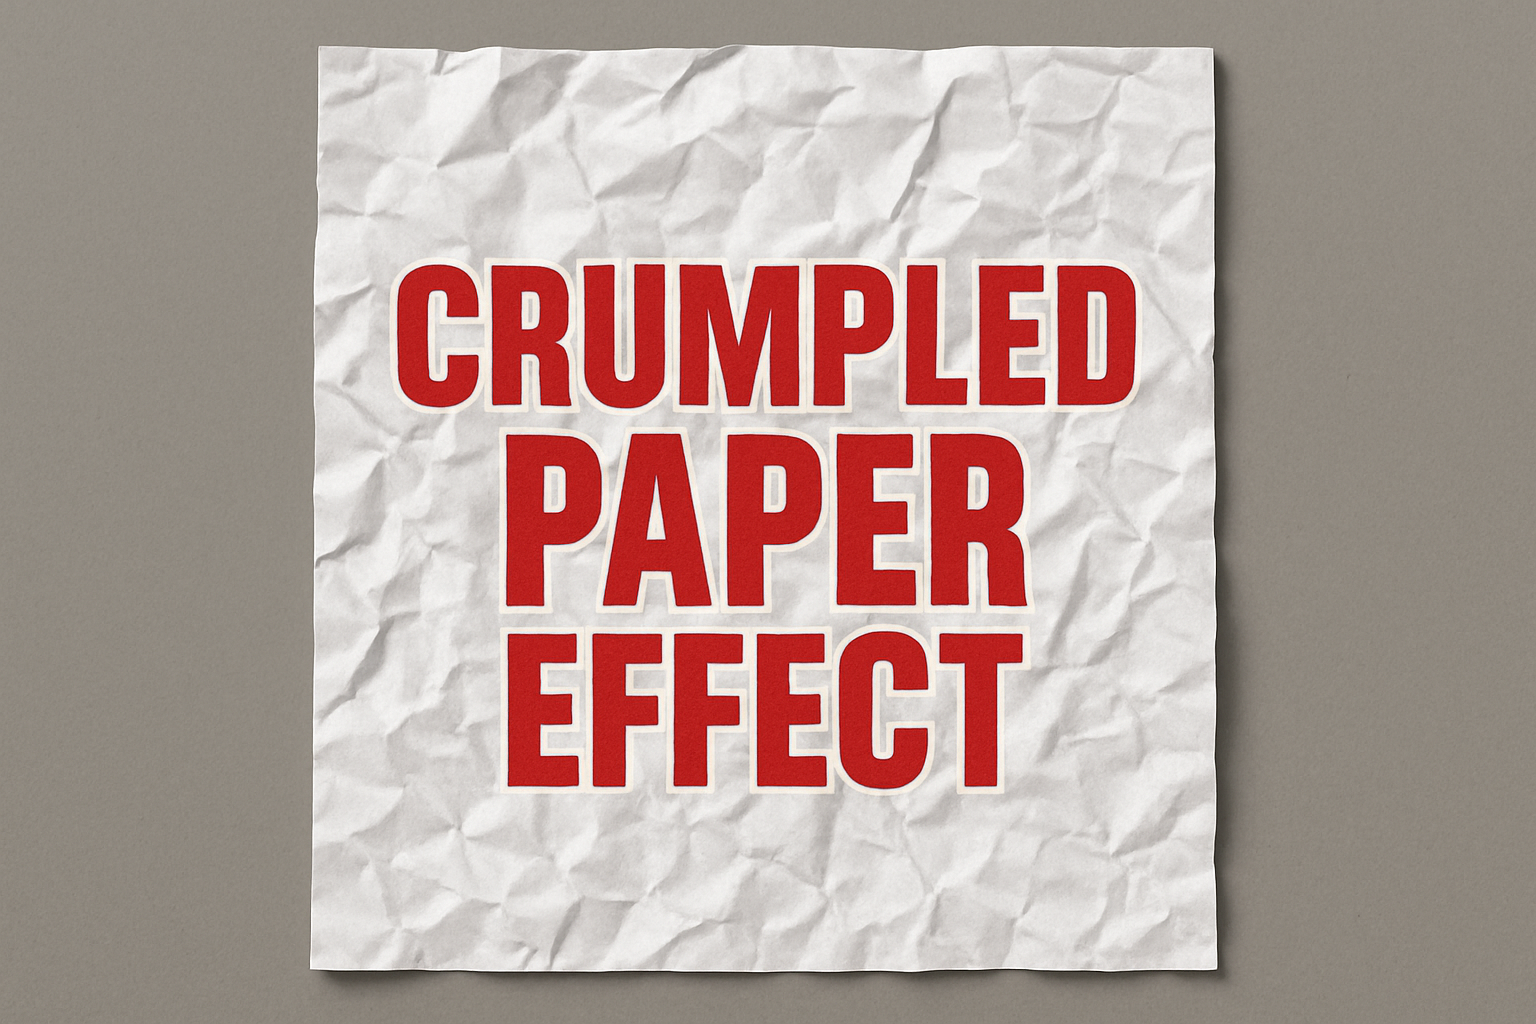
Transforming Your Digital Canvas with a Crumpled Paper Look
In the world of digital art and design, textures play a crucial role in adding depth and realism. One texture many designers love using is that of crumpled paper. It’s versatile, adds a tangible feel to designs, and most importantly, pushes the boundaries of digital manipulation. Yet, creating this from scratch can seem daunting. Fear not, because we’re diving into a detailed guide on how to create the look of crumpled paper, all from the comfort of your digital canvas. And for those who love the sound of expert tutorials, there’s a video guide to accompany this!
Starting from Digital Scratch
To begin this transformative journey, open Photoshop and create a new document. Whether you’re planning to design a post-apocalyptic novel cover, or just want to experiment, setting the right canvas is crucial. Aim for a width of 1920 pixels and a height of 1080 pixels. This size gives you enough room to work on intricacy without losing detail.
Make sure that your background is set to white; after all, we’re making paper, not parchment.
Embrace the Difference
Photography and design wouldn’t be what they are today without the element of contrast. This is where the ‘difference’ blend mode comes in. By setting layers to this mode, you can really emphasize the textures and shapes you’re about to create. Changing your canvas to this mode is like laying the foundation for a skyscraper – essential and irreversible.
The Intrigue of Gradients
A plain canvas doesn’t make for a compelling digital story. This is where the gradient tool plays a starring role. Choose between a reflected or a diamond gradient for this effect. Why? Both offer a complexity perfect for simulating the look of creased paper. Like pop culture’s favorite antiheroes, gradients add layers to your narrative.
- To achieve that perfect crumple, make sweeping gradient passes at various angles until you’re happy with the complexity.
- Remember, the more passes you make, the more crumpled and realistic your paper will appear!
Embossing for Structure
Once you’ve got a crumpled canvas, it’s time to give it some structure. Think of this as giving a ghost its corporeal form. Head to the ‘Stylize’ filter and select ‘Emboss’. With the settings of 135 degrees for the angle, 6 pixels for height, and 200% for amount, you’re essentially breathing life into the paper.
Adding a slight Gaussian blur at around 1.5 pixels softens the harshness, refining the overall look without diminishing the structure.
Refining with Levels and Masks
The real magic of Photoshop is in its non-destructive editing capabilities. After creating your texture, play around with the ‘Levels’ to adjust the brightness and contrast to your taste. This can make your paper look smoother or more distressed.
To perfect your masterpiece, employ the quick mask and polygonal lasso tools. Manipulating selections in this way allows for point precision akin to a sculptor chiseling marble.
Adding the Final Flourishes
No masterpiece is complete without its finishing touches. After modeling your paper, emphasize it with a shadow. Through skillful layering and opacity manipulation, casting a shadow gives your digital creation an extraordinary sense of reality.
Remember to utilize a soft brush for creating this shadow effect. By ensuring the brush edge follows the contour of the paper, the illusion of depth is magnified.
Conclusion
Whether you’re a seasoned graphic designer or just stepping into the digital domain, mastering textures like crumpled paper can significantly augment your creative toolkit. These texturing techniques open up a world where your creations avoid flat monotony and instead rise with dimensional intrigue and lifelike textures.
So why not give this a try? Dive in and play around with gradients and filters. Who knows, your next big design idea could stem from the crumpled, creased depths of Photoshop’s capabilities.
Remember, crafting the perfect texture is as much about process as it is outcome. With each tweak and adjustment, you’re not just creating a design but telling a story, one crumple at a time.


