
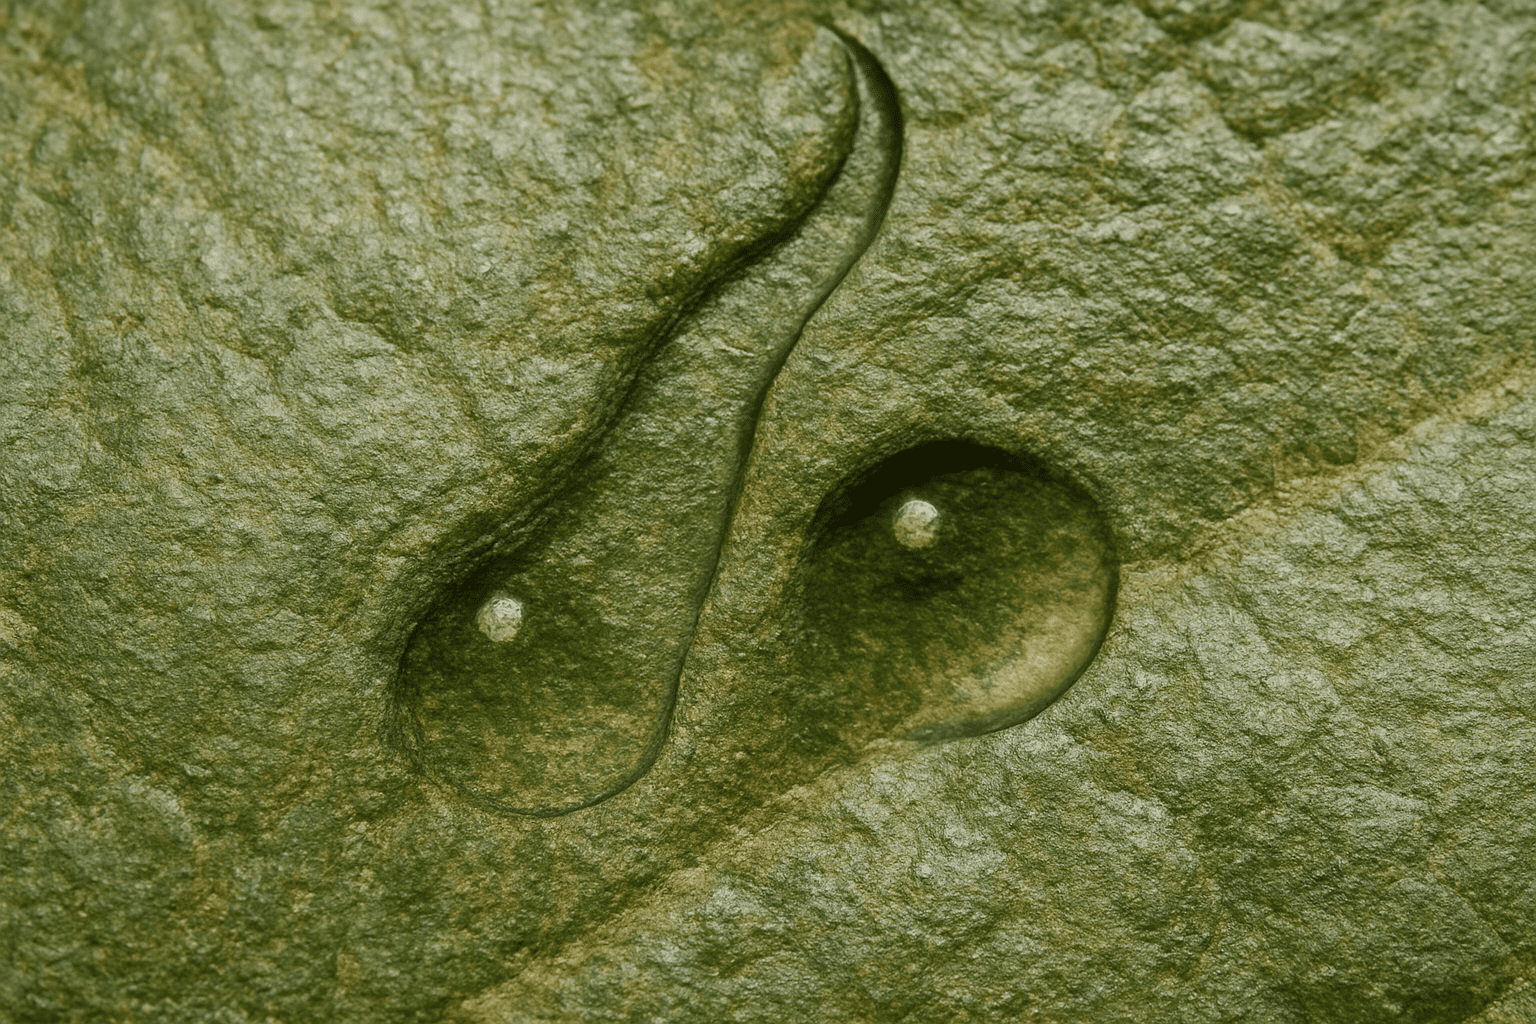
Master the Art of Crafting Water Drops with Digital Precision
Creating realistic water drops in Photoshop might seem like a task reserved for seasoned graphic designers, but fear not, dear creatives! Even if you are an absolute beginner, you can easily dive into this splashy effect with just a few clicks and tricks. Follow along as we explore this droplet-laden tutorial to achieve a visually arresting design that will sprinkle a touch of nature’s grandeur across your digital artworks.
Setting the Stage
Before we dive into the splash zone, let’s set our scene. Open your Photoshop and start with a blank canvas—a digital field of endless possibilities. With a few simple actions, you’ll soon command a veritable rainstorm of water drops on your design.
Building the Droplet Foundation
1. Create a New Layer: Lay down the groundwork for your water droplets by clicking the new layer button. This is where the magic begins.
2. Elliptical Marquee Tool: The unsung hero of circular selections—use this tool to draw a perfect circle by holding the shift key as you drag down. Who knew ellipses could be so vital?
3. Gradient Tool: Hit this tool to dive into a linear gradient, ensuring you’re working with the first box at the top left corner.
Adding Dimension with Layer Styles
Let’s upholster your water drops with layer styles to give them soft yet noticeable silhouettes.
- Overlay Mode: Change the mode from normal to overlay. This is like switching from grey skies to clear, revealing a new depth to your image.
- Drop Shadow & Inner Shadow: Double-click on your layer to invoke the mighty Layer Style dialogue. Select drop shadow and inner shadow to assign the dream-like softness that makes your drops seem like they belong right atop a leaf.
Pro Tip: When crafting shadows, consider the angle and opacity—an angle of 29 degrees and 70% opacity sets a reliable baseline. Consistency is key if you choose to employ Global Light settings, bringing cohesiveness to your masterpiece.
The Highlight Stroke – A Touch of Elegance
As a final brushstroke, a gleaming highlight brings our water drops to life. Choose a brush size of about 7 pixels with 100% hardness. Click once to place your highlight and rename this layer “Highlight.” Tiny but significant, this touch pulls the drop together, making it seem irresistibly tangible.
Organize, Duplicate, and Innovate
Photoshop isn’t all about solitary drops—it’s a deluge out there! For immaculate organization, group your layers and duplicate the wonders you’ve crafted.
With duplicates in tow, these drops can inhabit any space on your leaf (or digital work). If you’re feeling adventurous, tweak the shape of your drops using the Liquefy Filter for an extra dash of dynamism.
Magnify and Mesmerize
Your drops can do more than just look wet. They can distort and magnify, creating an authentic optical surmise. Achieve this with the Spherize Filter:
- Control/Command Click your water drop layer, head to Filter > Distort > Spherize, and toy with the amount slider. Around 60% creates just enough lens-like intrigue without pushing it into a digital mirage.
Applying Your Mastered Style
Once you’ve perfected the drop, save it as a Layer Style. Now, anytime you fancy a new drop, whipping up a masterpiece takes mere moments. Draw a new selection, apply your layer style, and voilà—a new water drop springs to life, complete with a delicate highlight.
Unleash Your Inner Photoshop Genius
There you have it—an enthralling journey through the cascades of Photoshop. Your water drops are now ready to adorn and elevate any project you embark upon. Whether gracing digital leaves, augmenting ads, or simply practicing, you’ve gained new skills to make your visual scenes vivid & splashily convincing.
Curiosity piqued? Dive into an ocean of digital creation, subscribe to the channel for more tantalizing tutorials, tips, and tricks in Photoshop and After Effects. Happy Photoshopping!





