Step into the Neon Revolution with Photoshop
Creating a neon sign might seem like an intense blend of graphic design and electrical engineering. But fear not! Even without a toolbox full of actual neon tubes, you can achieve this eye-catching design in Photoshop, bringing the vibrant glow of neon directly into your digital workspace. Whether you’re imitating the bustling neon glow of a downtown nightlife scene or adding a retro-futuristic flair to your graphic projects, understanding these techniques can elevate your creative work. Here’s how you too can create a realistic neon sign and plant it into any dark-themed background!
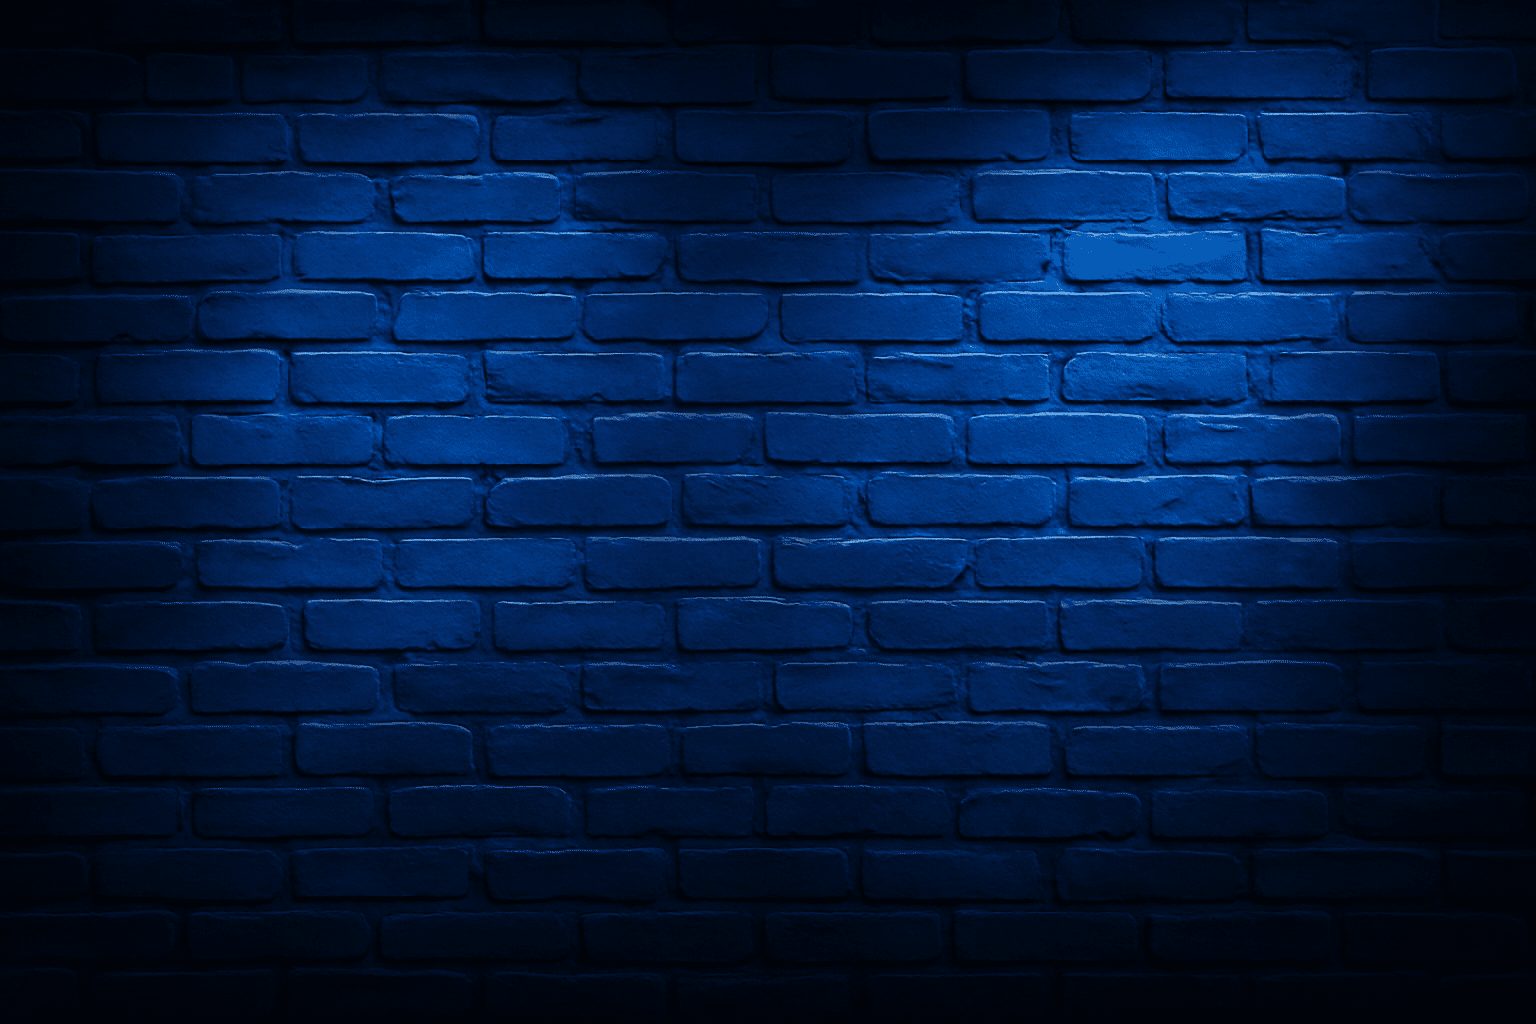
Setting the Scene – Choose Your Background Wisely
First things first, neon lights shine brightest on dark backgrounds, so selecting the right canvas is crucial. A dusk or night scene will make those luminous hues pop. Adjust the ‘Levels’ and ‘Hue/Saturation’ settings to enhance the atmosphere. Use Ctrl + L (or Command + L on Mac) to bring up the Levels window, where you can fine-tune your image’s contrast for the ultimate nocturnal vibe.
Perfecting the Glow
Creating that iconic neon glow involves using layer styles creatively. Once your type is set – usually, a simple font works best to mimic neon tubing – you’ll be applying a sequence of effects such as color overlays, outer glows, and drop shadows. Head to Layer > Layer Style > Blending Options and experiment with ‘Color Overlay’ and ‘Outer Glow’ to achieve your desired effect. Choosing lighter colors for the overlay and richer tones for the outer glow simulates the true essence of neon’s luminance.
Adding Depth with Shadow Play
Neon isn’t just about the light; it’s about how that light interacts with its surroundings. By adding a subtle drop shadow, you can simulate how neon lights cast on adjacent surfaces. Keep the opacity around 75% and use the ‘Multiply’ blend mode for a realistic shadow.
Making the Neon Tubes
Now that the foundation is laid, it’s time to cut to the chase: creating the illusion of neon tubes. By deleting sections of your letters and tweaking the selection contraction, you can create a hollow, tubular effect. Use Select > Modify > Contract to remove parts of the letter for an authentic look.
Refining with Finishing Touches
Neon signs glow differently depending on their size and distance. Using tools like Refine Edge, feather the selection of your sign to blur its edges slightly, mimicking the spread of light in real life.
Transform and Align – Perspective Is Key
What’s a neon sign without the illusion of perspective on a wall? Enter your transform tools: link all your layers, ensuring they move as one unified piece. Use Ctrl + T (or Command + T) to access transform controls, and mold your neon sign into a perspective view, embracing the look of a sign towering above.
Amplifying the Glow with Layers
Duplicating layers and altering modes such as ‘Color Dodge’ crank up the luminescent appeal of your neon. Play with opacity settings and layer modes to recreate that soft yet vibrant light effect characteristic of neon signs.
Wrapping It Up
Creating an eye-catching neon sign in Photoshop marries technical know-how with creative flair. By strategically using layers, adjustments, and transformation tools, the neon look becomes an accessible design technique for any creative. Have fun experimenting with colors, perspectives, and compositions!
The allure of neon isn’t just about eye-popping color—it’s about injecting a sense of vibrancy and energy into your work.
Ready to fuel your creative glow? Dive into the full video tutorial above for step-by-step guidance and a plethora of tips and tricks to unleash your Photoshop potential. Transform your digital canvas into a showcase of bright, dynamic, and bold neon art!
Happy designing! Plus, don’t forget to explore more tutorials on our YouTube channel where graphic design boundaries are constantly being reimagined.


