
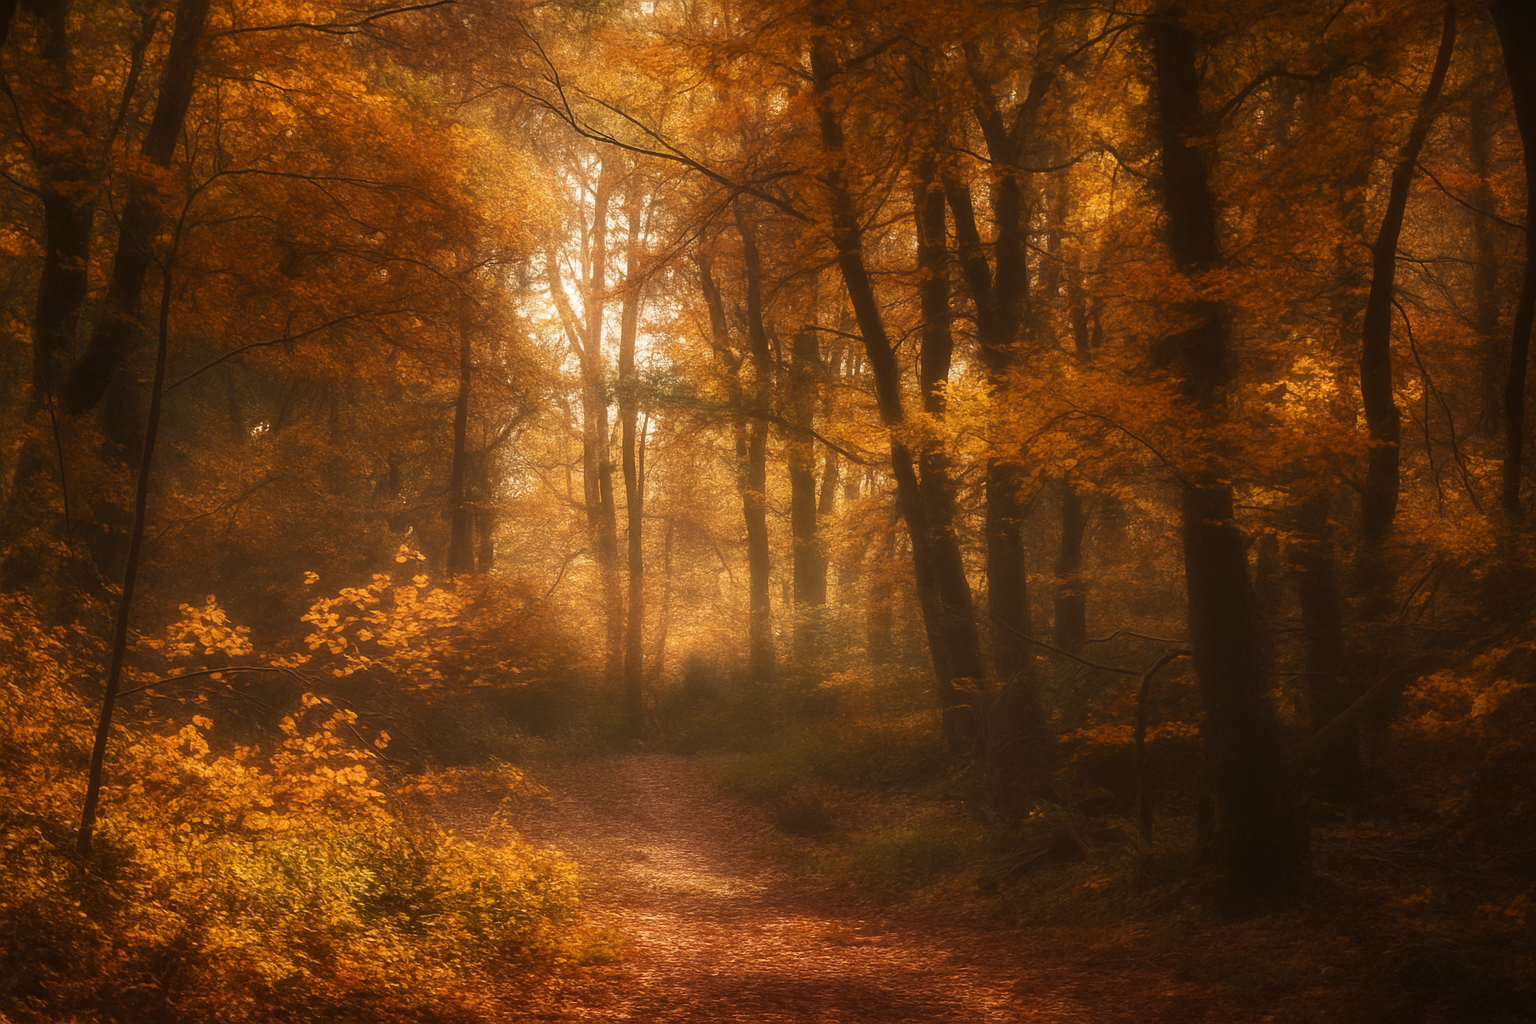
Bring Dreamy Softness to Your Photos with the Orton Effect
Photography is all about capturing moments, but sometimes, a little artistic tweak can take those moments from the extraordinary to the ethereal. Enter the Orton Effect—a technique that suffuses your photos with a soft, subtle glow. Originally a hallmark of film photography, this versatile effect has found its way into the digital realm. Inspired by Canadian photographer Michael Orton, who ingeniously overlapped several exposures back in the ’80s, this method creates a delicate dream-like quality in images that photographers adore. Whether you’re enhancing landscapes or perfecting portraits, the Orton Effect can be your secret weapon.
A Step-by-Step Guide to Ortonizing Your Photos
The allure of the Orton Effect is its ability to blur the line between reality and fantasy, making it a popular choice among photographers looking to add a creative touch to their snapshots. Here’s a simple yet effective method to create the Orton Effect using Adobe Photoshop. Ready to give your photos a dreamy glow? Let’s dive in.
Step 1: Smarten Up with Smart Objects
Before you can unleash the Orton Effect, open your chosen photo in Photoshop. First things first, convert your image into a Smart Object. This nifty feature will allow you to modify your photo non-destructively and swap it with another image without reapplying the filters. To do this, navigate to the Layers panel, click on the menu icon at the top-right, and select Convert to Smart Object.
Step 2: Double Up and Blur
Once your image is a Smart Object, duplicate it by pressing Control (or Command on a Mac) and J on your keyboard. Now, it’s time to blur. Head over to Filter > Blur > Gaussian Blur. For this exercise, a blur radius of around 5 pixels should suffice, but feel free to adjust based on the resolution and brightness of your photo. A highly detailed image might require more or less blurring—play around until you achieve the desired softness.
Step 3: Less is More—Adjusting Opacity
Softening the image is key. Reduce the opacity of your blurred layer to about 30%. Again, this value isn’t set in stone. Depending on your photo’s unique elements and how pronounced you want the effect, you may need to tweak it. Remember, subtlety is the name of the game.
Step 4: A Bright Finish with Levels
With your blurred layer looking appropriately hazy, it’s time to play with brightness and contrast to add that final flourish. Add a Levels adjustment layer by clicking the adjustment layer icon and selecting Levels. Since adjustment layers influence all layers below them, you’ll want to clip it to the blurred layer. Either click the clipping mask icon at the bottom of the Levels panel or go through Layer > Create Clipping Mask.
Manipulate the Highlights
Drag the input highlights slider to the left until your photo exudes that quintessential glow. While you can adjust shadows and midtones, beware of over-manipulation, which might diminish the image’s subtler nuances.
The Magic Unveiled: Before and After
With the Orton Effect applied, toggle the layers to observe the transformation. These subtle changes can make a world of difference, cocooning your subject in a warm, ethereal aura that simply cannot be overlooked.
The beauty of digital editing, especially for those inclined towards creativity and storytelling, lies in its limitless potential to enhance and transform. The Orton Effect is just one way to imbue your photos with a sense of magic and artistry.
As our digital landscapes evolve, so do our abilities to manipulate pixels into picture-perfect dreams. The timeless allure of techniques such as the Orton Effect only reinforces this journey of discovery and experimentation. Whether it’s evoking nostalgia or weaving storytelling magic through light and shadows, your venture into the Orton Effect adds another delightful layer to your creative arsenal.
So next time you’re looking to infuse your visuals with a touch of the mystical, remember that the Orton Effect has got you covered. Make sure to experiment and let your creativity shine.
Until next time, keep pushing the boundaries of what your images can become—there’s a whole world of effects out there waiting for you to explore. Happy editing!





