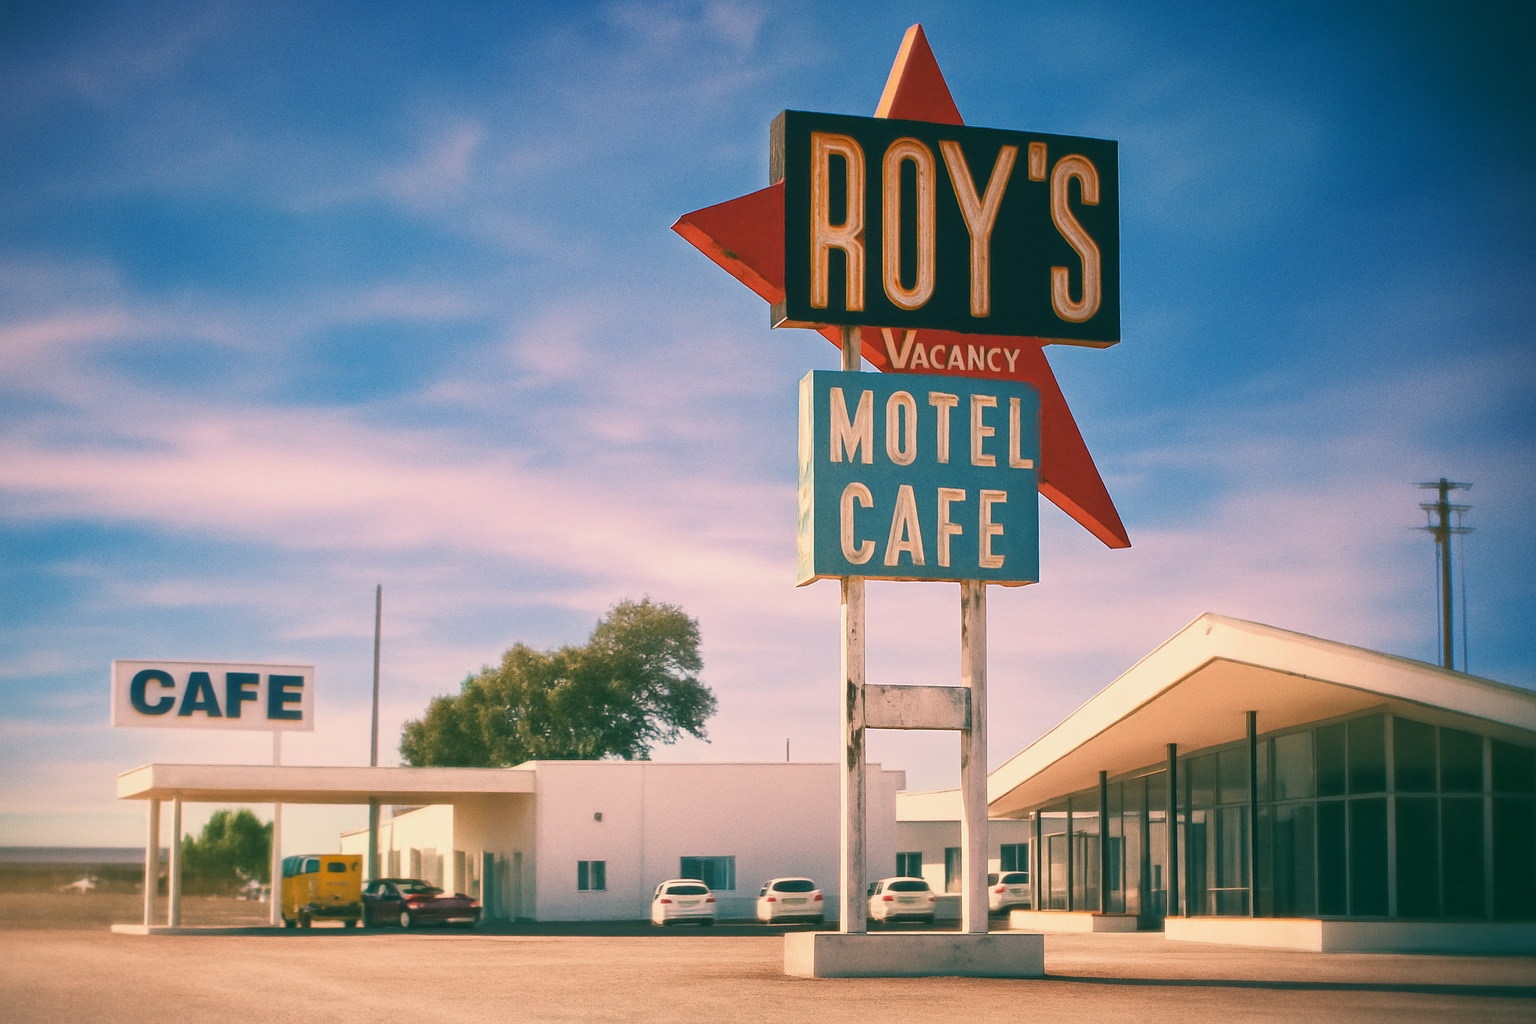
Give Your Photos a Nostalgic Toy Camera Makeover
In this tutorial, we’re diving into the whimsical world of toy camera aesthetics. Toy cameras, such as the iconic Holga or Diana, are loved for their quirky, unpredictable qualities—think light leaks, irregular lens alignments, color shifts, and heightened contrasts. But how do you replicate this charming chaos digitally? Enter Photoshop and its suite of magical tools!
Why Opt for the Toy Camera Effect?
Toy cameras hold a special place in the realm of photography, cherished for their imperfections and touch of nostalgia. Emulating the toy camera look in Photoshop allows you to transform any digital photo into a masterpiece that feels plucked straight from a vintage collection. Whether it’s the dreamy light flares or the bold vignette effects, this style is both fun and artistically liberating.
Step 1: Embrace the Smart Object
The journey begins by converting your image into a Smart Object. This clever move lets you tweak your effects non-destructively. Simply click the icon in the upper right of Photoshop’s interface and select Convert to Smart Object. Now your work is as safe as a vinyl record in a velvet-lined case.
Step 2: Enter the Realm of Camera Raw
Photoshop consolidated this tool of wonders into its main offering back in version CC, removing the need for an external plug-in. Head to the filter menu and select Camera Raw Filter. It’s here that the adventure truly begins. Whether you’re playing with the Detail (formerly known as Sharpening) or delving into Color Grading (the artist formerly known as Split Toning), Camera Raw holds nine filters ready to transport your photos into another dimension.
Step 3: Fine-Tuning the Basics and Curves
Open the Basic adjustments and set:
– Temperature to 15
– Contrast to 50
– Highlights to 100
– Clarity to 40
Next, dive into the Curve adjustments to fiddle with the tones across your red, green, and blue channels. It’s a symphony of colors begging for your maestro touch.
Step 4: The Color Grading Enchantment
Enter the revamped Color Grading tab to alter your photo’s mood. With separate controls for shadows, midtones, and highlights, this is where your photo starts to speak with an otherworldly language. Increase the yellows in shadows for a hint of sunny specters.
Step 5: The Alluring Vignettes and Grain
Adding vignettes in the Optics section and later enhancing them in Effects makes for romantic dark edges—a staple in toy camera charm. A sprinkle of grain (set to 50, with a Size of 100 and Roughness of 50) gives your photo that nostalgic tinge of imperfection.
Step 6: Blurring Boundaries with Radial Blur
Let’s blur the lines, literally! Use the Radial Blur set at an Amount of 5 with a Blur Method of Zoom. Understandably, you might not want this effect in the middle of your photo—fear not. With layer masks and a little brushwork, you can artfully erase the blur where it’s most unwelcome.
Step 7: Crafting Light Leaks
Light leaks are the crown jewel of toy camera artistry. On a new layer set to Linear Dodge mode, paint soft, bright, rich reds, and perhaps a touch of blinding white onto your image. This step might just be the pièce de résistance, adding the final stroke of authenticity to your creation.
Step 8: Easy as Drag and Drop: Replacing Your Photo
The magic of Smart Filters allows seamless swapping of photos without starting from square one. Double-click to open the source, select Place Embedded, resize your freshly chosen photo, and like wizardry, your new photo inherits all the wondrous effects.
Unlocking this toy camera-inspired aesthetic encourages experimenting with your artistic boundaries. The beauty of Photoshop is you can tweak, modify, and even revert as you see fit. Transform the ordinary into snippets of unpredictable nostalgia at the click of a mouse. And remember, as always, creativity is your only limit!
Enjoy playing with this technique and remember: imperfections are a photographer’s charm.