Channel Your Inner Designer: Craft a Unique Rubber Stamp Effect Using Photoshop
Ah, rubber stamps. Those nifty little tools that make mail and documents pop with their charming imperfection. But gone are the days of searching for the perfect rubber stamp at a craft store; why not create your own digitally? Today, we’re diving into the world of Photoshop to give your digital creations that handmade edge with a rubber stamp effect. Buckle up, sprinkle in some of your uniqueness, and let’s ride on the Photoshop wave!
Setting the Stage: Creating Your Canvas
Creating the perfect rubber stamp begins with having a blank slate—or in this case, a fresh document. Start by making a new canvas with the dimensions of 1920 x 1080 pixels at a resolution of 72 pixels per inch in RGB color mode. Not black? No problem! Just click and make it so.
Want to zoom in and assess your progress up close and personal? Use Ctrl + on Windows or Cmd + on Mac. If your canvas mockingly appears too large, Ctrl + 0 can help fill your screen.
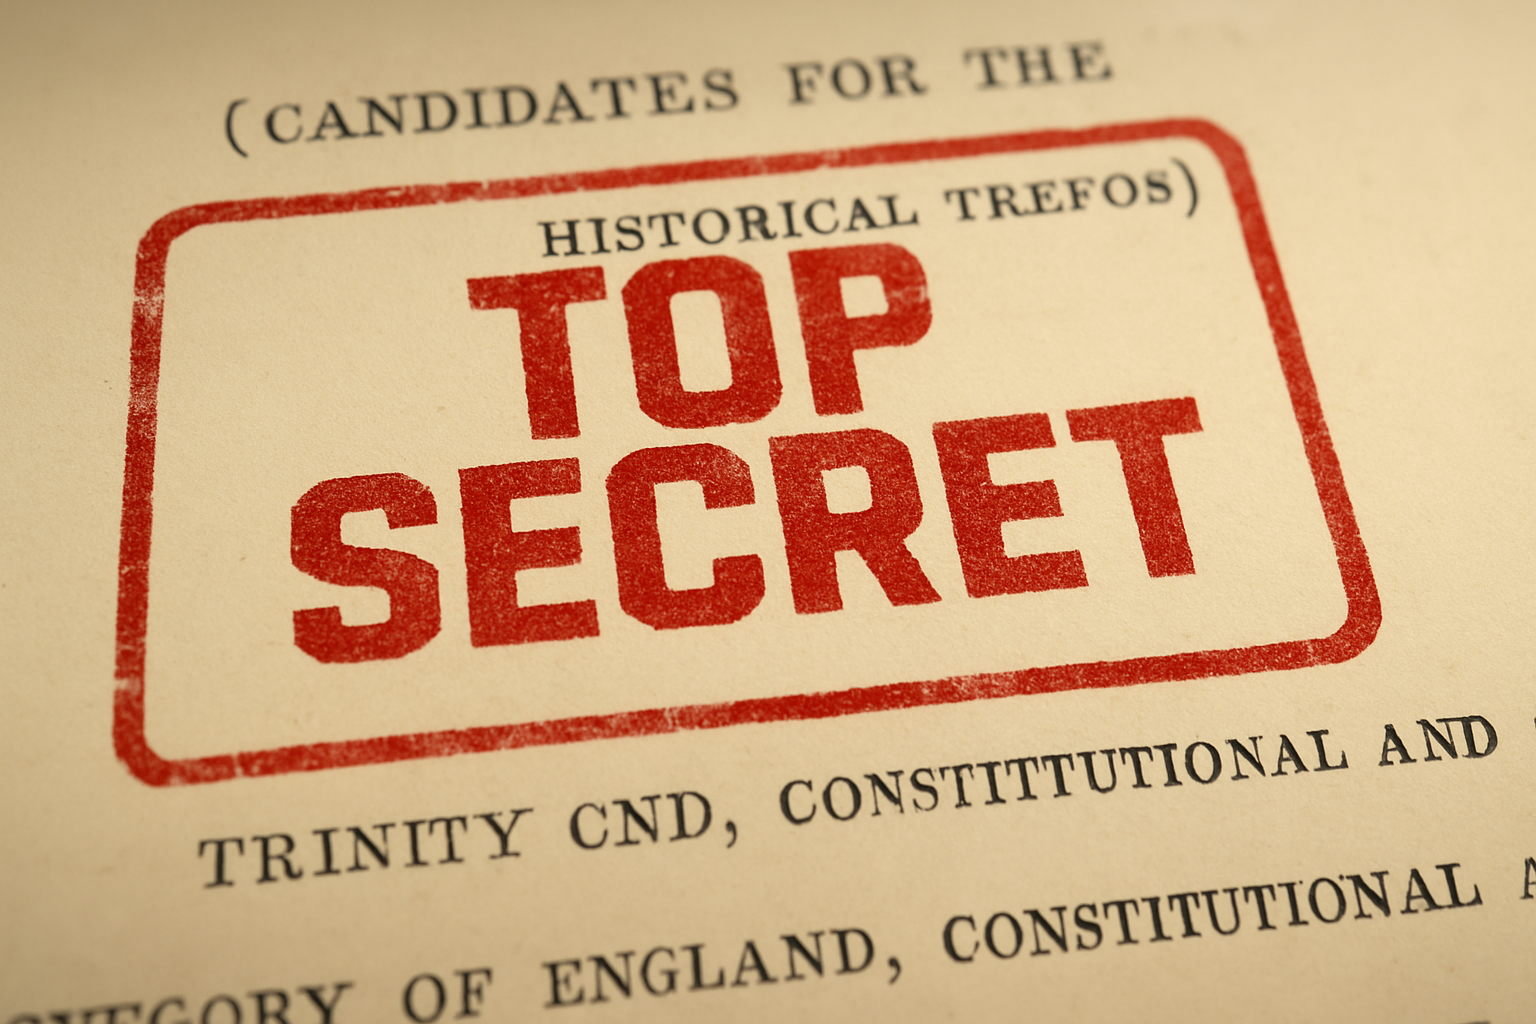
Text: The Stamp Imprint
Whether you want your stamp to proclaim Approved, add a bit of Confidential intrigue, or a sprinkle of nostalgia with random text, the font is your digital rubber! With the Horizontal Type Tool, set your mind free—choose any font that soothes your creative soul, like “Versa,” and ensure your text is a robust 450 points in size. If you want a text alignment that screams perfect order, set it to center!
For those diving into the rabbit hole of multi-line text, line spacing known as leading and character spacing tracking are words that will soon become your dearest allies. The Character panel is here for all your spacing needs.
Designing the Outline
Here’s where your stamp starts to take shape. A rubber stamp wouldn’t be complete without the border; drag your newly-selected Rectangle Tool, choose Shape, and make sure the inside remains as empty as a diary on a Friday night by clicking the No Fill symbol.
The stroke becomes your canvas outline, with fine-tuning your prerogative. Want a rounded border? Make it so.
Smart Objects and Filters: The Backbone of Your Stamp Effect
To keep it tidy and non-destructive, convert your masterpiece into a Smart Object. Filters? They’ll be your new best friend. With a visit to the Filter Gallery, open the Brush Strokes folder and deploy the Spatter feature. The result? A texture that screams authentic, handmade imperfection.
Embracing the Grunge
What is a stamp without a bit of edge? Use a grungy texture brush like DSC_1561.NEF from the NINETEEN EIGHTY SEVEN DESIGN – GRUNGE 2012 set to grant your stamp that worn look. It’s like a cool leather jacket for your design.
Colors and Clipping Magic
Now, time to change things up with some eye-popping color. Lock that hue into your stamp using clipping masks—fancy for ensuring your color splash doesn’t spill beyond the stamp’s domain.
Perspective and Depth: Bringing It All Together
The pièce de résistance comes as you tilt-shift your creation into depth-of-field perfection. It’s a fancy term eons which means getting that blurred edge look only a hipster photographer could love.
Then, when perspective needs tweaking, with a trusty <Ctrl + Alt + Shift> (or <Cmd + Option + Shift> for the Apple aficionados), you’ll have your stamp propped at attention. Tweak, angles, and rotate to your heart’s content until your inky creation looks ready to leap off the paper.
Final Touches
Unleash the gradient tool for a shadowy, moody ambiance, and voila! Your rubber stamp effect is alive and well, ready to add a dash of handcrafted charm to your intrepid Photoshop projects.
With Photoshop at your fingertips, the boundaries of creativity blur (pun intended), allowing you to create magnificence at your whim. So, dive in, explore, and transform your digital world—one quirky stamp at a time.


