
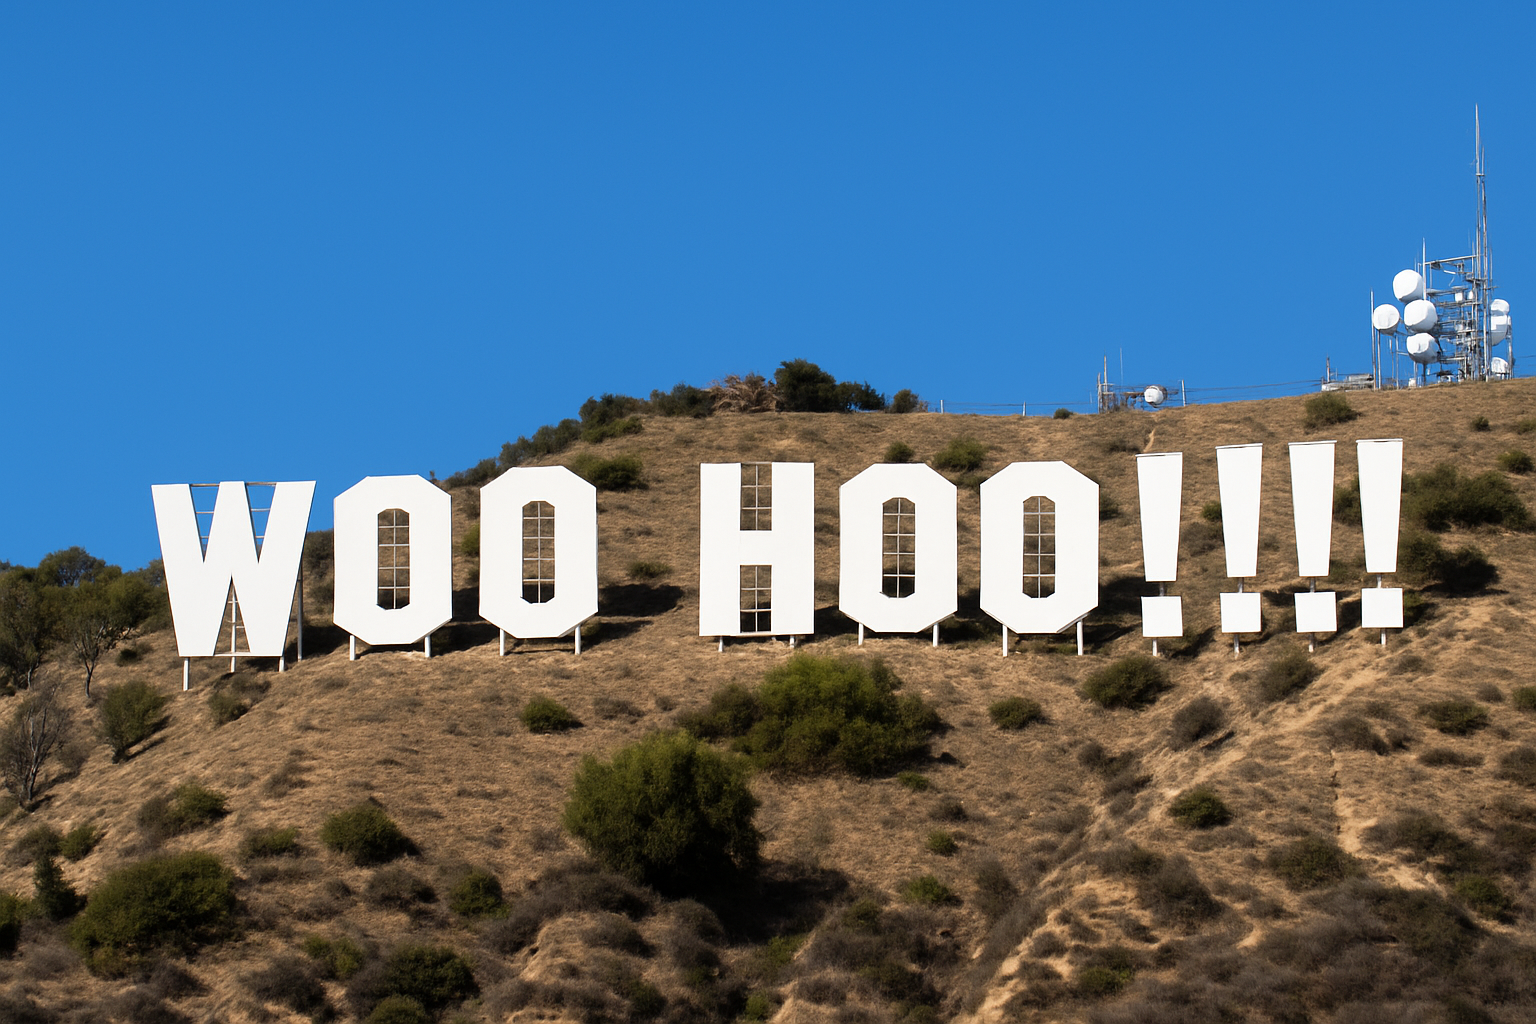
Give Your Creative Projects a Hollywood Twist
The Hollywood Sign isn’t just a historic landmark perched over sunny Los Angeles; it’s a symbol of the entertainment industry and ambition. What if you could make it say anything you want, without leaving your home or getting arrested? Today, we’re diving into a mind-blowing technique on how you can personalize this iconic sign using Photoshop, infusing your own creative flair into an image that’s downright legendary.
Setting the Scene: The Power of Templates
Templates are the unsung heroes of design, offering creatives the chance to fast-track their projects with a solid foundation. To kick off this tutorial, we’ll be using a nifty template that provides layers of the Hollywood sign. This includes an actual photo of the sign, a variation without the sign, and a folder with assorted frame sizes for various character widths. Consider this your creative toolkit, carefully curated to enhance your text transformation journey.
Selecting and Defining Your Creative Space
Let’s cut to the chase—part of the magic here is making a selection of the hill’s area where the sign will appear. To do this, you’ll first want to choose the pencil tool, ensuring your colors are set: black as the foreground and white as the background. At this point, you’re practically sketching the layout for where your new text will dazzle onlookers (or just yourself, for now).
With a few simple tools and techniques, such as the Quick Mask mode and Feather selection, you’re defining your creative playground, setting the stage for your words to stand tall amongst the Twizzler-like hillsides and haphazard shrubbery of dreamy California.
Crafting Custom Text with Precision
Why settle for the status quo when you can make it your own? Select the horizontal type tool, open the SF Hollywood Hills font (available online), and make sure it’s at 95 points with anti-aliasing set to smooth. The color of your text should be exactly—drumroll please—white. After all, nomenclature isn’t the key feature of the Hollywood sign for no reason.
Craft your text and strategically place it over the Hollywood sign. This step is where your creative juices are truly unleashed. If your inner nitpicker comes out to play—which is totally fine, it’s a designer thing—tweak the baseline shift to ensure alignment fits perfectly with your vision.
Adding Dimension and Authenticity
Crafting isn’t always about originality; it’s about authenticity. Transforming your pristine text into a smart object allows you to manipulate it non-destructively. By applying slight Gaussian Blur and adjusting opacity, your text flows with the landscape’s natural aesthetic. Whether you realize it or not, you’re matching that text with the hills, bending it seamlessly to fit the sign’s infamous slope.
Frame Your Words in the Context of Icons
Let’s not get so carried away with the text that we forget its quintessential frames. Support your words by playing with frame dimensions until they align perfectly behind each character. The idea here is simple: frames should be slightly narrower than the characters while simultaneously ensuring their height fits snugly at the top of each letter. Once secured, these frames provide the backbone to your text, underlying the realism we’re aiming for in this graphic extravaganza.
Accentuate with Shadows
Casting shadows is Photoshop-speak for giving depth and prominence, transforming mere words into a physical presence on that famous hill. You’re practically making your text a resident in this iconic scenery. Select your smart object-sign combo and create a new layer underneath to cast its shadow. Utilize the Gaussian Blur, blend modes like Multiply, and distortions to mimic the real angles a shadow would take. Imagining your text on the hill, casting its own legacy, is an artist’s playground of emotional investment.
Conclusion: From the Drawing Board to Reality
By now, you’ve not just replaced the Hollywood sign—you’ve mastered a slice of creative autonomy. You’ve harnessed Photoshop’s mighty functions to transform a cultural landmark into a personal anecdote through a journey outlined by techniques concerning typography alignment, layering smart objects, and shadow illusions.
Like any good Hollywood story, this one ends with you in control—crafting backdrops that resonate personal triumph, inside an industry of what-ifs and never-wills. So, what’s next for you, creative wanderer? The Hollywood hills, for instance, await your next text input—until then, the world is your canvas.





