Unleash Your Inner Artist with Photoshop’s Pencil Sketch Effect
Embarking on the artistic journey of transforming a simple photograph into a pencil sketch may seem like a daunting task—like something reserved only for the most seasoned of artists. However, with the magic of Photoshop and a few handy tools, you can easily turn any photo into a stylized pencil sketch. Follow along as we break down the complexities of layers, masks, and blending modes to create something truly remarkable.
Gearing Up for Your Sketch Adventure
First things first, you’ll need a photo that inspires you. For this tutorial, any high-quality image will do. Resources like Shutterstock have a plethora of photos you can use. Once you’ve selected your muse, you’ll also need a paper texture image and a set of custom crosshatch brushes, both of which you can download from the description of the YouTube tutorial. This is like setting up your own digital art studio.
Getting Your Workspace Ready
Start by opening your chosen photo in Photoshop. If your move tool isn’t selected, press ‘V’ on your keyboard and drag your photo over to the paper texture document. Here’s a pro tip: Hold the shift key while dragging to keep your photo perfectly centered over the paper texture. You might need to resize your image to fit the paper, which can be easily accomplished by using the ‘Transform’ tool (Ctrl or Command + T).
The Magic of Layer Masks and Smart Objects
Separating Subject from the Background
To truly capture the authentic feel of a pencil sketch, you need to isolate your subject from the background. Depending on the version of Photoshop you’re using, the tools available might differ. For Photoshop CC 2020 and later, you can use the ‘Remove Background’ feature found in the ‘Properties’ panel. Alternatively, the ‘Quick Selection’ tool combined with the ‘Select Subject’ button will do wonders in earlier versions. If you need to remove parts of the selection, just hold ‘Alt’ or ‘Option’ and brush away those areas.
Working with Smart Objects
Converting your image into a Smart Object allows for non-destructive editing—think of it as your safety net. By doing so, you can make adjustments at any point without causing permanent changes to the original image. Want to keep editing two versions separately? Make a new smart object via copy for independent adjustments.
Adding Texture and Sketch Effects
Crafting Pencil Strokes
Now, the real fun begins. With your image set up and ready, it’s time to dive into those crosshatch brushes. After installing the brush set, you’ll find them at the bottom of your list under “20 crosshatch scatter brushes”. Each brush varies in style, so feel free to experiment until you find the one that feels right for your project. For consistent strokes, set the brush opacity to 40% and the flow to 70%.
Opacity controls how opaque your brush strokes are, while flow controls how fast the strokes build up, similar to spray painting. To refine your strokes, just adjust the opacity to layer subtle nuances, making your image come to life.
Finessing Your Final Sketch
Adding Edges and Effects
Once you’re satisfied with the pencil strokes, it’s time to add some detail around the edges. You can emphasize certain areas by adjusting the opacity and brush size. Increase the opacity to darken the strokes in shadowed areas of your subject and reduce it for softer edges around the background.
For final touches, try adding a charcoal filter from the ‘Filter Gallery’ under the ‘Sketch’ section. Tweak the settings—charcoal thickness, details, and light-dark balance—to achieve the perfect hand-drawn appearance.
Enhancing Portrait Depth
Think your art could use a bit more depth? Make a copy of your bottom subject layer (Ctrl or Command + J) and adjust the opacity until you strike the right balance. This technique not only enhances depth but also adds richness to your sketch.
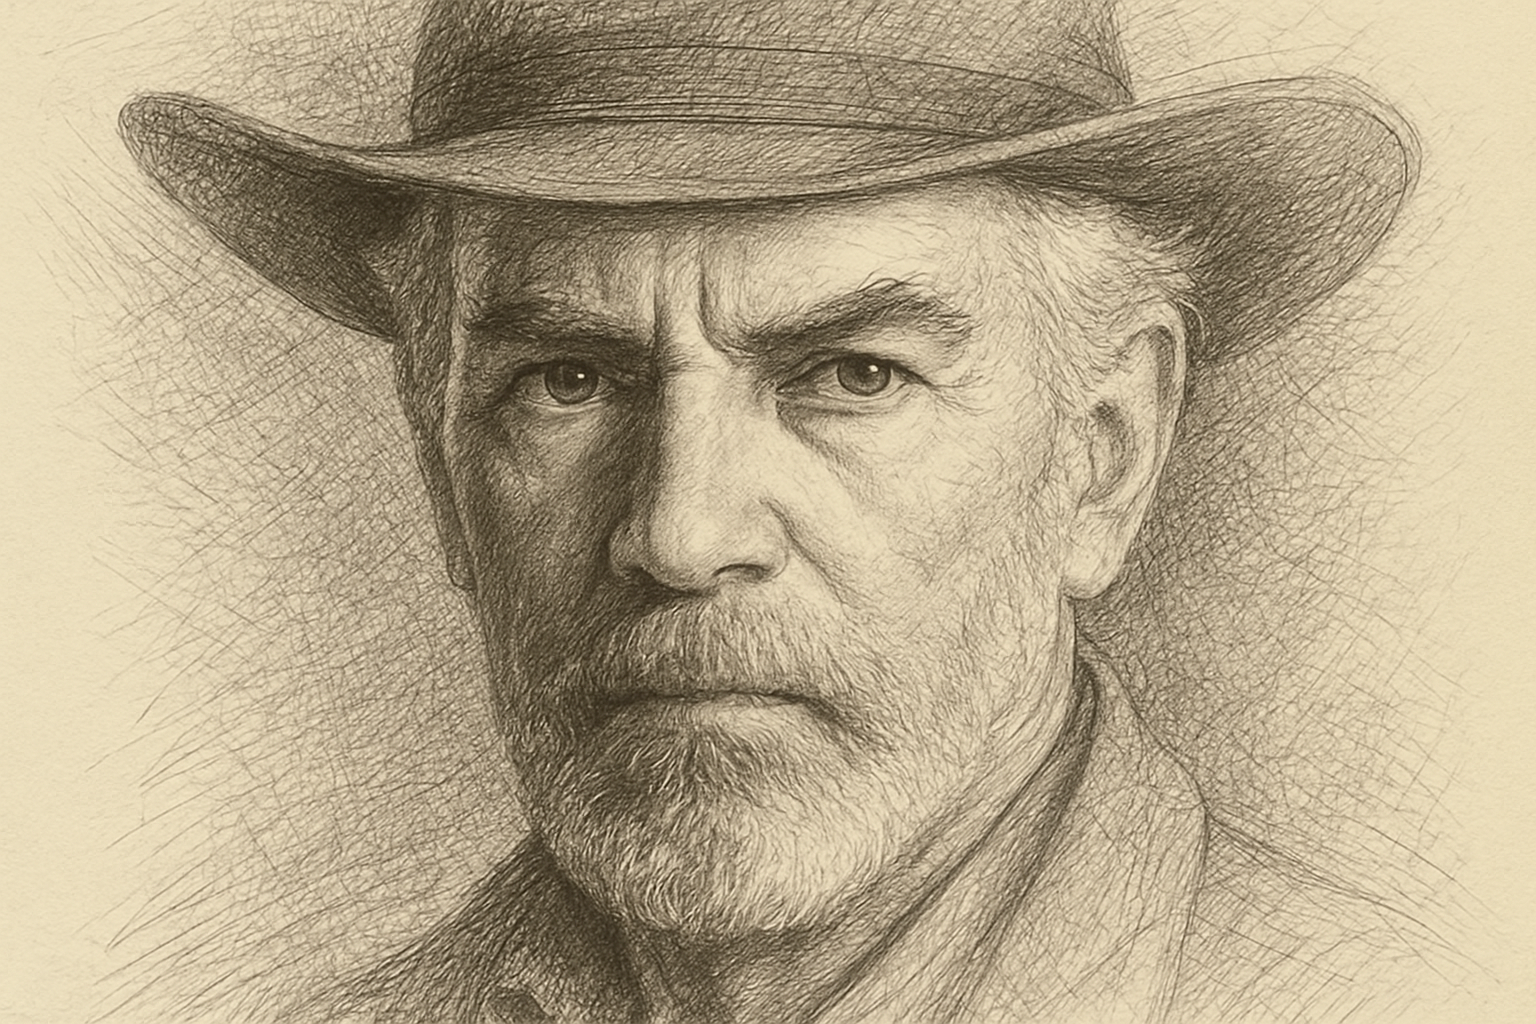
And there you have it—a breathtaking pencil sketch effect from a photo, all accomplished through the marvels of Photoshop. With patience and a touch of creativity, you can turn any picture into a sensational piece of art that looks hand-drawn and entirely bespoke. Now all that’s left is for you to take these skills and apply them to your next project. Happy sketching!


