
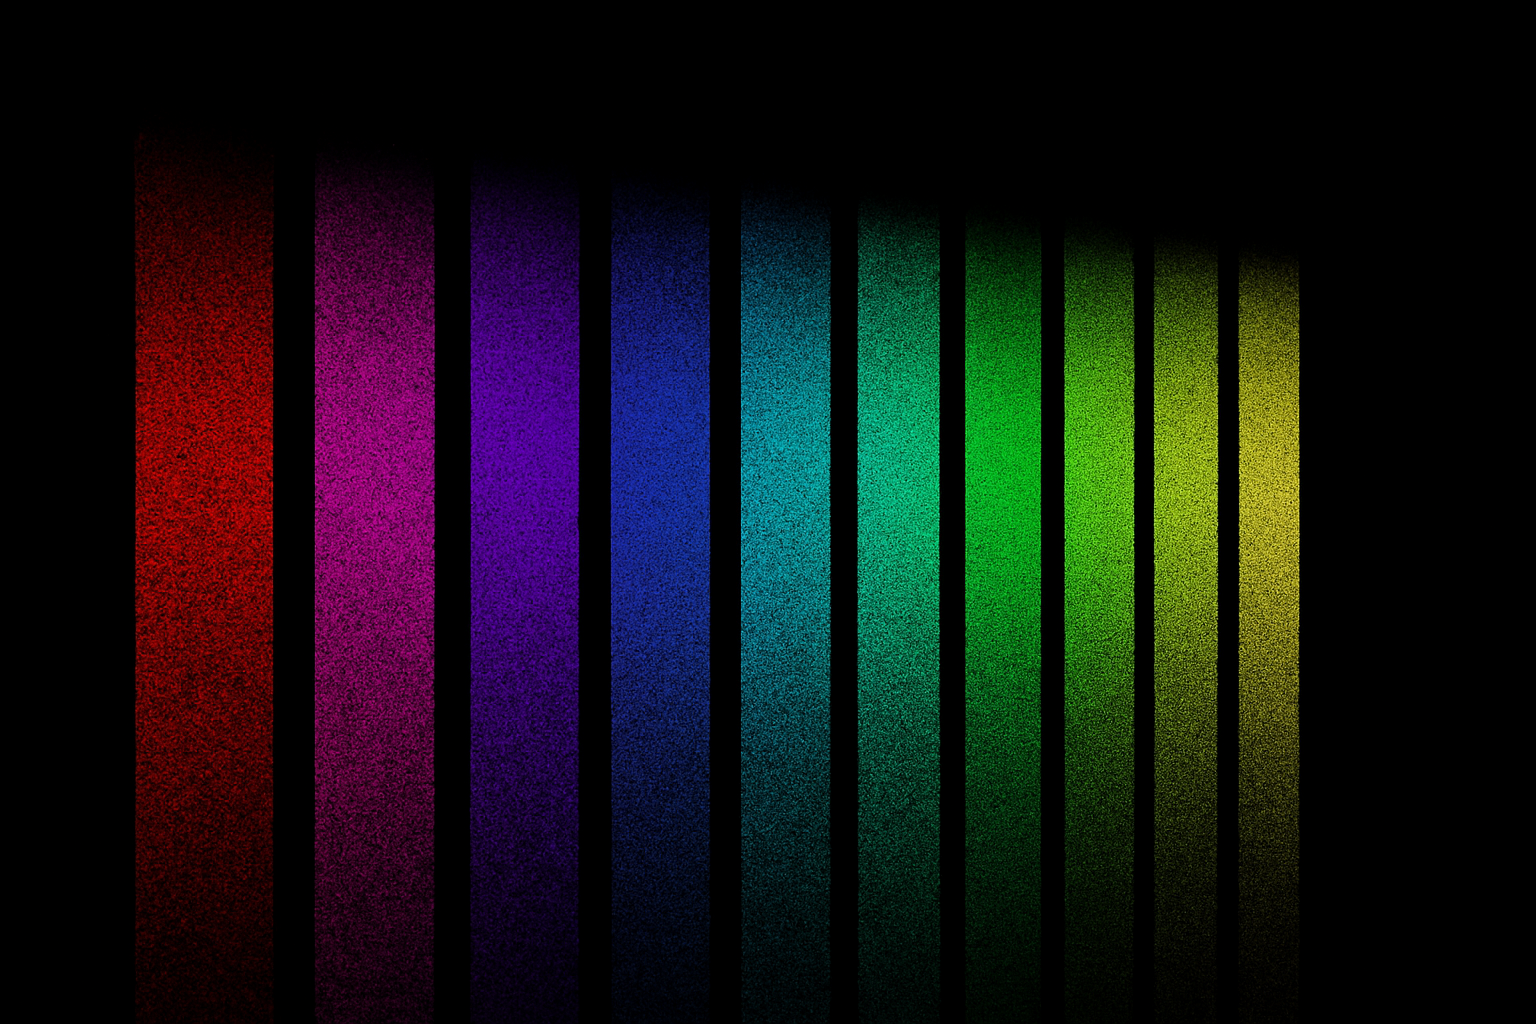
Unleash Your Creativity with a Stunning Text Effect
Looking for a way to jazz up your text graphics and make them pop? Whether you’re designing for social media, creating an eye-catching poster, or just exploring creative texts effects, mastering the color stretch text effect in Photoshop might just become your new favorite trick. This guide will walk you through how to easily create a vibrant, textured look for your typography.
Setting Up Your Photoshop Canvas
A great design always starts with the right setup. Open Photoshop and create a new document. Opt for a resolution of 1920 by 1080 pixels with 150 pixels per inch. Set the color mode to RGB with 8 bits per channel. These settings provide a perfect balance between quality and performance, especially if your work targets digital spaces.
Typography: Choosing and Customizing Your Font
Once the canvas is ready, it’s time to choose a font. Open the Horizontal Type Tool and explore the Type Picker. Feel free to experiment with different fonts and sizes—this is where you can get creative! Set the font size according to your preference, ensuring that the text stands out against a black background. Center your text using the Move Tool and align it both horizontally and vertically for that perfect balance.
Introducing Smart Objects for Flexibility
Converting your text into a Smart Object is crucial as it ensures you can make non-destructive edits. This means your original text remains untouched, allowing for flexibility in adjustments. Right-click on your text layer and choose Convert to Smart Object from the options. This sets the stage for all the easy modifications we’ll make.
Adding Gradient Magic
Your text deserves a vibrant splash of color, and the Gradient Overlay is just the tool for the job. Open the Layer Style window by double-clicking an empty area of the text layer. Click on Gradient Overlay and choose the full spectrum preset. Adjust the blend mode to normal with 100% opacity. You’ll love how the gradient breathes life into your typography.
Creating the Color Stretch Effect
Now to the pièce de résistance—the actual color stretch. Duplicate your Smart Object text layer to create a copy. Hide the copy for now, and activate the original. With the Transform Tool, stretch the text vertically by dragging the top middle anchor point upwards. Adding a Motion Blur with an angle of -90 degrees and a distance of 2000 pixels will create that smooth, trailing color effect.
Restoring Vibrancy: Layering and Blending
Stretching the text might dull the colors a bit. The fix? Create multiple copies of the stretched text layer, stacking them to restore their vividness. Convert these layers into one Smart Object, change the blend mode to Dissolve, and add a layer mask.
Fading Out with Gradient Masks
Apply a gradient mask by selecting the gradient tool and dragging it upwards on your document. This effect will naturally fade the colors at the bottom, offering a subtle gradient touch that adds dimension and interest.
Fine-tuning with Masks
To refine the effect, use layer masks creatively. Employ the Rectangular Marquee Tool to select areas, filling them with black to hide unnecessary color stretches. Don’t hesitate to sculpt the stretched hues using the Pencil Tool for pinpoint accuracy.
Perspective Adjustment: The Finishing Touch
For a more dynamic look, consider adjusting your text into perspective. Merge your layers into a single Smart Object, and use the Transform Tool. By dragging corners while holding modifier keys, you can add a perspective that looks both professional and artsy.
This fascinating color stretch text effect opens up countless possibilities for your digital artworks. Whether adding a splash of color or crafting an arresting headline, the techniques outlined here ensure you have the confidence to create stunning visuals. So whip out your text, and let’s add some pizazz to your creative projects. Happy Photoshopping!





