
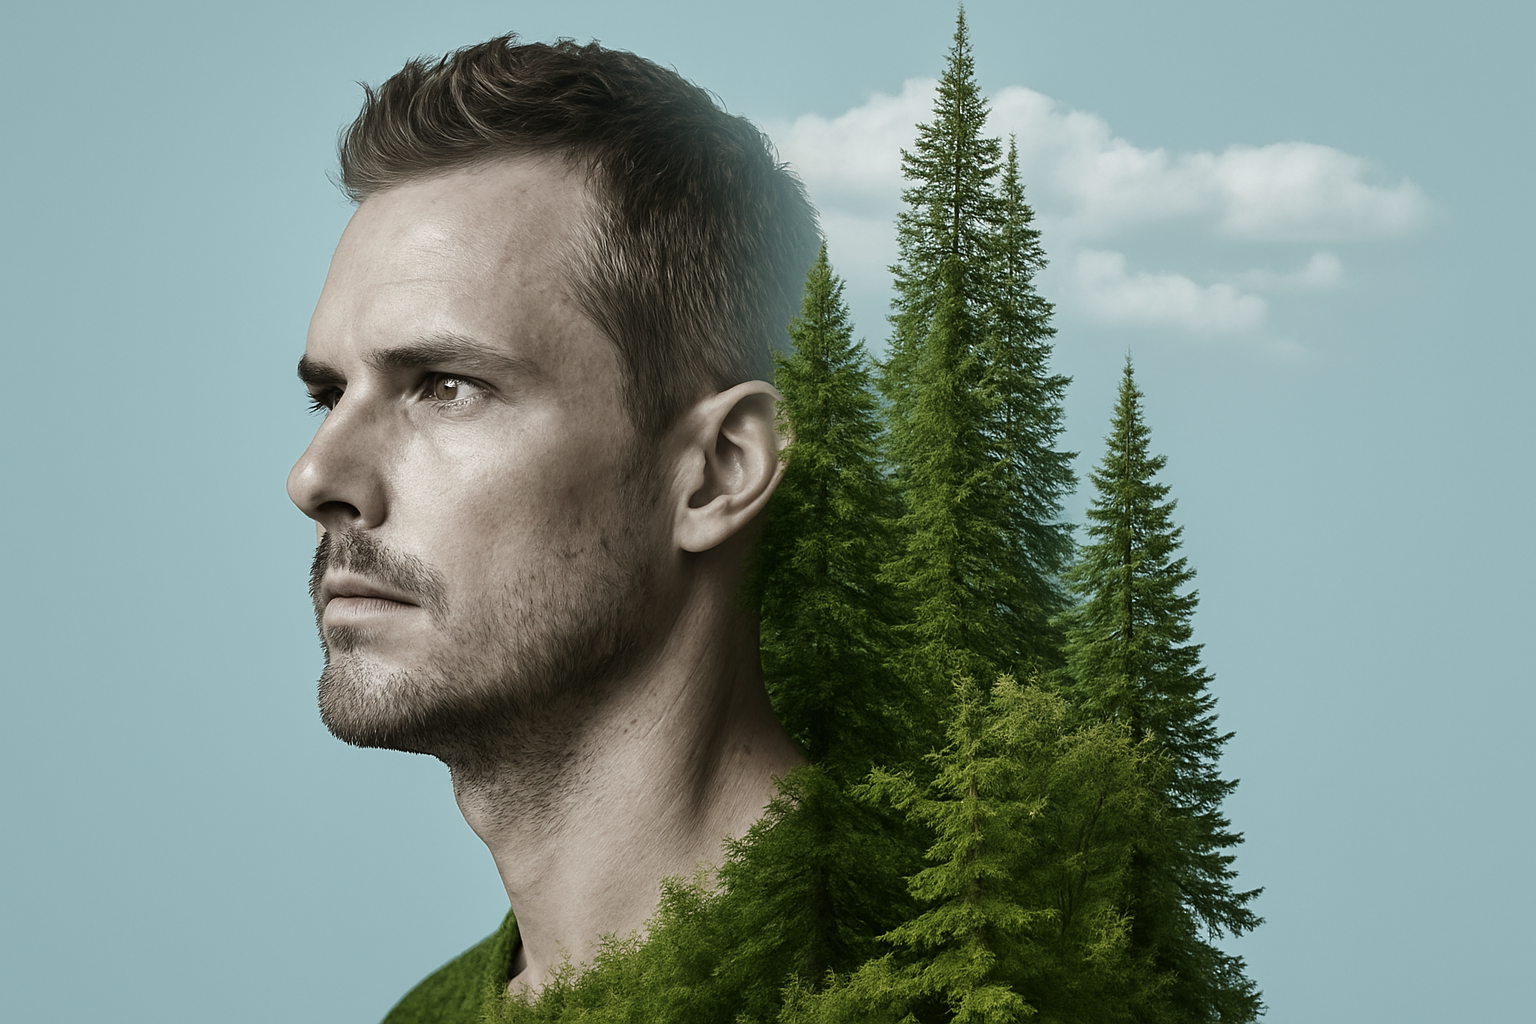
Unleashing Creativity with Double Exposure Portraits
Let’s be honest, if you’ve ever flipped through a magazine, you’ve probably been mesmerized by the mind-bending visuals created through double exposure photography. It’s that magical fusion of two images into one, crafting a narrative that remains as captivating as it is mysterious. In today’s digital universe, such effects aren’t just reserved for skilled photographers armed with analog cameras. Thanks to the wizardry of Photoshop, we can whip up our own double exposure portraits with precision and flair.
Starting with the Basics
First, you need your raw ingredients: two images that you want to merge into one, poetic masterpiece. The usual suspects? Think a striking portrait paired with a scenic shot or intricate textures. For our adventure here, we’re starting with a portrait photo and a dynamic image of trees. And because I’m a generous soul, I’ve thrown in a dramatic high-contrast black and white image of clouds for extra drama.
The Build-Up: Separating Subject from Background
Turn on your Photoshop Workspace, friends! Open up your portrait of choice. Today, we’re focusing on techniques that work whether you’re rolling with the OG Photoshop or have a license so shiny it’s CC 2022. For our first act, we use the Quick Selection Tool. It’s akin to handing your mouse a snazzy pair of scissors, letting you outline the subject in seconds. If edges look a tad scruffy, refine them using Select and Mask or the classic Refine Edge—these are your clean-up saviors.
Pro tip: Versions CC 2018 onwards have the game-changer feature “Select Subject.” It’s like Photoshop’s own brain, instantly zeroing in on your subject with smart algorithms. A click, a miracle, and voilà!
Orchestrating the Two Images
With your subject successfully selected, it’s time to open the accompanying photo. Depending on your friendly neighborhood Photoshop version, you might want to replace the sky or tweak the composition a bit to get both images harmonizing in the same key. For environments CC 2021 and later, Sky Replacement is your button of destiny—adjust edges and remove fades seamlessly.
Of course, no orchestra has ever succeeded without a bass: use Smart Objects to keep your editing non-destructive. This enables you to modify the backdrop’s color or details without causing any permanent harm to the image.
Dance of the Layers
Next, we compositely balance the images over one another. Time to do some Photoshop tai chi—lower the opacity, resize, reposition. Then smack that opacity meter back to 100%.
To achieve that layered look, set your blend modes. Darken, screen, and the deceptively-titled “Multiply” are just a few blend modes that can weave both images into a single cohesive piece. Mask it, duplicate it, play it!
Bringing Features to Light
To spotlight facial features like eyes and lips, you’ll use the brush tool, smartly set to brush in some black on your layer mask. Just imagine you’re a precision artist like Da Vinci, revealing only the essential details you want your audience to get hypnotized by.
Adding Moody Atmosphere with Clouds
Enter, stage left, our black and white cloud image. As with other elements, it’s about finding the right balance. Using blend modes like ‘Screen’ can overlay those dreamy clouds, tying together the portrait and texture seamlessly.
Final Touches: Play with Contrast and Light
Add some ‘oomph’ to your masterpiece by adjusting levels for increased contrast. Clickity-clack, you’ll find the input highlights slider ready and waiting for you. Drag it slightly, just enough to add that air of mystery and intensity.
You’re Now a Double Exposure Virtuoso
And there you have it: a double exposure portrait worthy of framing and showing off. Yours might tell a story, evoke emotion, or maybe even inspire some double-taps on social media.
Feel free to indulge in creative tangents, experimenting with different textures and images. With Photoshop as your canvas, go forth and unleash your visual storytelling prowess!





