
Unleash Your Inner Retro Tech Genius
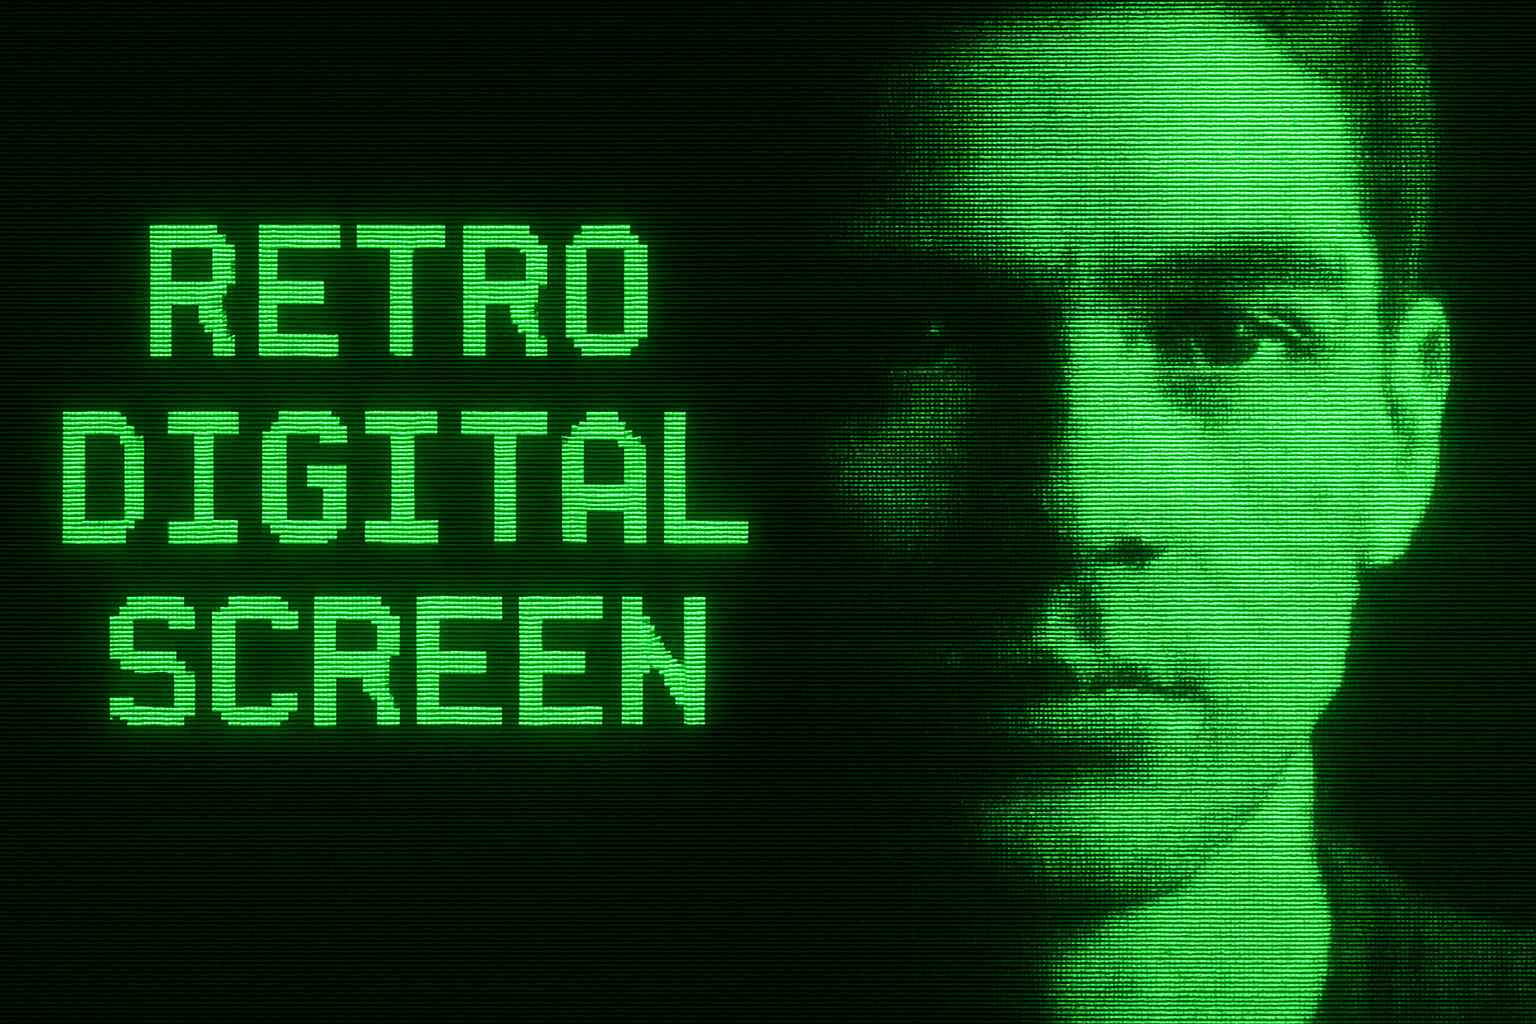
Sure, today’s computers boast mesmerizing Retina displays and resolution so fine it practically massages your eyeballs. But there’s something undeniably nostalgic about the old-school, monochromatic green glow of vintage monitors. If you’ve ever longed to recapture the days of floppy disks and dial-up Internet—without actually reverting to 56k speeds—then this tutorial is for you. We’ll guide you through the nifty process of recreating a face inside that iconic green monochrome computer monitor look using Photoshop. Retro enthusiasts, this is your new go-to Photoshop trick!
Setting Up Your Digital Canvas
Before diving into the heart of this tutorial, we prepare our digital canvas with a vintage CRT monitor screen shape. This acts as the window to view our monochrome masterpiece. Ensuring your layers are in order is the key here; unlocking your primary layer is crucial so that we can layer the magic on top—and beneath—it.
Quick Steps:
- Unlock your primary layer to make it editable.
- Hide the original layer temporarily, creating a blank canvas for modification.
- Create a new layer below the unlocked shape by Ctrl-clicking or Cmd-clicking the New Layer icon. Fill it with black to give us a dark contrast background.
Crafting Monochromatic Magic with Scanlines and Patterns
There’s nothing quite as evocative of vintage tech as those classic scanlines. They’re the metaphorical tech version of cozy vinyl record pops and crackles. To get started, you’ll need to fill a new layer with 50% gray, then dive into Photoshop’s Filter Gallery to breathe life into them with halftone patterns.
Essential Filters:
- Halftone Pattern in Filter Gallery: Set as ‘Line’, size 2, and contrast 50.
- Compress your pattern horizontally using the Transform Tool.
- Ensure your scanlines sit nice and tight by merging them into a seamless fabric of digital nostalgia.
Turning Scanlines into Smart Art
Turning our scanlines and layered wonders into Smart Objects is like giving them superpowers—or, less dramatically, allowing for non-destructive editing. This step ensures that any adjustments we make afterwards will preserve the integrity of our already-tinkered creation.
Steps to Superpowering:
- Convert the scanlines into a Smart Object. This is done by selecting ‘Convert to Smart Object’ from the Layers panel drop-down.
- Add a Lens Correction filter, dialling in just a smidgen of distortion (around 1.1), to capture that rounded CRT feel.
- Apply a light Gaussian Blur (0.5 pixels) to soften our scanlines just a touch.
Headlining: Adding Your Subject’s Face
Here’s where it gets personal. Your own mug shot (or someone else’s) becomes the star of the show! With your willingly sacrificial stock photo in hand, use tools like Adobe’s Quick Selection or levels adjustments for precise cropping and selecting.
Pro Photomanipulation Tips:
- Brightening a dark background may help the Quick Selection tool differentiate your subject from its surroundings.
- Transform your selections into new layers for clean, manageable edits.
- Layer opacity and color adjustments should always match the glowing green tune of our retro display goal.
Finalizing the Aesthetic with Color and Glow
Now’s the time to tinker with hues and glow to make your image convincingly vintage. Think of it as haphazardly arranging the lighting for a selfie circa 1980.
- Hue/Saturation Adjustments: Set hue to 120 and lighten by -60 to capture the retro-green glow.
- Layer Blending Modes: Switch to ‘Multiply’ and ‘Screen’ modes as necessary to achieve depth.
- Employ both Inner and Outer Glow layer styles to provide that dimensional luminance.
Extra Layers of Vintage Appeal
For the pièce de résistance, your project gets polished with additional layering techniques for both the scanlines and the head. This ensures your final image exudes that nostalgic Saturday night tech tinkering we are aiming for.
- Blend and Opacity Adjustments: Play with ‘Subtract’, ‘Vivid Light’, and reduce opacity as you go.
- A final pass of Levels adjustments brightens and balanced your image to perfection.
Conclusion: Mastering the Old with the Tools of the New
And there you have it—a stunning recreation that bridges the gap between beloved computer nostalgia and modern-day editing prowess. By applying these techniques, even your holiday photos can now look like they popped out of a timey arcade machine. Embrace the novelty of the past with the power of today’s Photoshop capabilities.
Photoshop just got a little more fun, didn’t it?





