Turn Modern Faces into Ancient Art with Ease
Ever wonder how to combine your modern-day selfies with the timeless allure of ancient sculptures? In today’s digital artistry world, you can create a polished marble Roman bust effect from any high-res photo of a face. Roll up your sleeves and strap in, because we’re diving deep into Photoshop to transform your portraits into classical masterpieces.
Setting Up Your Canvas for Time Travel
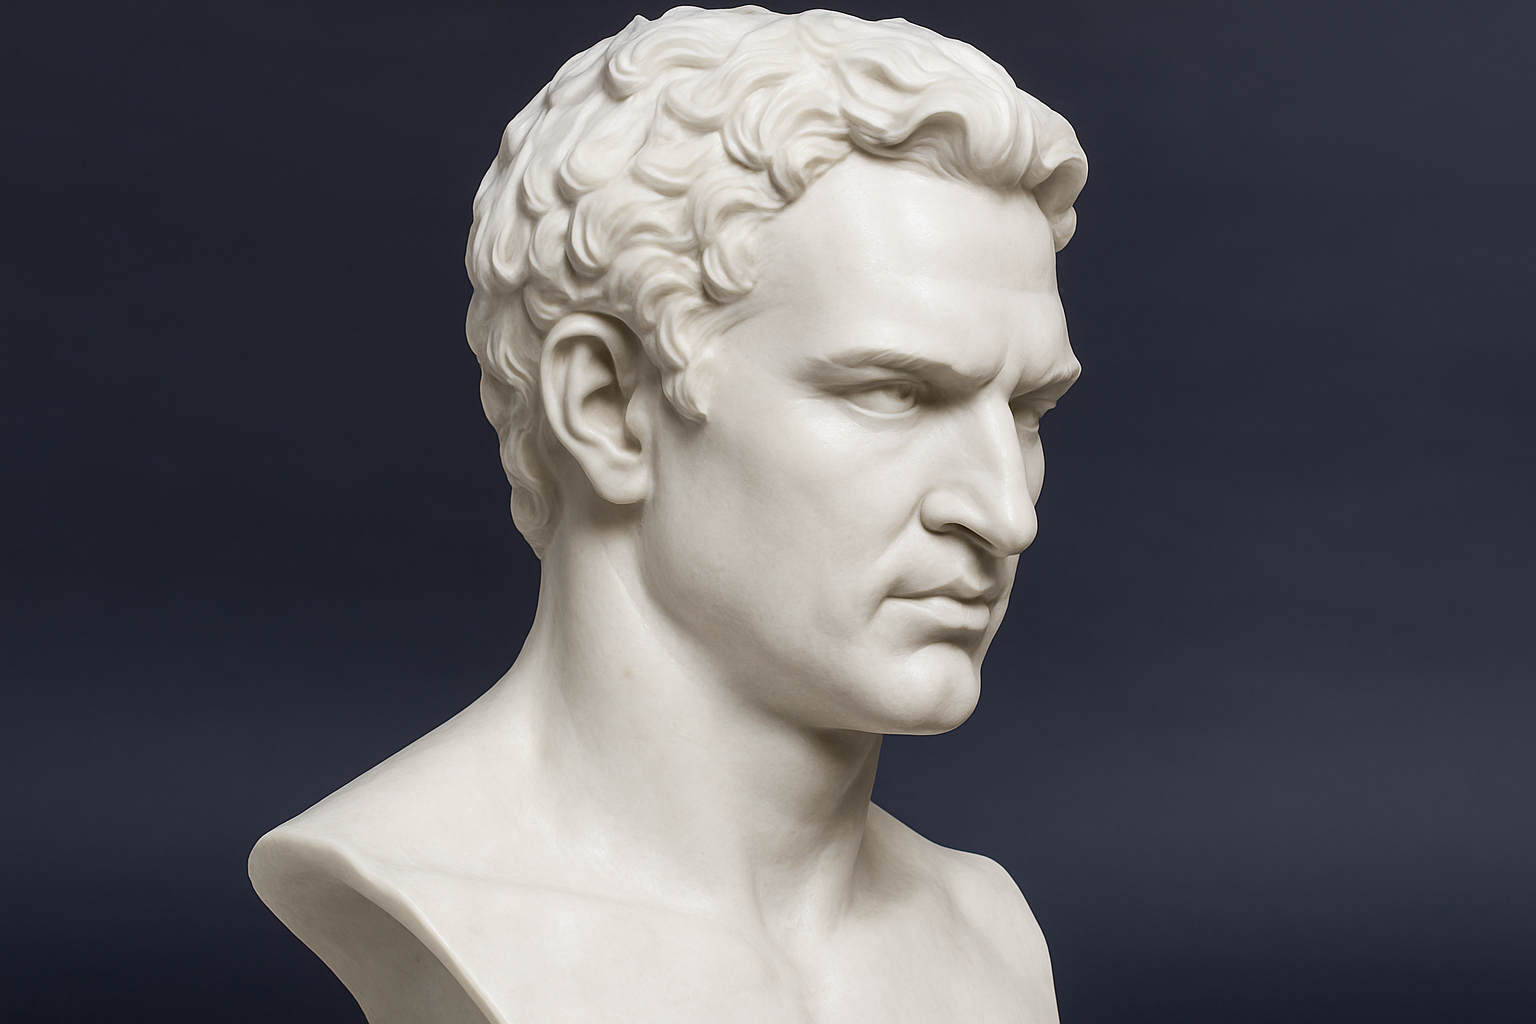
To kick things off, you’ll want to start with a close-up, front-facing, high-resolution image. Lighting should ideally come from above in the same direction as your marble bust template. And yes, I’ve crafted a special faceless marble bust just for this project, which you can download from the video description.
Once you’ve nailed the perfect photo, layer it over your bust template in Photoshop. The first tweak here is reducing the photo opacity to peek through and get some alignment magic going. With your move tool active (hit V if it’s shy), drag and place until your subject’s eyes align with that classic marble bust.
Layering Like an Old Pro
Reducing your photograph’s color saturation is easy; just punch in Ctrl + Shift + U (or Command + Shift + U if you’re on a Mac). Next, make a nice selection around the head. The Quick Selection tool set to a radius of 10 pixels offers a quick route to success, but remember, we’re not about those ear selections. Start carving out with love.
With your selection above, create a layer mask — just like that, you’ve told Photoshop to “pay no mind” to parts of the image that don’t matter. It’s here where your real sculpting begins.
Warping Imaginations: The Puppet Warp Tool
Admittedly, both Roman emperors and you have wide heads. But thankfully, Photoshop’s Puppet Warp tool (from CS5 onwards) lets us resize our marble without twisting history. Place some crafty pins on your mesh like a patient seamstress, and drag those anchors until your subject and bust are a mosaic marriage of art and photo.
And for those who like even deeper dives, I created a whole tutorial about Puppet Warp linked for your convenience.
Sculpting Marble with Photoshop Brushes
Bringing depth into your modern-day Augustus involves blending techniques with brushworks. Mask over our marble bust to gently reveal and conceal the masterpiece beneath. With a trusty soft round brush at 100% opacity, it becomes an artform in itself to finesse those transitions in your layers.
Adding some marble-like smoothness involves using the Smudge tool. Opt for a hard round brush set at 100% hardness and apply at about 10% strength — you’re molding character and age into your modern photo, one stroke at a time.
Engraving the Ideal
With text tools in tow, create inscriptions worthy of an archaeologist’s envy. Use the Seder font for that timeless Roman aesthetic. Here’s the trick: make your text invisible using zero fill, and retain the glamour of Bevel and Emboss styles. Quick as a centurion’s charge, adjust those bevels to cut deep, yet smooth like perfectly sliced marble.
Final Touch of Renaissance
Finally, dazzle your digital artistry with a shiny finish using Photoshop’s Plastic Wrap filter. Remember, we aren’t making a wax statue here, so blend out some of that shininess, particularly over text areas. Adjusting brush opacity to tone down those glowing beams of new skin. It’s a delicate balance, yet when achieved, it’s odes to Ovid under marble archways.
Rome wasn’t built in a day, but with these Photoshop techniques, your masterpiece can rise from digital dust in a captivating click. So go ahead, empower your portraits with the grace and hum of history’s stone artisans. After all, their chisels have nothing on your precision trackpad.
Check out the complete YouTube tutorial above to animate your own virtual renaissance. And remember, keep your Photoshop skills sharp—because being a modern-day Da Vinci is well worth the pixels.