Revolutionizing Your Image Overlays: Seamless Face Merges Made Easy!
Photoshop aficionados, have you ever found yourself stumped by the idea of merging images with different brightness, contrast, color, and tone? Well, scratch your head no more! Today, we’re diving into the extraordinary world of Auto-Blend, a feature among the many wonders of Adobe Photoshop, serving up seamless image compositions like a pro.
What’s This All About?
Picture this: you’ve got two images that are meant to become one. Yet, one’s too bright while the other sulks in a shadowy hue. Fear no more, because Auto-Blend is here to save the day. This handy Photoshop tool ensures that even the most contrasting images can be blended to create a visually consistent composite.
The catch? Auto-Blend doesn’t work with Smart Objects, video layers, 3D layers, or background layers. But don’t worry—stick around as we unravel the method of face-swapping like a digital magician!
Taking the First Step: Preparation
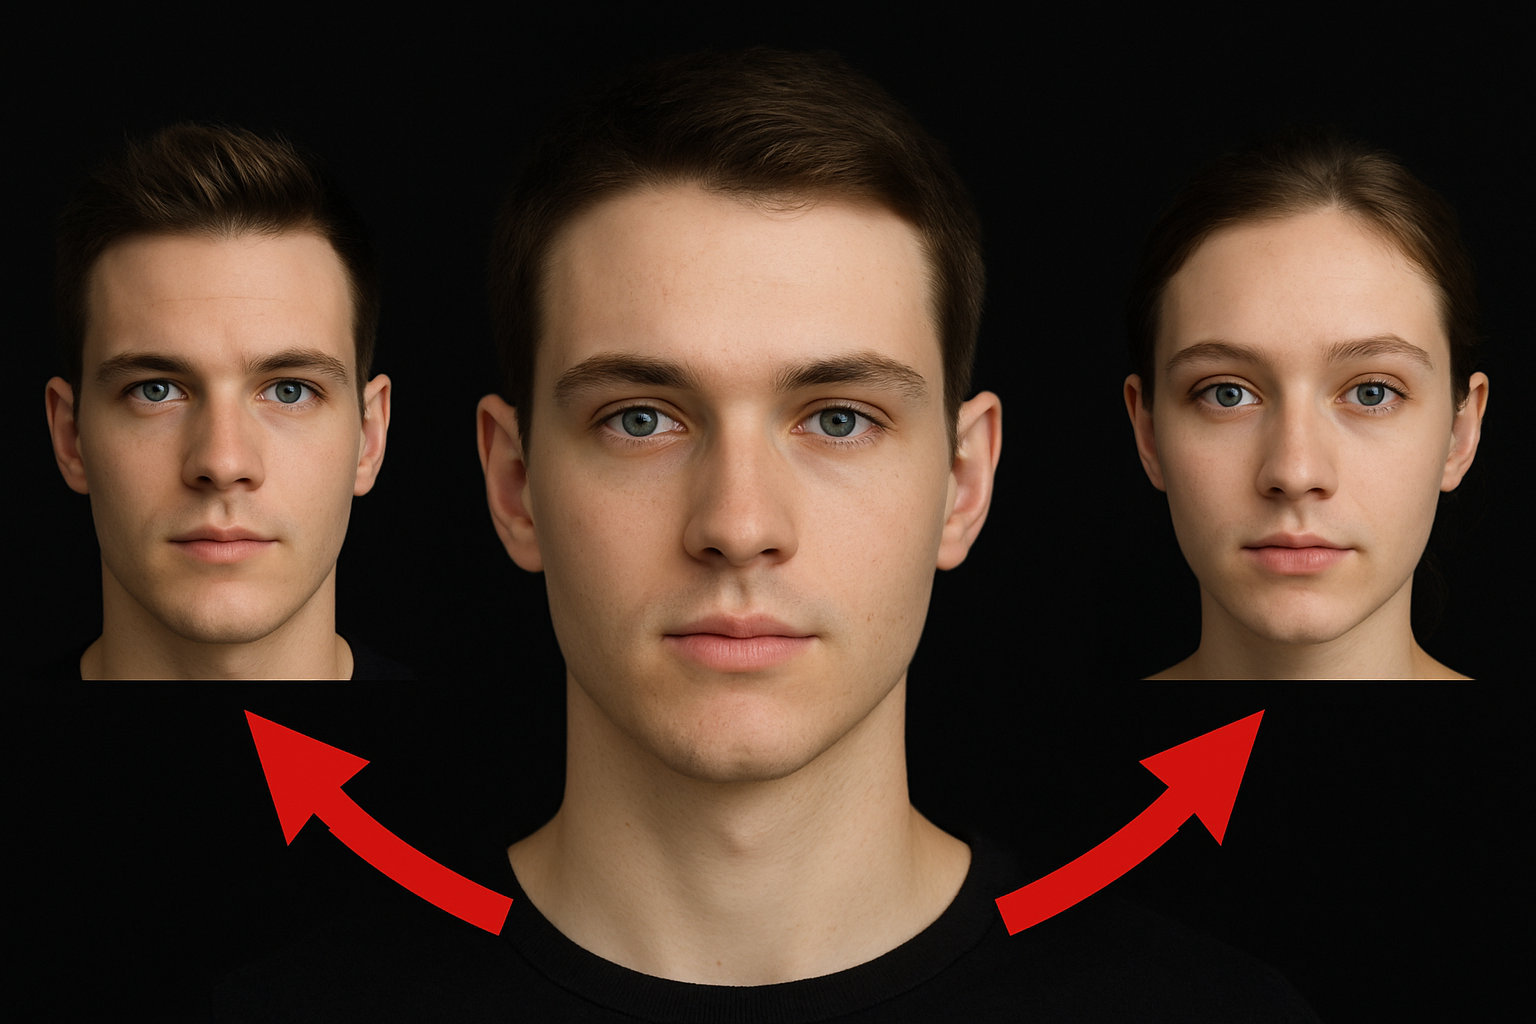
Eyeing two captivating portraits on Shutterstock that seem too good together to resist molding into one? Let’s unfold the magic. Start by selecting your base image. For example, you might choose to overlay one person’s facial features onto another. Sounds like fun, right?
However, if your subject has any elements extending into areas you wish to manipulate, like extrinsic eyebrows, let’s handle it like so:
- Duplicate the Layer: Press
Ctrl (Cmd) + Jto ensure you’re not messing with the original. - Patch Away: Use the Patch Tool to highlight and drag areas you want to nix, like pesky eyebrows. The secret’s in the drag—to a clean destination!
Patching in the Goodness
Once your base image is squeaky clean, open your tool-of-choice, the Lasso Tool, and summon your second contender. In this adventure, we’re going for the face:
- Lasso Selection: Outline your patch area with the Lasso Tool. Feather? Zero pixels for precision.
- Move It, Move It: Use the Move Tool (press “v”) to drag your selection onto the base image tab. Drop it like it’s hot!
Fit to Frame
Hover your patch over the base image like Cinderella’s glass slipper. Now it’s time to resize and get a snug fit:
- Transform Command: Hit
Ctrl (Cmd) + Tto tweak your selection’s size and position until it sits just right.
Next up, get surgical with selections by using Ctrl (Cmd)-click on the top layer, contracting it under Select > Modify, then snip away with delete.
The Autopilot: Activating Auto-Blend
Onto the pièce de résistance: blending those layers so seamlessly that you’ll wonder if the two images were separated at birth.
- Auto-Blend Layers: With both layers selected, make your way to the Edit menu and engage “Auto-Blend Layers.”
- Stack It Right: Choosing “Stack Images” will prompt Photoshop to work its magic, blending hues, tones, and edges with a seamless touch. Feeling daring? Opt for “Content-Aware Fill” for later Photoshop versions, ensuring transparent areas don’t rain on your parade.
Final Touches: Adjusting Brightness and Contrast
Breathe life into your image by adjusting its brightness and contrast with:
- Levels Adjustments: Scroll up to the Adjustment Layer icon and choose “Levels”. Clip it to the layer beneath to keep things orderly.
- Bright and Bold: Use the Mid-tone slider for adjusting darkness or lightness to your heart’s content. Fine-tune until satisfaction ensues.
Is there a pesky element you’d like restored to its original glory? Easy-peasy!
- Brush It Back: Activate your Mask, pick a Black Brush from the Brush Tool, and paint over areas requiring restoration, guided by size and precision adjustments.
And voilà! You’ve created a masterpiece with deft strokes of creativity and some clever tool usage. Inspired to try your hand at other compositions? Dive in, make merry, and let Auto-Blend surprise you like never before.
Now, wasn’t that a ‘brush’-ing success?


