Capturing the Cinematic Charm of Golden Hour
Ah, golden hour—the superhero of natural lighting for photographers and Instagrammers alike. Known to conjure rich, warm tones and a soft glow, it’s the magic hour when the mundane transforms into mythical. It’s not just about catching the perfect sunset selfie anymore; today we’re diving into how you can transform your regular photos into striking, golden hour-inspired movie posters, and make them worthy of a cinematic masterpiece.
The Golden Hour Effect in Photoshop
In photography, “golden hour” refers to that enchanting window of time right after sunrise or just before sunset. The daylight during this period is softer and tinged with a luscious golden hue, setting the stage for the perfect dramatic effect. Here’s how you can bring this awe-inspiring light to your photos using Photoshop.
First, select a photo you’d like to transform. If you’re fishing for inspiration, sites like Shutterstock can be a treasure trove of possibilities. Start by ensuring your image’s size is approximately 800 x 1100 pixels at 150 pixels per inch. If your image resolution or size differs, no worries—just tweak the filter settings to achieve the desired outcome.
Creating a Non-Destructive Workflow
Converting your image to a Smart Object is a game-changer. It allows for non-destructive edits, meaning you’re free to fiddle with filters and adjustments without risking a Photoshop meltdown. To do this, click on the icon located in the upper right corner of the Layers panel and select “Convert to Smart Object.”
Magic with Lens Flare
Your mission—if you choose to accept it—is to add a mystical lens flare to replicate that warm, golden hour light. Navigate to Filter > Render > Lens Flare, and set the brightness to 140. The lens type you want is the 105mm Prime. Feel free to play with the positioning to find the sweet spot for your image’s light source. Once satisfied, remove it momentarily by pressing Ctrl or Command + Z.
Now, create a new layer and fill it with black (hint: press D to set your foreground/background colors and Alt + Delete for a quick fill). Reapply the lens flare using Alt + Ctrl + F (or Option + Command + F on a Mac), which places it on the new layer, avoiding pesky color shapes and lens rings outside the main circle of light.
Coloring Outside the Lines
Give your work of art its distinguishing hue by hitting the lens flare layer to open the Layer Style window. Select Color Overlay, set the blend mode to Soft Light, and enter the hexadecimal color code FF9C00. There you go—you’ve just painted a golden sunset sky, without the sunburn.
Enhancing the Poster Appeal
Make a copy of the layer to intensify the effect (Ctrl + J will do the trick), but adjust the opacity if things start feeling too intense. Next, bloom out those lighter tones to add some drama by opening the Filter Gallery, diving into the Distort folder, and selecting Diffuse Glow. This is where you set the stage for that misty dawn effect without anyone guessing you actually slept in.
Finally, to evoke that vintage, grainy feel we all adore in movie posters, embrace the grain by heading to Filter > Camera Raw Filter. In the Effects panel, adjust the grain to 50 and both size and roughness to 25. Blur it out a bit with Gaussian Blur if necessary, but no more than a 1.0 pixel radius.
Fine-tuning the Final Scene
Want more contrast or a moody aesthetic? Use a Curves adjustment layer to dial down certain mid-tones or punch up highlights. The bottom left of the diagonal line represents the darkest tones and the top right the brightest. Adjust as needed to strike the perfect balance between moody and mesmerizing.
With these steps, you’ve created a piece of art that’s ready to grace a blockbuster movie poster or give your social media feed a cinematic flair that screams Oscars, here we come!
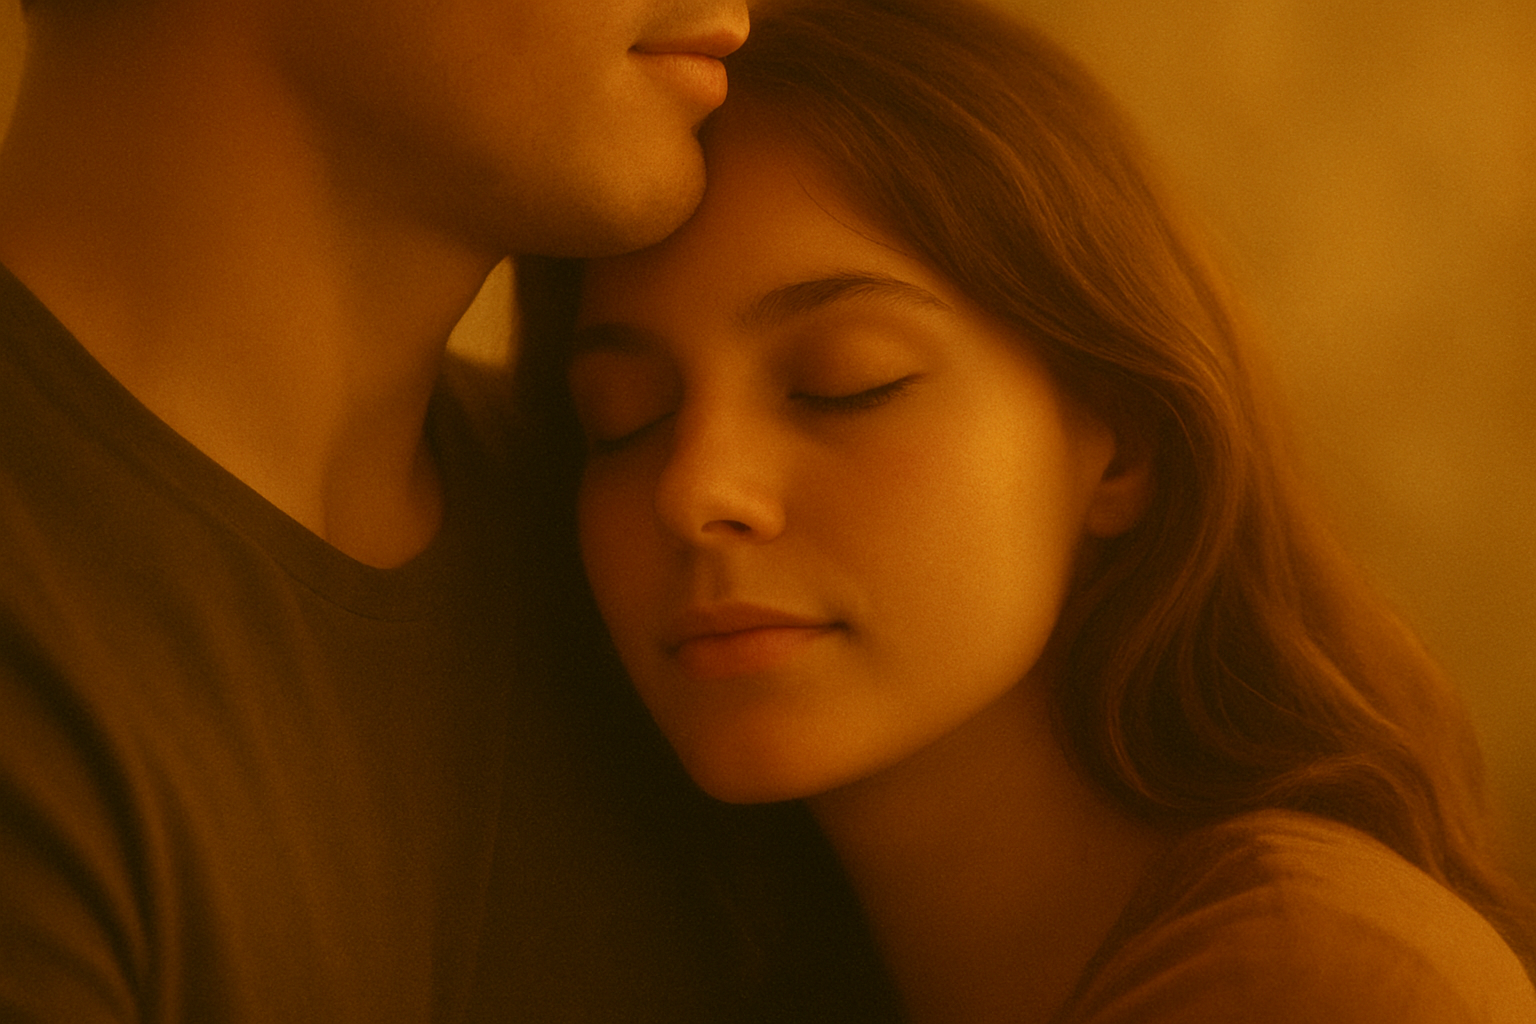
Embrace the power of the golden hour, and let your photos shine with all the grandeur of a summer sunset on the big screen. Whether it’s a distant landscape or a close-up portrait, remember—you’re crafting magic, one pixel at a time.


