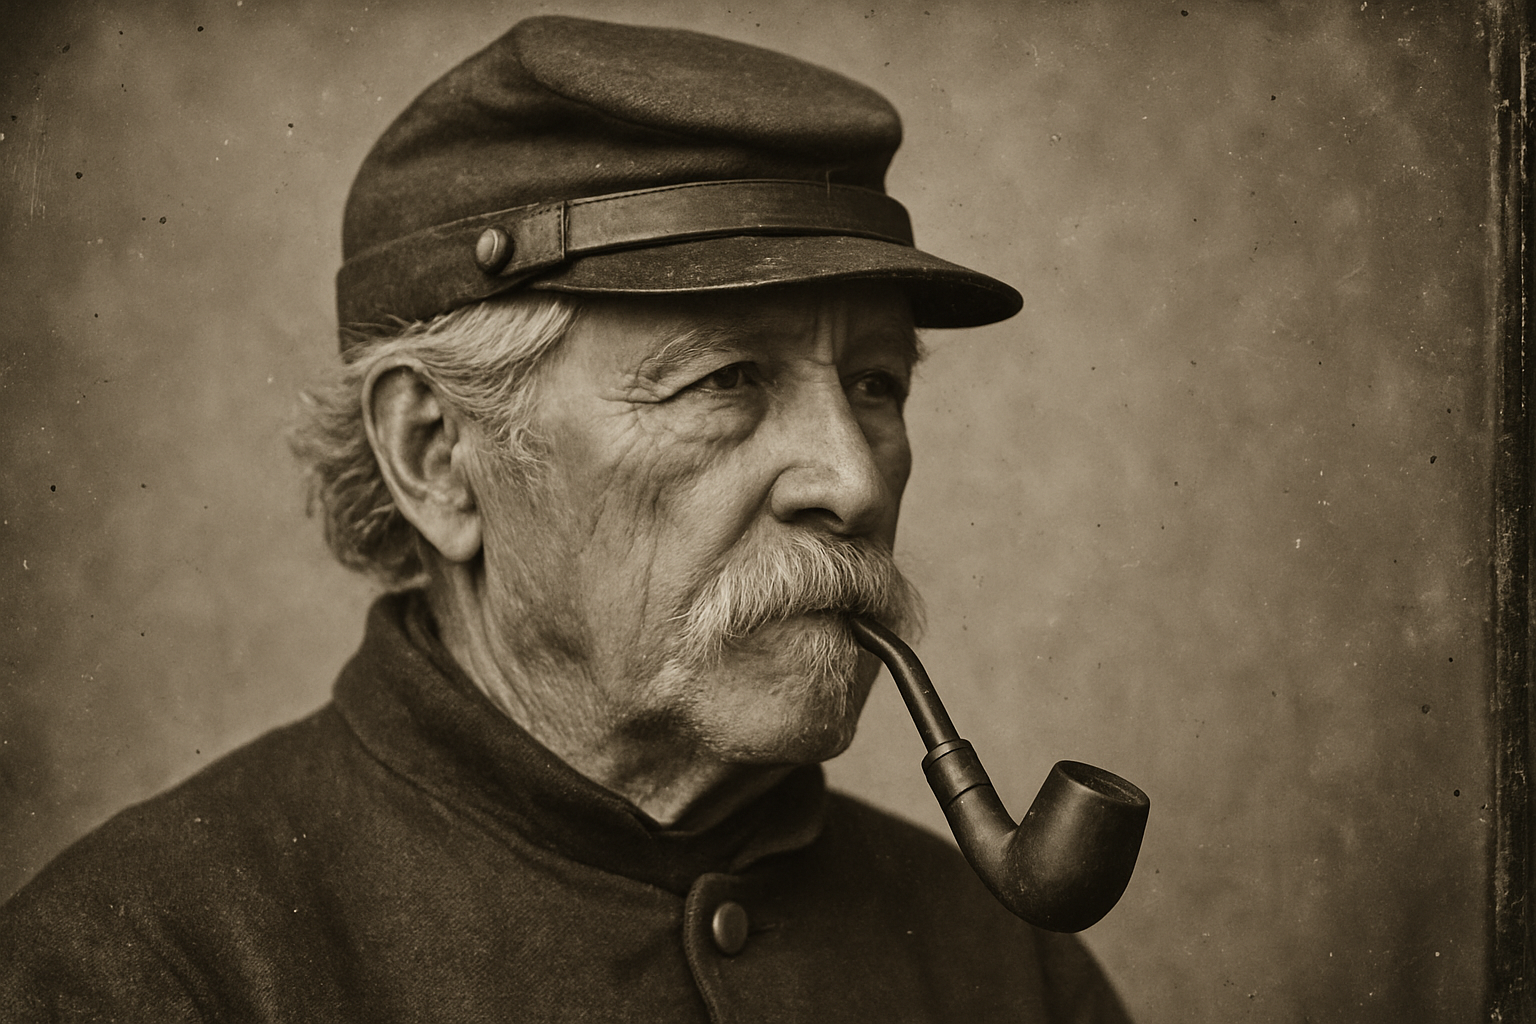
Unveiling the Secrets of Vintage Photography Magic
Picture this: a timeless, antique photo that resonates with history and the romance of the 19th century. Ah, the daguerreotype! It’s the analog ancestor of selfies — minus the instant gratification. If you’ve ever fancied capturing the essence of this classic medium using modern tools like Photoshop, you’re in luck. Let’s dive into the mesmerizing world of daguerreotype photo effects.
Aged Aesthetic: The Process of Crafting a Daguerreotype Style Image
Creating a daguerreotype is all about layers, literally and metaphorically. Let’s unfold the process, step by step, to transform a plain photo into a piece of vintage art.
Setting Up Your Canvas
First things first, download the Photoshop template, which includes two essential layers: a texture of scratches and a genuine daguerreotype photo texture. This template sets the stage for our digital tomfoolery.
- Rotate the Template: If you prefer a vertical image, rotate the template via Image > Image Rotation > 90 degrees Clockwise.
- Fit the Canvas: Use Ctrl/Cmd + 0 to fit the entire document on your canvas.
Preparing Your Photograph
Your choice of photo sets the mood, whether color or black and white—it doesn’t matter. Import your desired photo into the template using the Move Tool, dragging it onto the template tab. Resize and reposition it as needed.
Achieving the Grayscale Effect
To emulate that vintage feel, convert your photo to grayscale using an Adjustment layer:
- Add a “Black & White” Adjustment Layer: Switch the preset to High Contrast Blue Filter. This intensifies your photo’s drama while selectively brightening key areas like faces or uniforms (after all, expressions are timeless).
- Merging Layers for Drama: Copy your photo for good measure (Ctrl/Cmd + J) and merge this with the black and white adjustment layer (Shift-click both layers and press Ctrl/Cmd + E).
Brushing Up Brightness with the Dodge Tool
Now for the bit where digital magic meets brushwork:
- Set Up the Dodge Tool: Make sure it targets Midtones with 100% Exposure.
- Brighten Specific Areas: Toggle the brush size using bracket keys [ ], and let light spill onto the areas you deem essential (faces, for example).
Texturing with Soft Lights
The pièce de résistance? Adding a textured layer for that aged photo feel.
- Daguerreotype Texture: Adjust its blending to Soft Light and duplicate it (Ctrl/Cmd + J), setting the copy to Multiply for deeper tones.
- Mask and Highlight: Utilize a layer mask to subtly reveal daguerreotype texture using the Brush Tool, with a softness quotient of 0%.
Finishing Touches: Scratches and Sepia
- Scratches: Activate this nostalgic marvel by blending it to Screen.
- Sepia Tone: Channel the aged amber tint by adding a Hue/Saturation adjustment. Check Colorize and set the Hue to 36.
The Signature of History: Add Text and Vignette
A true daguerreotype isn’t complete without handwritten flair.
- Vignette: Start with a soft vignette to entice focus around the text. Select a black Linear Gradient Tool for the vignette effect, pulling it up from the image’s bottom.
- Handwritten Text: Use a font like Emily Austin, reminiscent of 19th century quill pen veracity. Align your words centrally and fine-tune their opacity for true antiquing.
Polish and Present
With every detail attended to, stand back and admire your digital daguerreotype portraiture. A photograph just transformed into a historical artifact—worthy of any parlor room gallery.
If you’re thrilled with how vintage photo manipulation can bring old-world storytelling to a new audience, there’s a lot more to explore. Dive deeper into the art of Photoshop and beyond!
Feeling inspired? If you appreciate these tutorials, consider supporting us through Patreon. Keep the creativity flowing and unlock early access to more photographic escapades and tutorials.
And remember, every photo you modify adds another chapter to your artistry story. Happy editing!


