Sharpen Up Those Fuzzy Graphics
Do you ever find yourself in the clutches of low-resolution despair? Those moments when your digital creations look like they’ve been smeared with Vaseline? Fear not, dear creative soul, for today we tackle the age-old quest of converting blurry, low-resolution graphics into sharp, high-resolution masterpieces. Whether you’re working with GIFs that look like they crawled out of 1998 or JPEGs that seem to have taken a blurry selfie, we’re here to help.
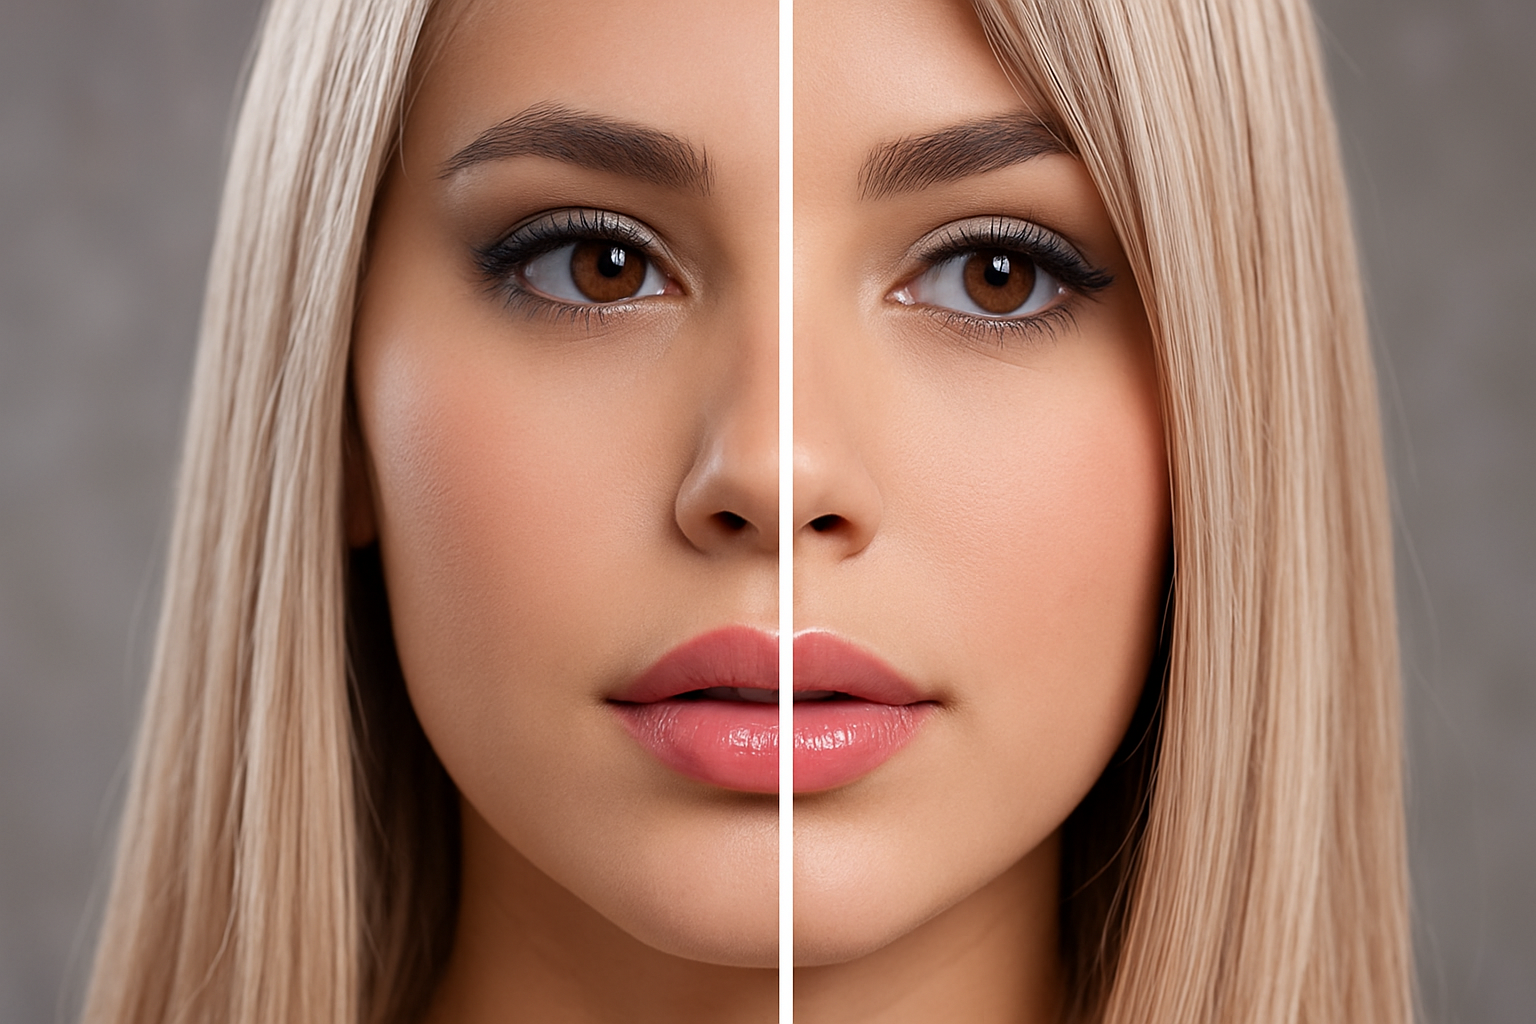
The Magic Behind Image Restoration
Before we dive in, let’s have a quick chat—no technique completely restores every detail of a low-res image. The missing pieces are, well, missing. But don’t let that stop you. The goal isn’t perfection but improvement. By reducing blur and upping resolution, you can transform an unusable image into something spectacularly usable.
Whether you’re working with a low-resolution black-and-white graphic or a compressed photo, we’ll show you how to elevate it to high-resolution brilliance using a blend of finesse and technology.
Starting with the Basics: Resizing Your Graphic
First things first, you’ll want to fit your low-res graphic onto your canvas to check its size and resolution. This is as simple as pressing Ctrl or Command + 0, then heading to Image > Image Size.
Don’t worry if your graphic is pint-sized. Our example starts at a mere 119×128 pixels with a resolution of 72 dpi. If you find yourself with a graphic floating in cyberspace without a background, we solve that by adding a white backdrop—a little trick to ensure all edits apply uniformly.
Scaling Up and Smoothing Out
Once you’ve set the stage, it’s time to up the resolution to 300 dpi and choose dimensions that suit your project’s needs. Enable the magic resizing potion by ensuring the chain-link icon is active to maintain aspect ratio fidelity when you adjust dimensions.
With that done, we’ll convert our graphic into a Smart Object. This step locks in the goodness as we modify it non-destructively. Applying a Gaussian Blur is like spreading butter: we’re smoothing out the rough edges to take away bumpy artifacts.
Building Tonality and Contrast
Enter Curves Adjustment. This tool is where the wizardry transpires. Imagine your image’s tonality spread on a graph—highlights, shadows, and mid-tones alike. By deftly manipulating this spread, you’ll achieve the contour you desire—be it dramatically crisp or softened.
When the edges start looking dainty, you might want to bulk up your graphic using manual adjustments like the Pen Tool for surgical precision.
The Photoshop Secret: Preserve Details 2.0
Now, let’s take a detour from graphics to images with a magical hidden gem in Photoshop CC and later: Preserve Details 2.0. Like a digital Gandalf, this filter helps scale and clarify photos beyond traditional enlargement methods. It channels artificial intelligence to increase sharpness and mitigate pixelation, all while giving voids of detail a creative lease on life.
Found under Edit > Preferences > Technology Previews, this feature is a must to unlock image clarity previously thought impossible when working with older or smaller image files.
Anticipate the Transformation
Preserve Details 2.0 revolutionizes your workflow by elevating images without compromising quality. Just bump your desire to 300% enlargement, choose this setting, and behold a clearer, significantly less pixelated image.
Don’t forget to explore the noise reduction sliders for a meticulously fine finish, though overly zealous tinkering might wipe out much detail. Keep it around 0% unless your overall look benefits from it.
High-Pass Filter: A Lasting Impression
Ultimately, to impart an additional layer of sharpness, apply the High-Pass Filter. Create a duplicate, navigate to Filter > Other > High-Pass, and teeter the adjustment until details start to peek through—one pixel suffices as a good starting point.
Finally, change its blend mode to Overlay and marvel at your creation—the culmination of hand-crafting and clever Photoshop filtering. It’s transformative, much like those late-night infomercial promises (except, this time, it’s real).
Wrap-Up: From Blurry to Brilliant
Whether bringing life back into a retro logo or hyping up a pixelated photo, transforming low-resolution works into polished high-res gems is now well within your grasp. Sure, it’s no silver bullet, but the transformation is real, and your appreciation of each detail will have your audience in awe.


