Unleash Your Creative Power with a DIY Supernova
In today’s digital age, mastering the art of Photoshop is akin to wielding a magic wand. Whether you’re looking to jazz up a design project or simply flex those creative muscles, few effects capture the eye—and the imagination—quite like a supernova. We’re diving into the depths of Adobe Photoshop to show you how to create a stellar supernova effect from scratch. No need for fancy plugins or pre-made assets, just pure creative power. Ready to become the galaxy’s most sought-after digital creator?
Getting Started with Your Galactic Canvas
First things first, let’s set up your new cosmic playground. Open Photoshop and create a new document. This is easily done by pressing Ctrl or Cmd + N. For our supernova, dimensions are key—set the width to 1920 pixels, height to 1080 pixels, and a resolution of 150 pixels per inch. Ensure your color mode is in RGB, using 8 bits per channel. A dark, starry night vibe is essential, so set the background to black.
Adding the Celestial Ingredients
- Gradient Overlay: Unlock your layer and introduce a Gradient Overlay with a Blend Mode set to ‘Normal’. Select a ‘Black-White’ gradient and check ‘Reverse’ and align it with the layer. Choose a Radial style, with an angle of 90 degrees and scale it at 100%.
- Color Overlay: Use a color overlay for a more vibrant tone. Set the blend mode to ‘Color’ and type the hexadecimal code 5B3307—perfect for a fiery touch.
Smart Object Magic
Convert your gradient into a Smart Object. This handy feature not only keeps layers intact but also allows for non-destructive transformations. Use Ctrl or Cmd + T to access the Transform tool and link the width and height options to scale uniformly at 195%.
Crafting Cosmic Clouds
Create a mesmerizing layer of clouds by making a new layer filled with black. Head to Filter > Render > Clouds. Transform them with Ctrl or Cmd + T, and for added cosmic twist, apply a ‘Fisheye’ warp with a hefty -100 bend.
Starry Twirls and Blends
Convert this layer into a Smart Object again and change its Blend Mode to ‘Overlay’. Amp up the energy by twisting it 45 degrees with the Twirl filter. Make a copy of this layer (Ctrl or Cmd + J), transform and rotate it a full 180 degrees for asymmetrical depth.
Infusing Light and Vibrance
Now that our canvas is buzzing with potential, create an Adjustment Layer with a solid B65A00 color. Set its Blend Mode to ‘Overlay’, clipping it to affect only the layer below. This adds that dramatic, star-blazing glow.
Focus the Radiant Light
To make those starry streaks pop, another new layer filled with black is needed. Go through Filter > Noise > Add Noise with 100% Gaussian and Monochromatic settings. Blur it slightly at 0.3 pixels and adjust with levels for stark contrasts. Now, ‘Radial Blur’ it into submission, followed by more twirling and slight Gaussian blurring.
Birthing the Star
Return to the bottom layer and whip out the Elliptical Marquee Tool. From the center, drag out a selection to craft the star’s core, modulating the edges for a soft feathered glow. Use “Inner Glow” in Layer Style to give it that celestial hue, using FFBA00 in Normal Blend Mode.
Final Touches: Painting the Stars
Finally, the last layer—brush over that star to accentuate brightness. Utilize a soft brush with 40% opacity; strategically illuminate the rim to mimic shimmering starlight.
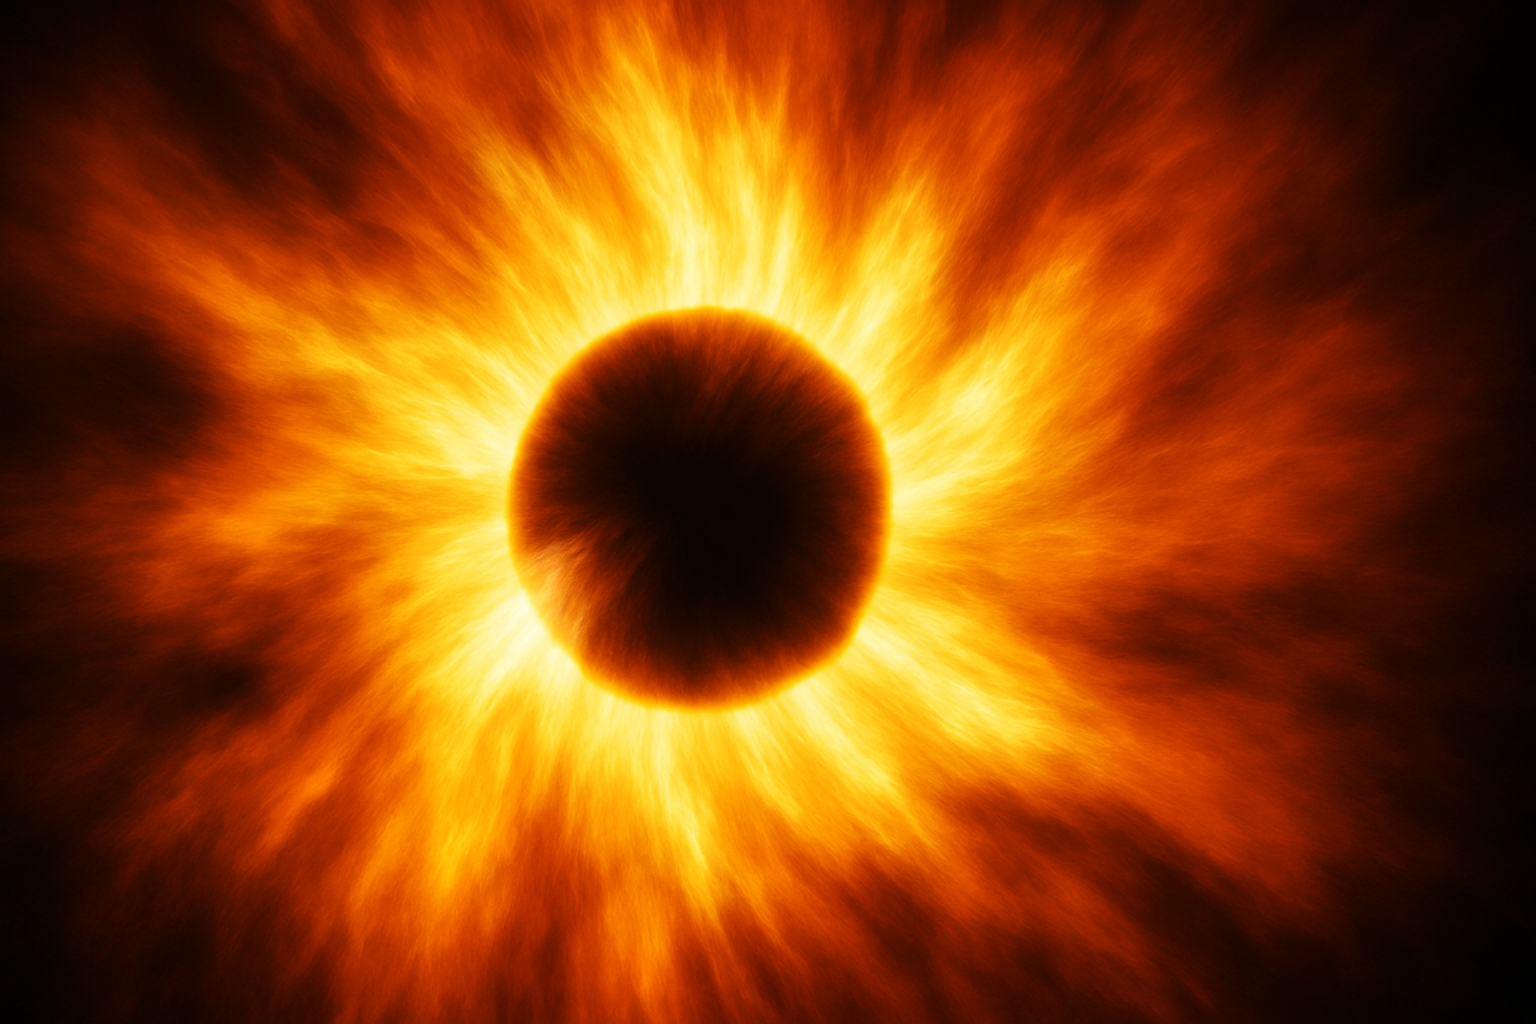
Congratulations! You’ve just spun your own digital supernova into existence. This cosmic journey is just the start—who knows what other celestial designs await as you master the craft? Want the visuals from each step? Check out the video tutorial above for a guided walkthrough.
—
There you have it—a new dimension of creativity in your grasp. Whether you’re looking to enhance a digital artwork or simply hone your skills in Photoshop, this supernova effect is both mesmerizing and fully customizable. So go on, ignite your creative spark and let your ideas shine like the brilliant stars they are.


