Unlock the Mystique of Photoshop: Create a Custom Gold Medallion Coin
Have you ever wanted to see your face or a loved one’s transformed into an elegant, bespoke gold medallion coin? Whether you’re crafting a unique gift or simply intrigued by the blending of digital art with classic design, this tutorial brings the golden glimmer to your fingertips. Join us as we journey through creating a custom medallion coin with Photoshop—enhanced with wrap-around text for that extra touch of personalization.
Setting the Stage: Preparing Your Image
Before we dive into the heart of crafting your medallion, there’s some prep work to do. You need to start by choosing an image. Whether it’s in full color or classic black and white, your photo sets the stage. When building a masterpiece, resolution is key; make sure your image boasts a resolution of 300 pixels per inch, optimizing it for the vibrant filters we’ll be applying.
To adjust your image:
1. Increase Resolution: Navigate to Image > Image Size and set the resolution to 300 pixels/inch.
2. Smart Adjustments: Convert the image into a Smart Object. This step is crucial for non-destructive editing. For bright, striking contrasts, adjust the Levels by sliding the Input black and white brackets on the histogram.
3. Black and White: If your original is in color and you’re longing for timeless elegance, tweak it to a monochrome palette with the Black and White adjustment layer.
Sculpting the Medallion: Design Elements
Here’s where the magic happens. You’ve got your person, now let’s frame them with opulence. Creating the medallion design is a mix of technique and finesse:
1. Circle Selection: Utilize the Elliptical Marquee Tool for capturing the essence of your photo. Center it on your desired spot, holding Alt/Option + Shift as you shape a perfect circle.
2. Layer Mask Wizardry: Turn your selection into a layer mask, isolating it like a pro.
3. Base Creation: Create a new layer, fill it with 70% grey, and mold it into a Smart Object. Conjure depth using Filter > Filter Gallery > Grain.
Embellishing with Style: Harnessing the Power of Layer Styles
The essence of the medallion comes alive with the right textures and shadows. Follow these steps to add dimensionality:
1. Bevel & Emboss Mastery:
– Open your layer’s style and add a polished edge using Bevel & Emboss.
– Customize the settings: Size, Angle, and apply Gloss Contours for that real-world charm. Select “Ring – Double” for a distinguished look.
2. Drop Shadow Detail: A nuanced Drop Shadow makes all the difference. Tweak angles, distance, and opacity to achieve that subtle, realistic shadow.
3. Color Alchemy: Get creative with Color Balance to infuse your medallion with a golden aura. Layer in shades of red and yellow to simulate authentic metallic shine.
Crafting Centered Guidelines
For precision, it’s vital to guide your design aesthetically. If you’re wielding a version of Photoshop earlier than CC:
– Design your own grid with View > New Guide Layout or, for classic versions, manually set horizontal and vertical guides each at 50%.
Bringing It All Together: Smart Layering
Manage your canvass like a maestro by grouping related layers into folders. This keeps your workspace tidy and easy to navigate as you get into the nitty-gritty of your creative process.
1. Organizing Excellence: Group medallion layers with Ctrl/Cmd + G.
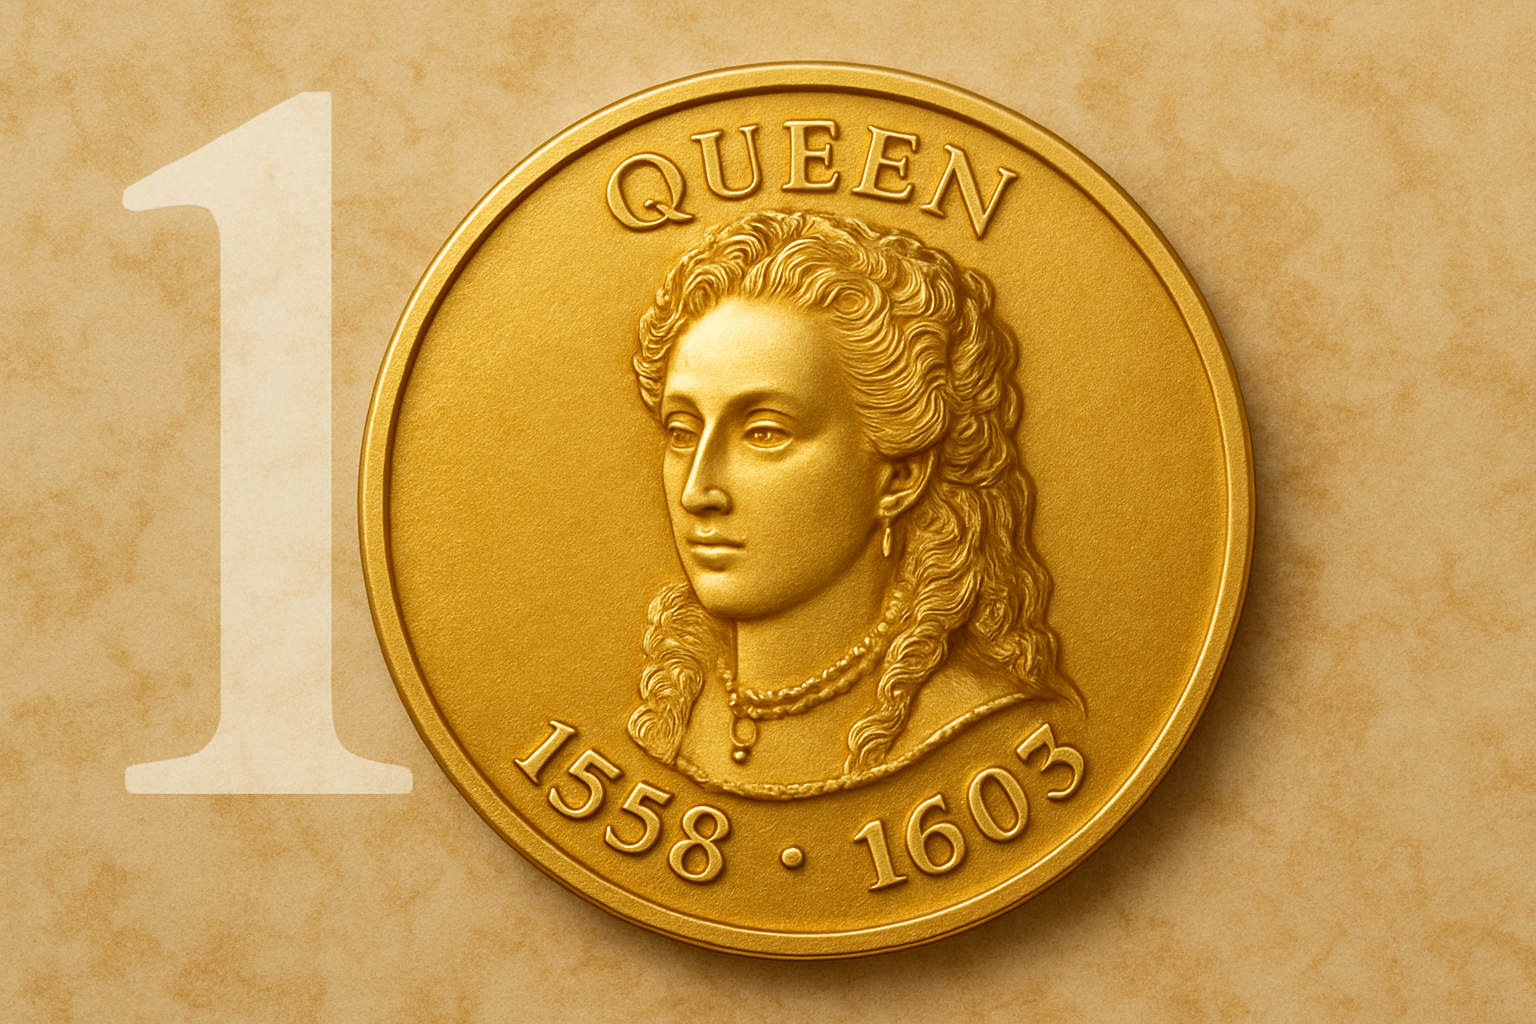
2. Conclusion of Part 1: You’ve crafted the medallion’s glowing surface, a luminous frame for what’s to come.
Stay tuned for Part 2, where we’ll stamp the portrait into the medallion, adding wrap-around text to lend it an aristocratic finish. Embrace the amalgamation of creativity and technology, and watch as your Photoshop skills elevate to gilded heights.
Capture your creativity, one medallion at a time.
Stay curious, keep shining, and remember, every pixel tells a piece of your story.


