Discover How to Craft Eye-Catching Designs in Photoshop
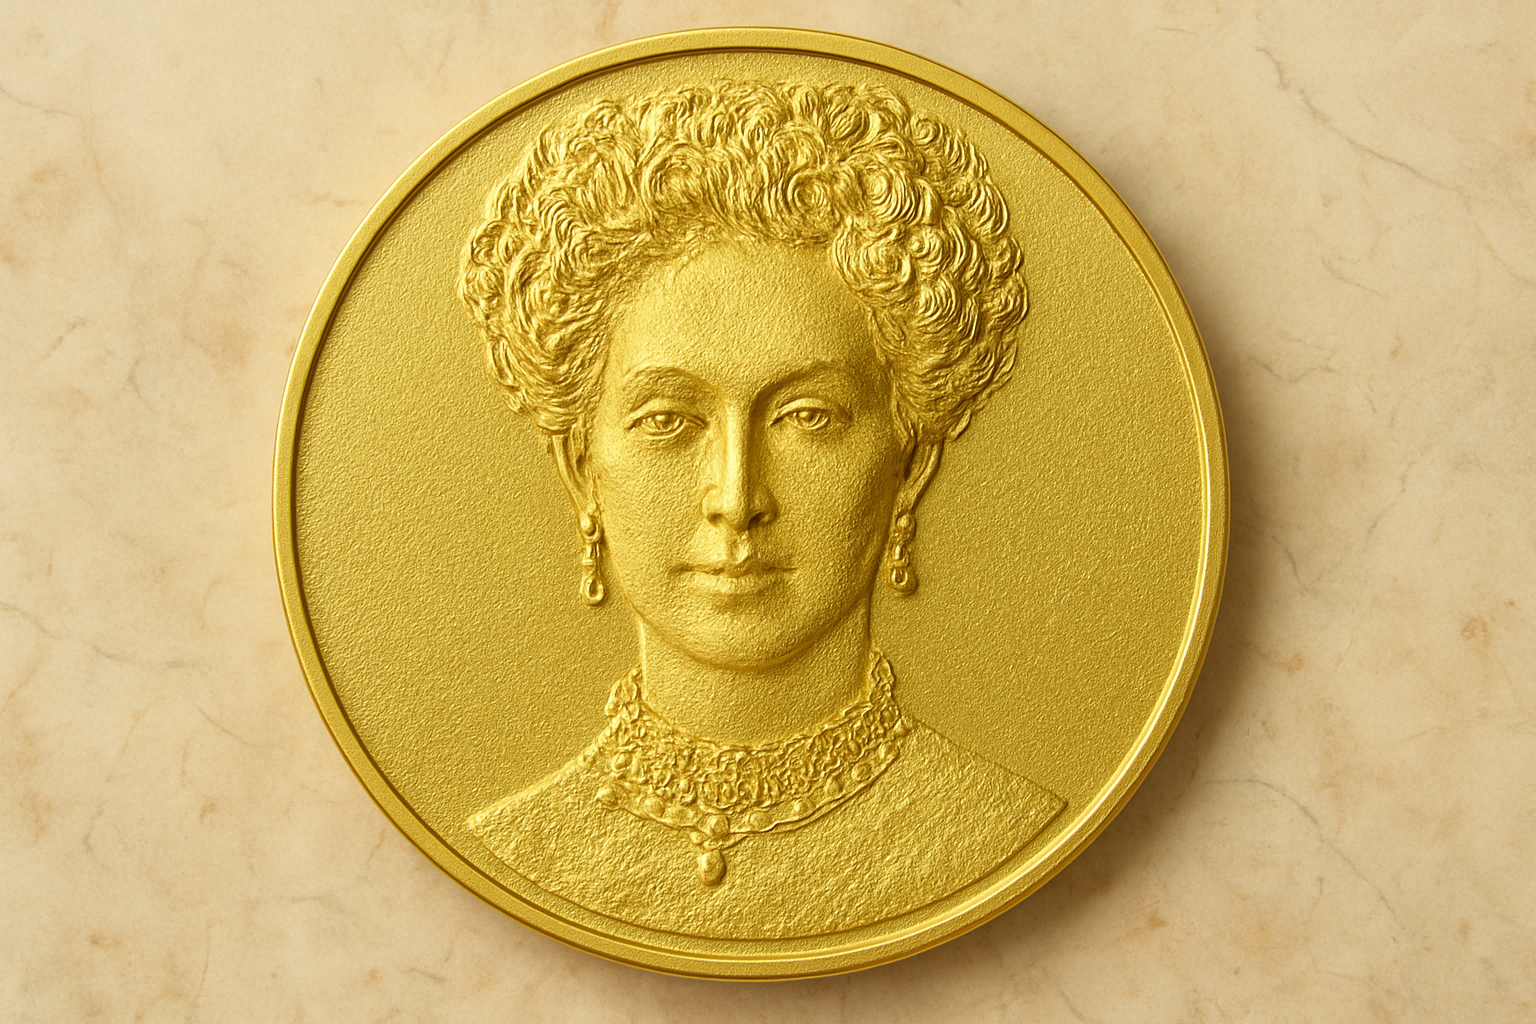
Creating professional-grade designs in Photoshop is often seen as a realm for expert artists and seasoned designers. But what if you could learn to create a stunning gold medallion coin portrait with wrap-around text, all on your own? Today, we delve into an elaborate yet rewarding multi-step process to get that perfect polished look. This tutorial, a continuation from Part 1, will take you further into the creative process. While Photoshop can seem daunting, once you get the hang of its robust suite of tools, the possibilities are endless—and you might just surprise yourself with your newfound skills.
Revisiting Your Workspace
Before we start the detailed walk-through of today’s design process, it’s crucial to set your workspace right in Photoshop. Make sure you’ve opened your medallion coin folder and that the top layer is active. Next, open the photo file from Part 1 of this tutorial. You’ll want to transfer it into your medallion document with precision. Sounds tricky? It’s all about leveraging Photoshop’s Move Tool to execute this step like a pro. A simple press of “V” will get you started.
Layering Insight: The Secret to Better Design
When you place the image, you’ll notice it’s bright yellow. This is a result of being inside a medallion coin folder that’s affected by the Color Balance adjustment layer. In design, using layer effects and adjustment layers like this are not just industry buzzwords—they’re real tools you’ll rely on when perfecting your creative projects. Ctrl-click or Cmd-click on the top layer mask to make a selection of its shape. Now it’s on to Transform Selection, but hold that chain-link button tight for consistent design proportions.
Interactive Adjustments with the Transform Tool
Using the Transform Tool in Photoshop is one of those steps where you start with the basics and quickly find yourself iterating and customizing to just the right level. As you press and hold Alt or Option + Shift while you drag, remember you’re giving yourself the ability to work with precision, setting that layer just right within your masterpiece.
Mastering the Filter Gallery
Next, you’ll dive into the Filter Gallery, a Photoshop little-known treasure where dreams either make or break. You’re here to achieve that golden relief effect by adjusting settings for light and detail. From setting the Light to “Top Left” to finding the perfect Detail levels, explore options until you’ve achieved a look that screams timeless elegance.
Text on a Path: Wrapping Up Your Design
Wondering how graphic designers create that flashy text that seems to miraculously wrap around objects? Through Photoshop’s Path feature—you’ll be drawing a circular path via the Ellipse Tool. As you finesse the option settings (CS5 ninjas, look closely; your tool’s elsewhere), you’ll begin to transform a simple path into a stellar ring of text. Be aware, your coffee mug might start to fill with awe as you activate View and Clear Guides — a small step towards removing distractions and channeling focus.
Embellishing Text with Advanced Layer Styles
And now for the piece de resistance—applying a savvy assortment of layer styles to your text. After moving both text layers into one neat folder, reducing Fill to zero makes the text itself invisible, retaining only the layer styles that will elevate your work. Add Bevel Emboss and a subtle Drop Shadow for depth, respecting default settings but with tweaks to Technique and transparency. This is where your artistic precision truly turns good design into an enthralling visual escapade.
So, whether you’re a casual creator kicking the tires of Photoshop’s advanced features, or a seasoned designer fine-tuning your skills, this gold medallion coin portrait tutorial serves as a masterclass in blending technical processes with creative flair. All of these steps combine to show you just how accessible and gratifying these design endeavors can be. Welcome to the whimsical art of digital crafting!


