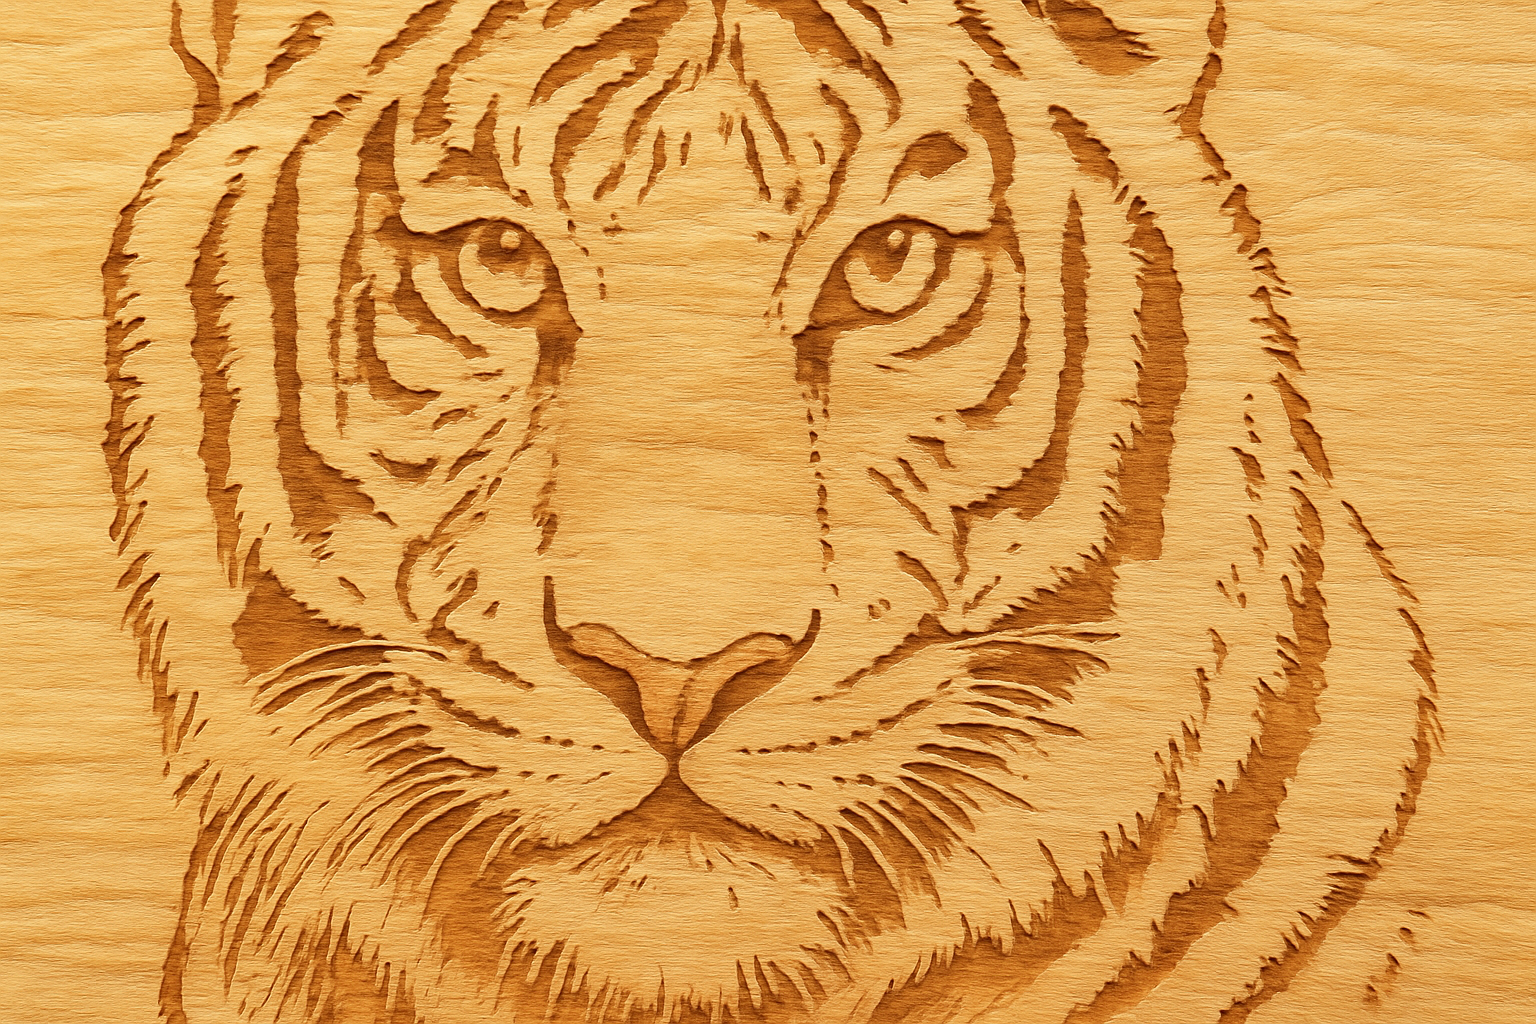
Give Your Photos a Timeless Woodcut Look
Have you ever wanted to transform your favorite photo into a piece of classic art that looks like it was meticulously carved out of wood? Well, Photoshop makes it possible—with just a few steps, you can create a stunning woodcut effect from any photo. In this blog post, we’ll break down how you can achieve that intricate woodcut look using just a little Photoshop magic. So, go ahead and grab that digital chisel (a.k.a. your computer mouse) and let’s get started!
Gather Your Tools
Before diving into the process, you’ll need a few things:
- A high-quality photograph. You can snag one from your personal collection or a stock photo service like Shutterstock.
- The wood texture provided in the video’s description or project files. This will serve as our canvas to “carve” the image into.
With these resources in hand, you’re good to go!
Step-by-Step Guide to Creating a Woodcut Effect
1. Preparing Your Photo
- Open your desired photo in Photoshop.
- Activate the Move Tool by pressing “V” and drag your photo into the wood texture document.
2. Position and Resize
- Use Free Transform (Ctrl or Cmd + T) to resize and position your photo on the wood texture. Hold Alt or Option + Shift while resizing to keep the proportions intact.
3. Monochrome Magic
- Create a duplicate of your image layer by pressing Ctrl or Cmd + J.
- Desaturate the new layer (Ctrl or Cmd + Shift + U) to remove its color.
4. Crafting the Photocopy Look
- Go to Filter > Filter Gallery and open the Sketch folder.
- Select “Photocopy” and adjust the sliders for Detail and Darkness. Create two layers with different settings, one darker and one lighter.
5. Enhancing the Outline
- For the lighter layer, adjust the Photocopy settings to have a medium-thick outline.
- Clean up unnecessary areas by using a white foreground and the Pencil Tool with Hardness set to 100%.
6. Refining Details with a Layer Mask
- Activate the darker Photocopy layer and add a Layer Mask.
- Brush areas you want to reveal in black using the Layer Mask. You can uncover intricate details like eyes or edges more thoroughly.
7. Blending for Soft Light
- Merge your adjusted layers (Ctrl or Cmd + E).
- After merging, set the blend mode to “Soft Light” to overlay your image onto the wood texture effectively.
8. Final Adjustments
- To intensify the effect, duplicate the soft light layer and adjust its opacity to your taste.
- Add a “Bevel & Emboss” style to give the final touch, with settings focused on Inner Bevel and specific Highlight and Shadow modes.
9. Cropping and Erasing
- Use the Rectangular Marquee Tool to select the area you wish to keep and then crop it via Image > Crop.
- Use the Eraser Tool to fine-tune any areas that need additional trimming.
Wrap Up and Enjoy!
Artwork that looks like it belongs in a 16th-century gallery made using the clicks and taps from your computer! Isn’t technology magical? This woodcut technique is the perfect blend of old-world artistry and digital wizardry. Not only does this process unleash your inner Michelangelo, but it also saves you the mess of wood shavings. So get creative, and don’t forget to share your masterpieces with us!
Happy carving!


