Unleash Your Inner Kid: Create Stunning LEGO Portraits in Photoshop
Have you ever wished you could take someone’s photo and magically transform them into a LEGO masterpiece? Who wouldn’t want to see themselves as a tiny plastic action figure, complete with pixelated brickwork and vivid colors? It’s a quirky and enjoyable way to blend the world of art with the nostalgia of childhood toys. Luckily, this transformation isn’t just a dream. Today, we’re diving into how to use Adobe Photoshop to convert a regular photo into a vibrant LEGO portrait. Prepare to show off your Photoshop skills and impress your friends with this whimsical, colorful art style.
Sculpting Your Photo into LEGO Art
The secret to transforming photos into LEGO art lies in the step-by-step manipulation of image layers, filters, and clever pattern creation in Photoshop. Before we delve into the detailed processes, let’s make sure you have a crisp photo ready, preferably something simple yet vivid, downloaded from ShutterStock or your personal collection. Begin by converting it into a Smart Object. This allows for non-destructive editing, meaning you can tweak things later on without losing your original image. Handy, right?
To convert your photo, you’ll use the layers panel—every Photoshop aficionado’s best friend. Click the layers panel menu icon and select “Convert to Smart Object”. Voila! Your photo is now adaptable and ready to undergo a creative facelift.
Preparing Your Canvas: Size Matters
The challenge of creating LEGO art is capturing that exact pixelized look. For this, your image needs to be at a specific size and resolution. Navigate to the “Image Size” dialog and set the resolution to 72 pixels per inch, with a height of 2000 pixels. This adjustment ensures each LEGO “brick” looks both structured and recognizable—no digital blobs here!
Keep in mind, the width will adjust itself based on the new constrained proportions. If your original photo needs some trimming, use the Crop function to get rid of anything extra before resizing.
The Mosaic Magician
One of the many joys of Photoshop is how its filters can transform an image with a few clicks. Apply the Mosaic filter by going to “Filter” > “Pixelate” > “Mosaic” and selecting a cell size of 50 pixels. This filter breaks your image into clear colored squares—think of them as small foundation pieces for your LEGO vision.
Building the Blocks: A Custom LEGO Pattern
Now, it’s time to craft the LEGO bricks. Create a new 50×50 pixel document—exactly matching our mosaic cells—and fill it with 50% gray using the fill tool (Shift + F5 is your shortcut). The color of your LEGO doesn’t matter much here as we are mainly focusing on the shape and shadows.
Utilize the elliptical marquee tool to draw circles within this new layer, which will represent the top of a LEGO brick. Align it perfectly in the center and apply layer styles like Bevel & Emboss, as well as Drop Shadow, to mimic the plastic texture and depth LEGO pieces are known for.
Turning Pattern into Pixel Art
With your individual LEGO piece template set, define this “brick” as a pattern. Go to “Edit” and click “Define Pattern”, naming it “LEGO” before proceeding. Switch back to your original image file filled with mosaic squares, and apply this new pattern as an overlay layer. Change the “Blend Mode” of this pattern layer to “Linear Light”. This step crucially integrates your LEGO pieces into the composition, preserving the pixelated charm while adding dimension.
Popping with Color, All LEGO-Like
No LEGO canopy is complete without its signature pop of colors. To emulate this fun, playful aspect, apply a Posterize adjustment to accentuate the colored layers, reducing them to a more LEGO-like palette.
Play with the levels between 4 to 8, which defines how much “color separation” occurs. To pump up those colors, add a Hue/Saturation adjustment layer and ramp up the saturation until your LEGO masterpiece is as bright and fun as a toy store shelf.
Final LEGO Adjustments
Finally, reorder your adjustment layers by placing the Pattern Adjustment Layer at the top. This setup ensures that all the subsequent tweaks affect only your base image data, keeping bricks unaffected by the shifts in hue or saturation beneath.
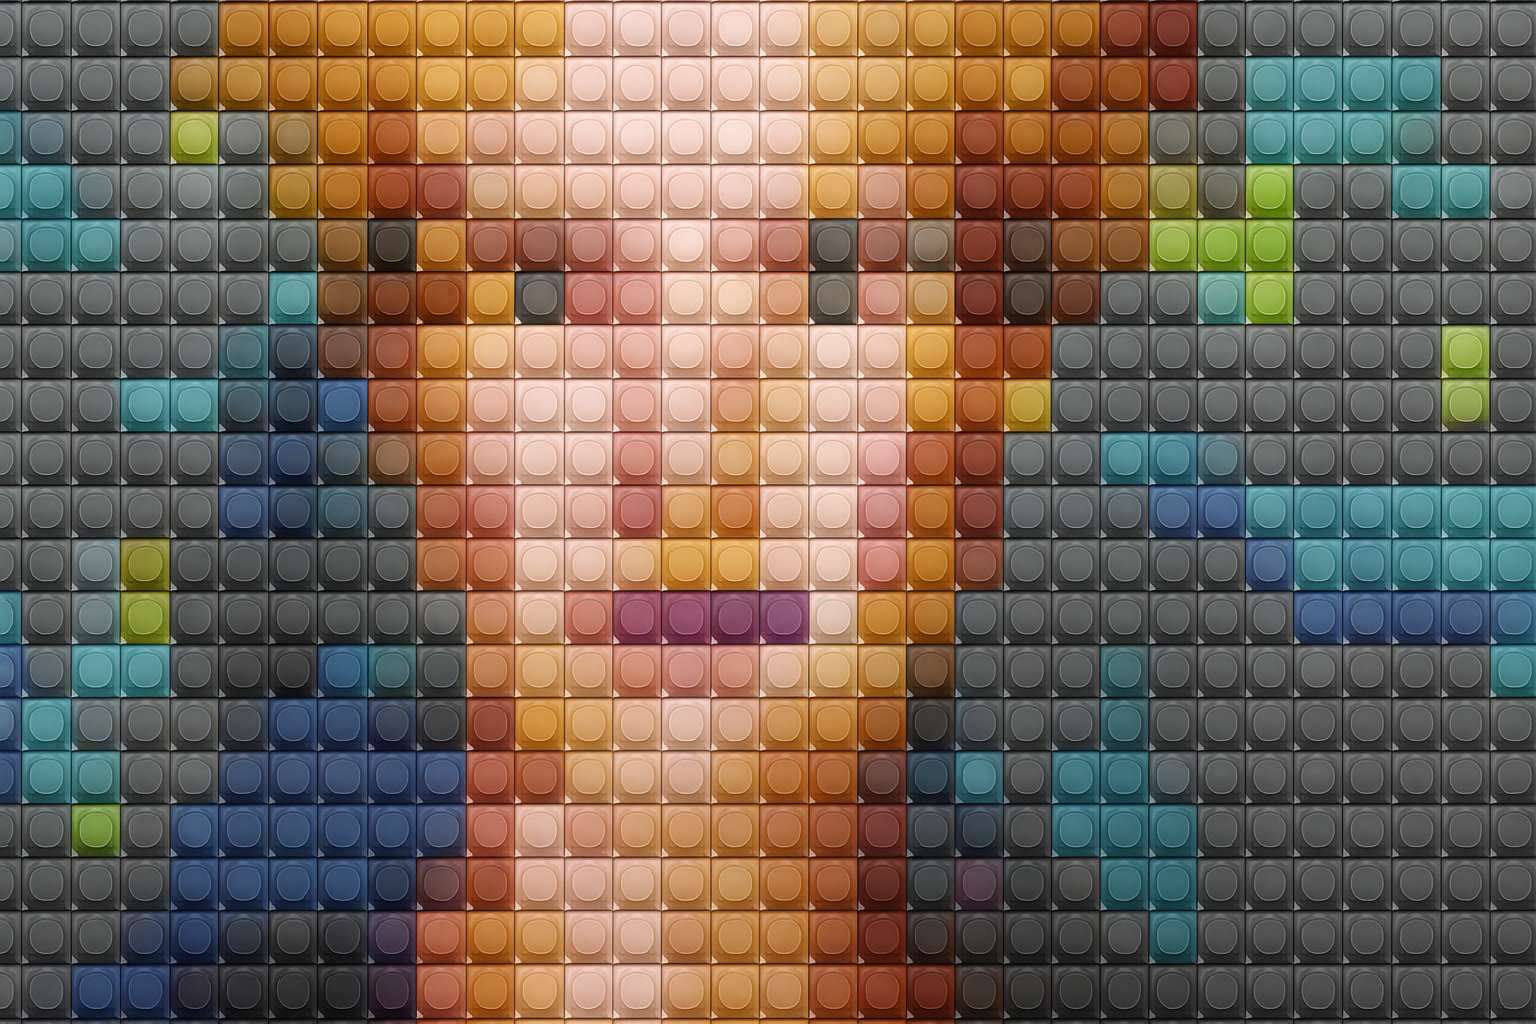
And there you have it! With these simple steps, you can turn any ordinary photo into a stunning, colorful LEGO work of art. Not only is it a unique way to display a familiar face, but it’s also a creative exercise in image manipulation using Adobe’s powerhouse software, Photoshop. So fire up your PC, crack open Photoshop, and start building those bricks!
Who’s ready to get crafting? 🤖🔧


