Bring Out Your Inner Sculptor Using Photoshop’s Magic
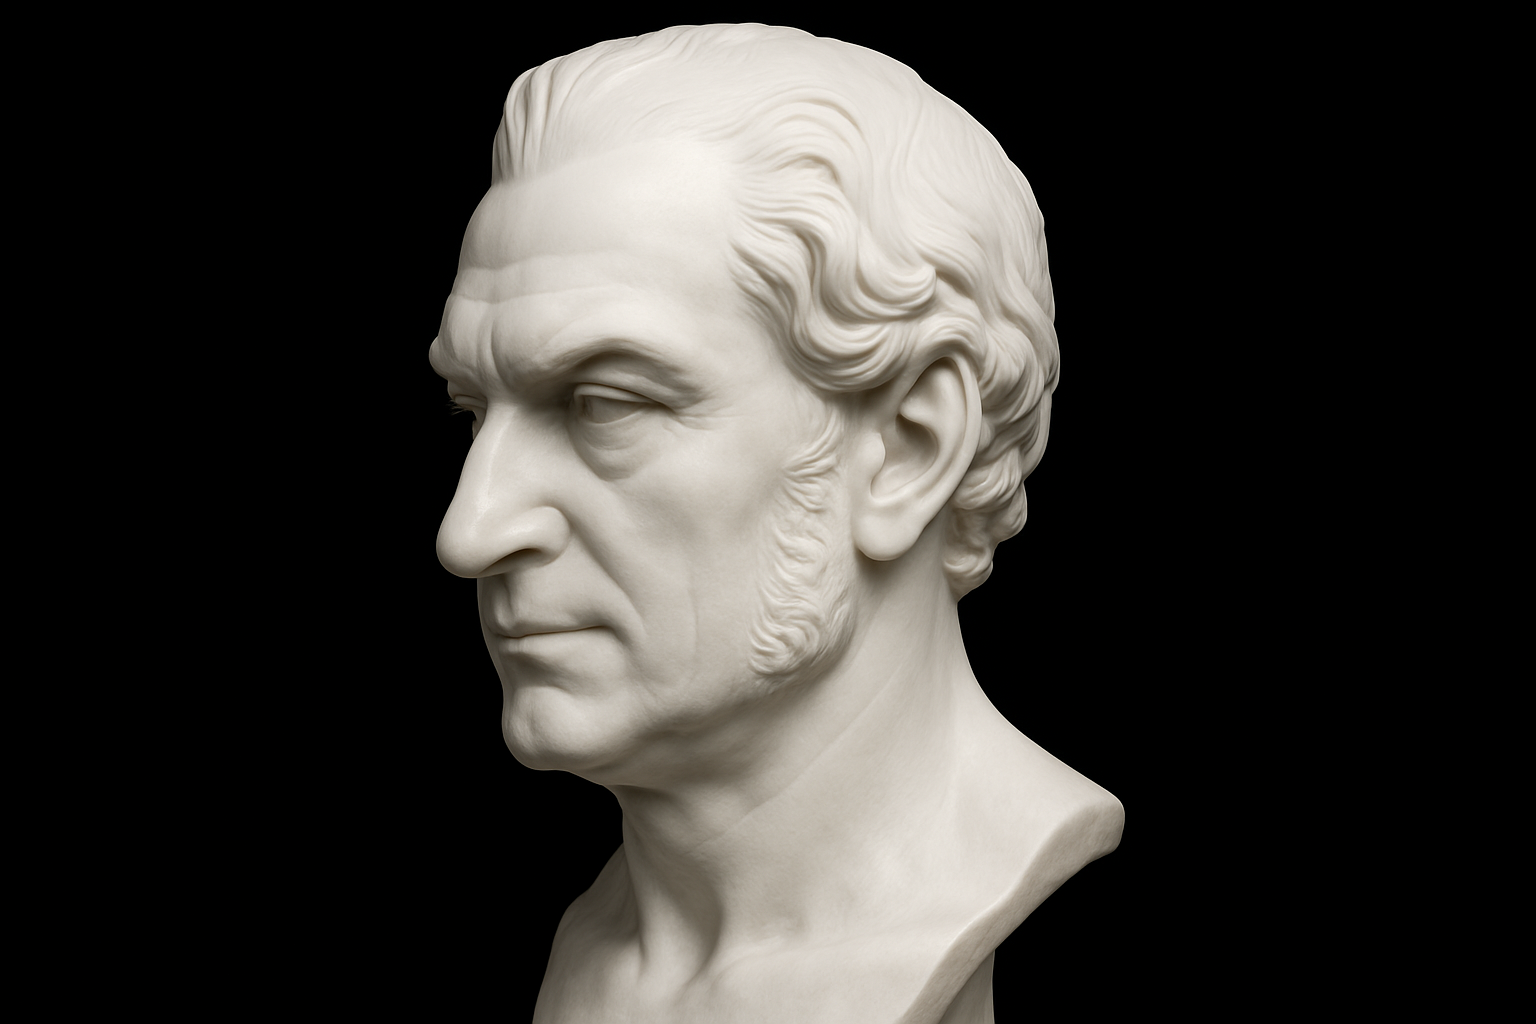
Everybody has a bit of Michelangelo in them, and with Photoshop, you can channel that artistic genius to transform your everyday photos into stunning classical marble busts. Whether your original photo is a vibrant color image or a black-and-white classic, the process is simpler than you’d think. Here’s how you can create beautiful, historical-looking art without ever getting your hands dusty from chiseling marble.
Step 1: Starting with a Well-Lit Image
Begin by selecting a photo where your subject is evenly lit from the front and facing the camera. This uniform lighting is crucial as it ensures all parts of the face are defined and visible for your conversion. Got your photo? Good. Let’s move on.
Step 2: Bringing Your Photos Into the Project
Import your chosen image into Photoshop. From there, reduce the photo’s opacity to about 40%—this will help you adjust the size and position over the sculpture base effectively.
Want an insider tip? When resizing, use the transform function by pressing Ctrl + T (Windows) or Cmd + T (Mac), and scale the image proportionally by holding Alt + Shift (Windows) or Option + Shift (Mac) to align the facial features with the sculpture template.
Step 3: Desaturate and Mask Your Image
Making a copy of the photo layer (Ctrl/Cmd + J), desaturate it by pressing Ctrl + Shift + U or Cmd + Shift + U. With this new black and white layer, create a layer mask. Think of the layer mask as your very own stencil: black conceals, white reveals. Painting with white reveals parts of the original image, thereby integrating it into your marble base.
Step 4: Refining with Brushes and Masks
Modify the brush settings with zero hardness for soft edges, then brush white to merge your subject’s portrait seamlessly into the bust. Feeling a thrill as their features materialize out of the marble? That’s the magic of digital craftsmanship! For the details you want to remove or refine, swap to a black brush by reversing foreground colors.
Step 5: Adding the Classical Touch
To complete the transformation, brush out the irises using the Eyedropper Tool to select the surrounding color and paint over these areas. Add a touch of humanity by softening the eyelids using the Blur Tool at its maximum setting, and blend tone variations with the Smudge Tool. This step smooths out texture for that polished marble finish.
Step 6: Enhancing with Dodging and Burning
Want to add some drama? Use the Dodge and Burn tools to make those highs shine and the lows deepen. Finesse subtle details—like where bright highlights or soft shadows should be—and craft that characteristic marble glow.
Step 7: Adding a Touch of Sheen
Finally, for that convincing glossy marble sheen, take a composite of your image, open the Filter Gallery, and apply a Plastic Wrap filter. Adjust this setting to your liking, bringing out the reflective qualities that make classical busts so timelessly captivating.
Final Touches and Enjoyment
Don’t forget, it’s often the little details—like slender neck adjustments or nuanced shininess—that sell the illusion. With practiced elegance, you’ll turn any photo into a breathtaking marble masterpiece.
Whether you’re an aspiring artist or simply looking to add a majestic twist to your family photos, this Photoshop technique transforms the mundane into the magnificent.
Classical art is just a click away. So go ahead, get creative, and let your photo editing skills sculpt a new renaissance!