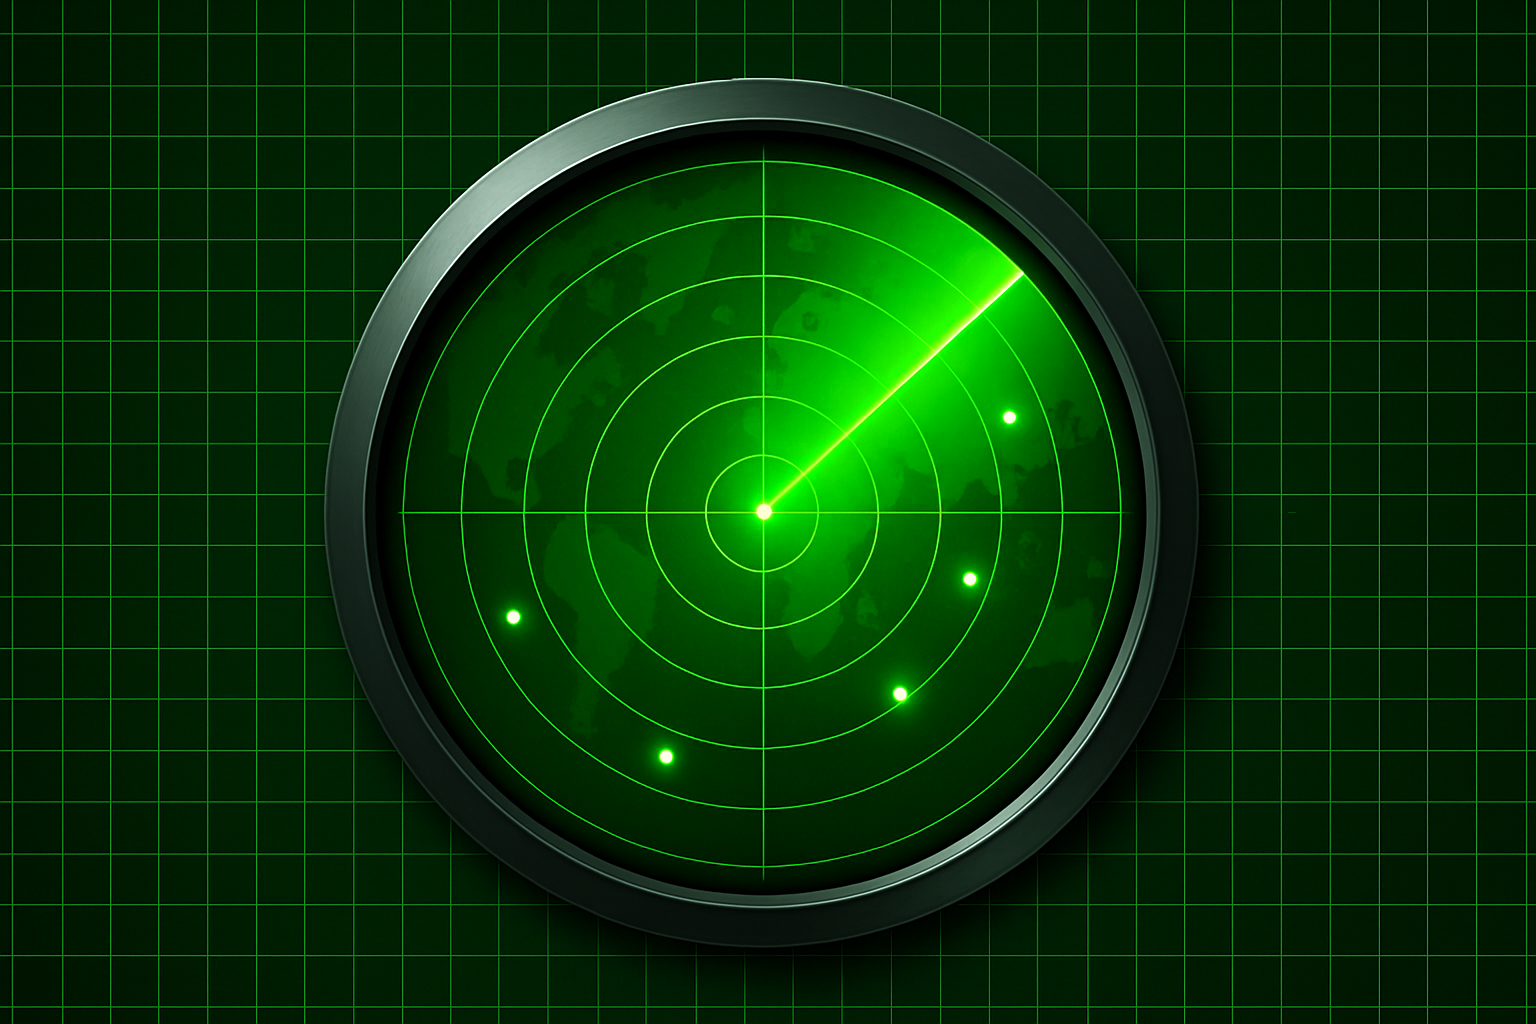
Achieve That Vintage Radar Look in Photoshop
Photoshop is all about creativity and innovation. But what if I told you that you could recreate a classic radar screen from those vintage war movies or retro sci-fi flicks? Get ready to channel your inner Tony Stark and dive into the digital nostalgia of radar screens with this step-by-step guide. It’s time to create some serious old-school vibes in your artwork without having to commandeer a battleship or join NASA. Here’s how to transform your screen into a believable radar masterpiece.
Crafting the Circular Radar Display
To start with, you’ll need to create that iconic circular radar display. The elliptical marquee tool is your best friend here. Set up a new layer and drag out a circular selection with precision by holding Shift and Alt (or Option on Mac). Taking it a touch beyond your outer ring is the pro move here—because no one wants an unfinished radar.
With your selection active, clicking on the layer mask button makes a layer mask of this perfect circle. Remember to position this layer below your solid color adjustment layer for perfect layering.
Adding Depth with Gradient Magic
Now, it’s time to flex those gradient skills. Access the Gradient Tool, double-click the gradient bar, and stop by the lower right to set its location field to 95%. Adjust the brightness to 35% to nail the look. Choose the angle gradient option and impress with some suave dragging action (holding Shift for straight lines is key).
Duplication and Interaction
Making a copy of the layer with Ctrl/Command + J brings in a game of reflections. Change its blend mode to Overlay, spin it around at 180 degrees with a quick Edit > Transform > Rotate 180°. Feel free to bask in the zero-gravity allure of your work so far: layer styles with a dash of Inner Glow and a sprinkle of linear burn for added depth.
Stripe Up the Radar
Concentric rings are radar screen’s best supporting players. By creating multiple new layers and applying some transformation wizardry (i.e., shrinking circular selections by specified percentages like 75%, 50%, and down to a conservative 25%), you’re crafting an ‘inside rings’ folder that exudes class at 50% opacity.
For the X and Y coordinates, vertical and horizontal lines will serve as your guiding lattices. Singularly rotatable via 90-degree transformations, make sure to assemble them into a sleek, unified whole. Reduce their visual interference by setting the opacity to a cool 25%.
You Have Target!
What’s a radar screen without unidentified blips and moving targets? Use an image of your choice, dark and dramatic, to simulate this. With Photoshop’s select and color range tools, you can isolate shadows or highlights that fit your visual narrative. Ensure these elements pop against the radar background by going all black background L337 style.
Relocate this digital prey onto your master-radar file, ensuring snap is disabled for fluid movement. Measure twice, resize once, and set opacity levels to match that enigmatic scan tone.
The Blip Effect
Finally, marathon your creativity into making clockwork nuisances: the blips. The Elliptical Marquee tool will help you forge marvelously atomic blips filled with white. Double-click for a Layer Style window to brand your blips with glowing fame. Continuously clone and position them strategically to simulate a busy radar screen dotted with imminent surprises.
Bring it to Life
With these steps, you’ve officially created a classic radar screen in Photoshop—a testament to patience meeting skill, with a dash of creative nostalgia. Don’t just let your digital craft sit and gather pixels; be the radar hero your project deserves. Tilting at digital windmills is yesterday’s news—today, we’ve got radar screens.


