Embrace Your Inner Andy Warhol with Photoshop Techniques
Retro enthusiasts and creative souls, this one’s for you. If you’ve ever wanted to bring some pop culture pizzazz to your digital art, you’re in the right place. Today, we’re delving into how you can transform photographs into stunning pop art masterpieces, reminiscent of the iconic Andy Warhol, using Adobe Photoshop. Whether you’re a Photoshop aficionado or a beginner, this step-by-step guide breaks down the process so you can infuse life into those static images with ease.
Getting Started: Prepping Your Photo
To begin, select a photograph of your muse, be it a favorite celebrity or your cat. The goal is to convert this image into a black-and-white pop art piece with a touch of color for flair.
1. Desaturate the Image: Convert your image to grayscale by pressing Ctrl + Shift + U on PC or Cmd + Shift + U on Mac.
2. Crop for Focus: Carefully crop the image to spotlight the subject’s head and shoulders, ensuring the image is free from distractions.
3. Set Image Size: Navigate to “Image” then “Image Size.” Lock the aspect ratio with the chainlink icon and adjust it to a width of 500 pixels and a resolution of 72 pixels per inch. This sets it up perfectly for the filters later.
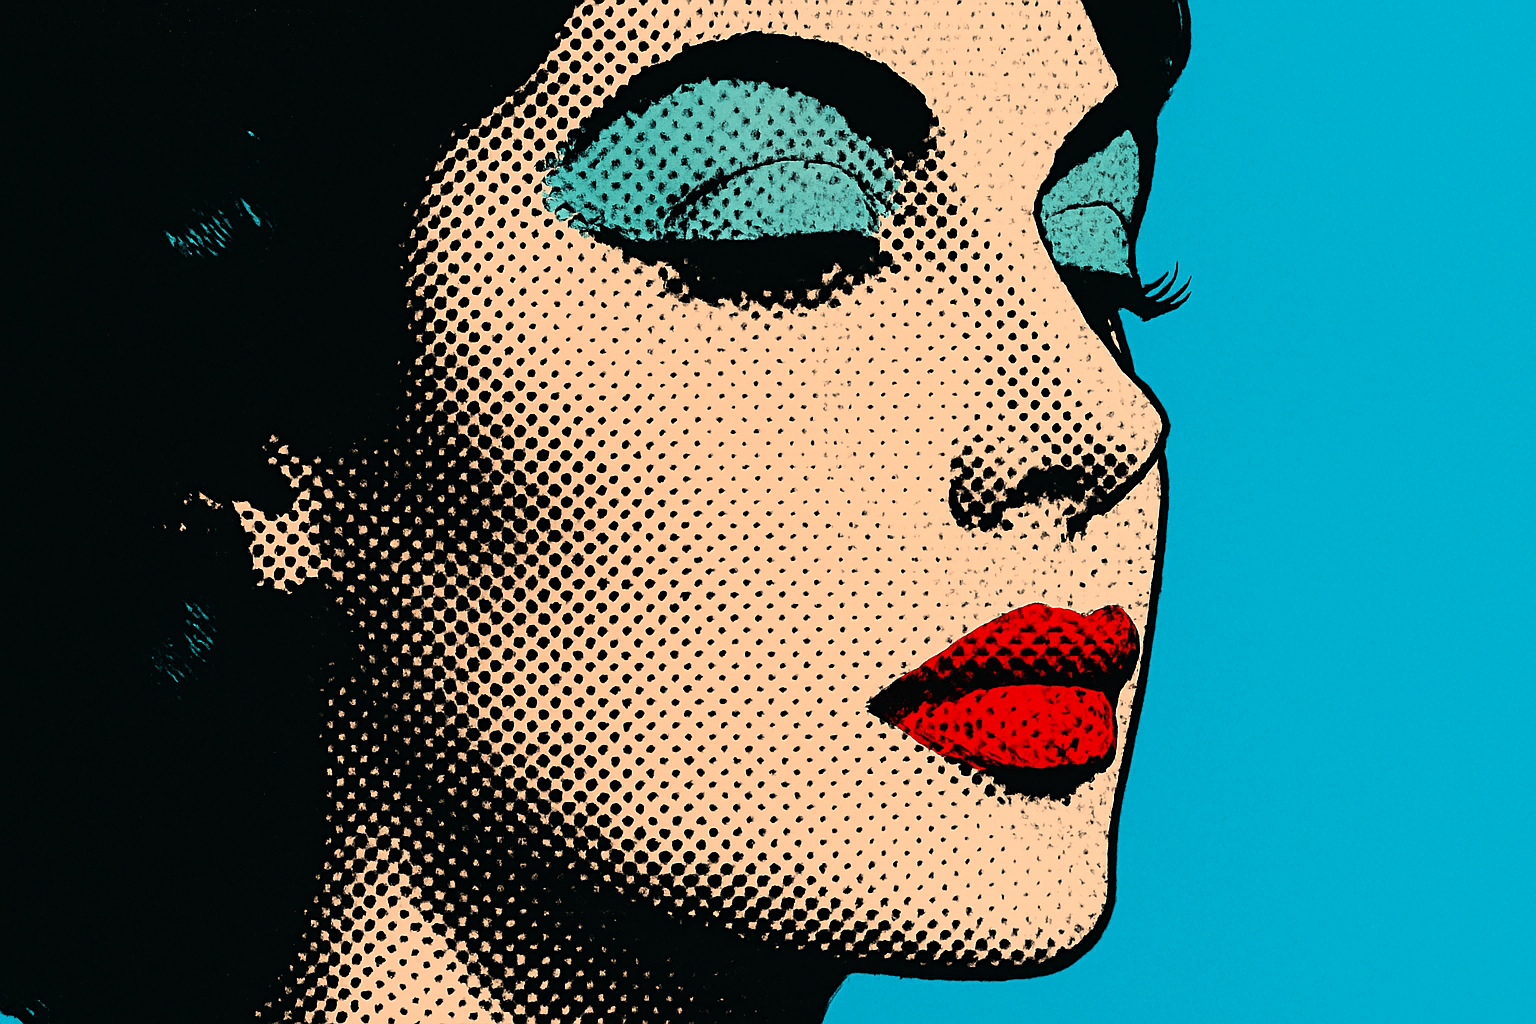
The Warhol Touch: Bringing out the Halftone Effect
To achieve that classic Warhol look, you’ll want to apply a halftone pattern.
- Auto-Tone: Amplify the contrast by using Auto-Tone (
Ctrl/Cmd + Shift + L), turning the darkest areas to black and the lightest to white. - Quick Selection: Separate your subject from the background using the Pencil Tool, size 10 pixels with 100% hardness.
- Halftone Filter: Go to “Filter”, then “Filter Gallery”. Under the “Sketch” folder, select “Halftone Pattern” with settings: Size 1, Contrast 40, and Pattern Type Dot.
Learn more about Halftone Patterns.
Refining and Layering: Perfecting the Portrait
Transforming your image is all about depth and sharpness.
- Smart Sharpen Tool: Use “Smart Sharpen” with settings: Amount 500%, Radius 1 pixel, Noise 0%, removing Gaussian Blur enhances the edges.
- Layering: Duplicate the existing layer (
Ctrl/Cmd + J) and set the new layer’s blend mode to “Multiply.”
Explore Smart Sharpen in Photoshop.
Color Your World: Adding the Vibrant Pop
Colors bring the art to life, so don’t skimp on the creative juice!
- Background Layer: Create a new layer below, fill it with a vibrant color. Maybe a bold turquoise? Set this by clicking your color box and selecting your shade.
- Skin Tones and Features: Use the Pencil Tool to colorize the skin. Alter colors for standout features such as lips or eyes by employing the Eyedropper Tool (
I) and painting with the Pencil Tool (B).
Make it Yours: Customizing and Sharing
Remember, art isn’t just about following steps—it’s about expressing who you are. Experiment with different colors, add personal flare, and most importantly, have fun! Once your piece is finished, don’t hesitate to share your newfound expertise with friends or on social media.
Let’s make every boring old portrait into a pop art wonder.
Are you as excited about this as I am? What color palettes will you choose? Let us know in the comments!
Now, go forth and get creative, we’re only a Photoshop click away from a Warholesque masterpiece.


