
Unleashing Your Inner Photoshop Sorcerer
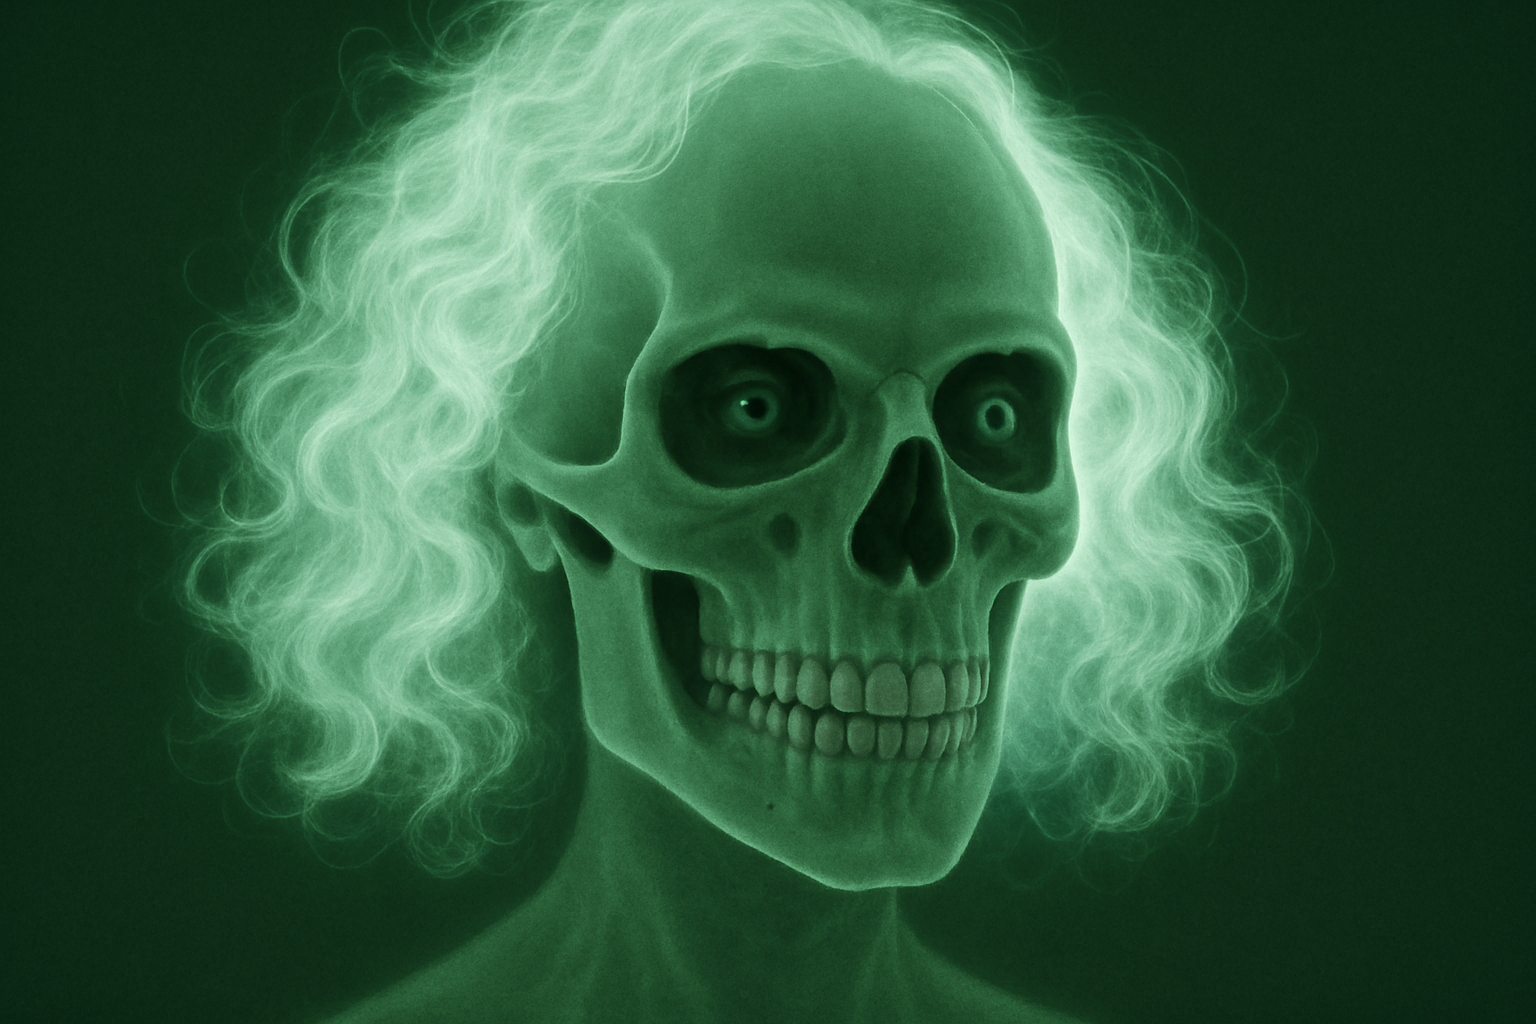
Halloween is fast approaching, and the one thing that’s even more thrilling than candy corn and spooky movies is flexing those creative muscles. Enter the ghoulish world of digital transformation. Ever dreamt of making a ghostly appearance or turning your best buddy’s snapshot into a terrifying x-ray vision of Halloween horror? You’re in luck! With a bit of magic, or rather, Photoshop wizardry, here’s how you can transform a regular ol’ photo into something that oozes Halloween vibes.
Setting the Scene: Prepping Your Canvas
First things first, open up your trusty Photoshop tool and let’s set the stage. The document we’re diving into is a compact 630 by 560 pixels, ideal for quick edits and spooky transformations. You’ll want to snag a skull and skeleton image to really get those macabre juju vibes going. Unsure where to find them? Don’t fret, the video description has got your back with links to necessary files.
Going Gray: Desaturating Your Image
Begin by making a duplicate of your photo layer. Working non-destructively gives you that oh-so-comforting safety net. Desaturate the image using Ctrl + Shift + U (or Command + Shift + U on a Mac). This little trick strips away the color, letting the monochromatic eeriness seep through.
Enhancing the Shadows: Bringing the Details to Light
If your photo subject’s hair or skin is on the darker side, the process begs for some shadow adjustments. Navigate through Image > Adjustments > Shadows/Highlights. Marvel as the wizardry unveils previously hidden details in the darkest parts, without messing with the mid-tones and highlights.
Feel free to tinker with the settings—35% for shadows, 50 for tonal width, and a 30-pixel radius is your starting lineup. Adjust these based on your photo’s charisma and contrast needs.
Inverting the Image: Flipping the Narrative
Now, let’s flip the cosmic switch! Invert your image with Ctrl + I or Command + I. It gives your photo that supernatural vibe, as if you’re gazing into a haunted mirror.
Skull-ificent Integrations
Next, wrangle in that skull image with the Move Tool (V). Drag it right over to your x-ray canvas. Lower the opacity for transparency so the original face can smile back at you eerily. Once settled, it’s time for some distort-magic with Ctrl + T or Command + T. Resize and reposition until the skull’s uncanny grin overlaps perfectly.
Engage Warp mode for some additional manipulation. This tool breaks the image into sections, letting you align the skull man’s grin and contours right to the face underneath.
Neck and Shoulders: Completing the Ghastly Picture
As if that wasn’t enough, introduce the skeleton image to connect those ethereal dots. The process here mirrors the skull work, with adjustments using the Transform tools. Align and warp until it feels like an x-ray that tells more than just bone deep stories.
Experiment with opacities—30% for skeleton, 40% for skull. Like any good designer, test various numbers to find that just-right spooky feel.
Composite Crafting: Creating the Final Masterpiece
Finalize your creation by merging the layers into a composite snapshot (Ctrl + Shift + Alt + E or Command + Shift + Option + E). It grants you a permanent snapshot that you can manipulate without worries.
Fancy a color overlay for that eerie glow? Double click on the composite, choose Color Overlay, and input a ghostly green like #428e61. Switch blend mode to Hard Light, and boom! You’ve just elevated your creation to new levels of mystery.
Throw in some Gaussian Blur from the Filters to give a spectral haze (about 4 pixels should do the trick) and finish with Auto Levels for that polished ghostly sheen.
A Canvas of Creepy Creativity Awaits
There you have it, folks—your DIY roadmap to crafting a spine-chilling digital x-ray that will have all your friends both impressed and slightly creeped out. Pull out your best photos and get cracking. Halloween may only come once a year, but with this trick up your sleeve, who says the chills ever need to stop? 🎃





