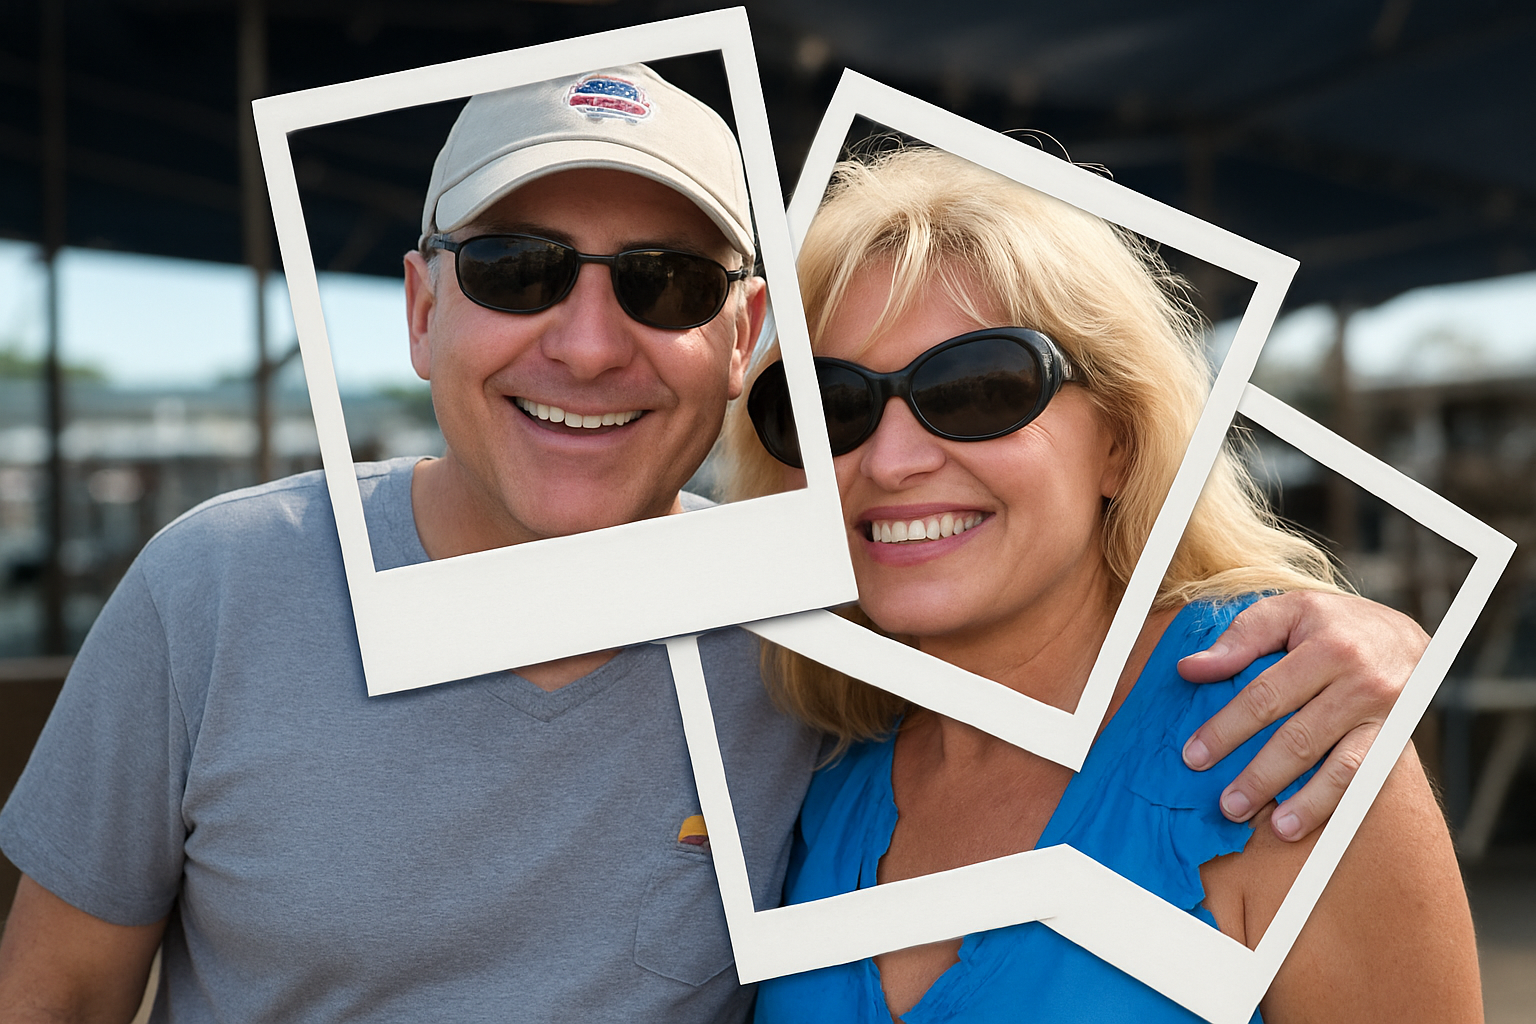
Dive into the Nostalgia of Polaroids with a Modern Twist
Photography enthusiasts and Photoshop aficionados, step right up for a creative journey back in time! Ever wanted to transform a single photograph into a collage of vintage Polaroid shots? In today’s blog post, we’re diving deep into how you can easily create a stunning Polaroid photo montage from just one image. Using Photoshop, you can slice and dice your way to a photo display with that unmistakable nostalgic charm. Let’s unleash your inner analog artist!
Setting the Stage: Preparing Your Image
Before diving into the process, it’s essential to prepare your workspace. Let’s begin with an image that’s sized at 1500×1150 pixels with a resolution of 150 pixels per inch. Remember, these initial steps set the foundation for a clean and vibrant montage.
- Create a New Layer: Click on the New Layer icon to add a fresh slate on which to work.
- Activate the Rectangular Marquee Tool: This tool will be your best friend as you create the borders and shapes of each Polaroid.
Crafting Individual Polaroids
The magic begins when you start crafting each Polaroid. This section focuses on creating the classic Polaroid frame that transports us directly into the world of instant photography.
- Draw a Square Selection: Hold down the Shift key as you drag to ensure you’re creating a perfect square.
- Fill the Layer: Set your foreground color to 50% brightness and use it to fill your square selection.
- Add Shadows for Realism: Navigate to the FX icon and add a Drop Shadow effect. Settings that work well are a 135° angle, 40% opacity, and 16-pixel distance. This adds depth, making your montage pop!
Arranging and Repeating for Effect
Now that you’ve created your first Polaroid, it’s time to arrange and replicate.
- Duplicate Layers: Make a copy of your created Polaroid layers and reposition them around your canvas.
- Rotate and Position: Use the Transform Tool to rotate and scatter the Polaroids for an authentic scrapbook feel.
- Layer Management: Adjust layers smartly so the shadows appear correctly over overlapping Polaroids.
Incorporating a Background
A crucial part of your Polaroid collage is the background. Here’s a trick to neatly integrate them into a seamless setting.
- Define Your Pattern: Find a wallpaper or pattern that complements your montage. Tools like CG Textures can be a great resource.
- Pattern Layer: Set your new background by defining it as a pattern in the Photoshop Adjustment layer options. This ensures a seamless backdrop that doesn’t detract from your main focus — the Polaroids.
Final Touches with Lighting Effects
To wrap things up, let’s crank up the drama with some lighting effects.
- Composite Snapshot: Save a composite of all layers by pressing Control + Shift + Alt + E (or Command + Shift + Option + E on Mac).
- Soft Omni Lighting: Head to Filter > Render > Lighting Effects and select Soft Omni. This effect draws attention to specific areas by highlighting them subtly yet effectively.
Counter-check the intensity and exposure settings for maximum impact, ensuring the Polaroids remain the stars of the show.
Conclusion
Creating a Polaroid photo montage is not only a fantastic way to showcase your favorite photos in a nostalgic and engaging manner, but it also exercises your Photoshop skills, making you more adept at layer manipulation and effects.
Have fun experimenting with different images and levels of complexity! The result is both impactful and a homage to the beloved analog era of photography. Enjoy making your own montage and sharing its vintage flair with others.
Stay creative, and happy editing!


