
Unleash Your Inner Horror Artist
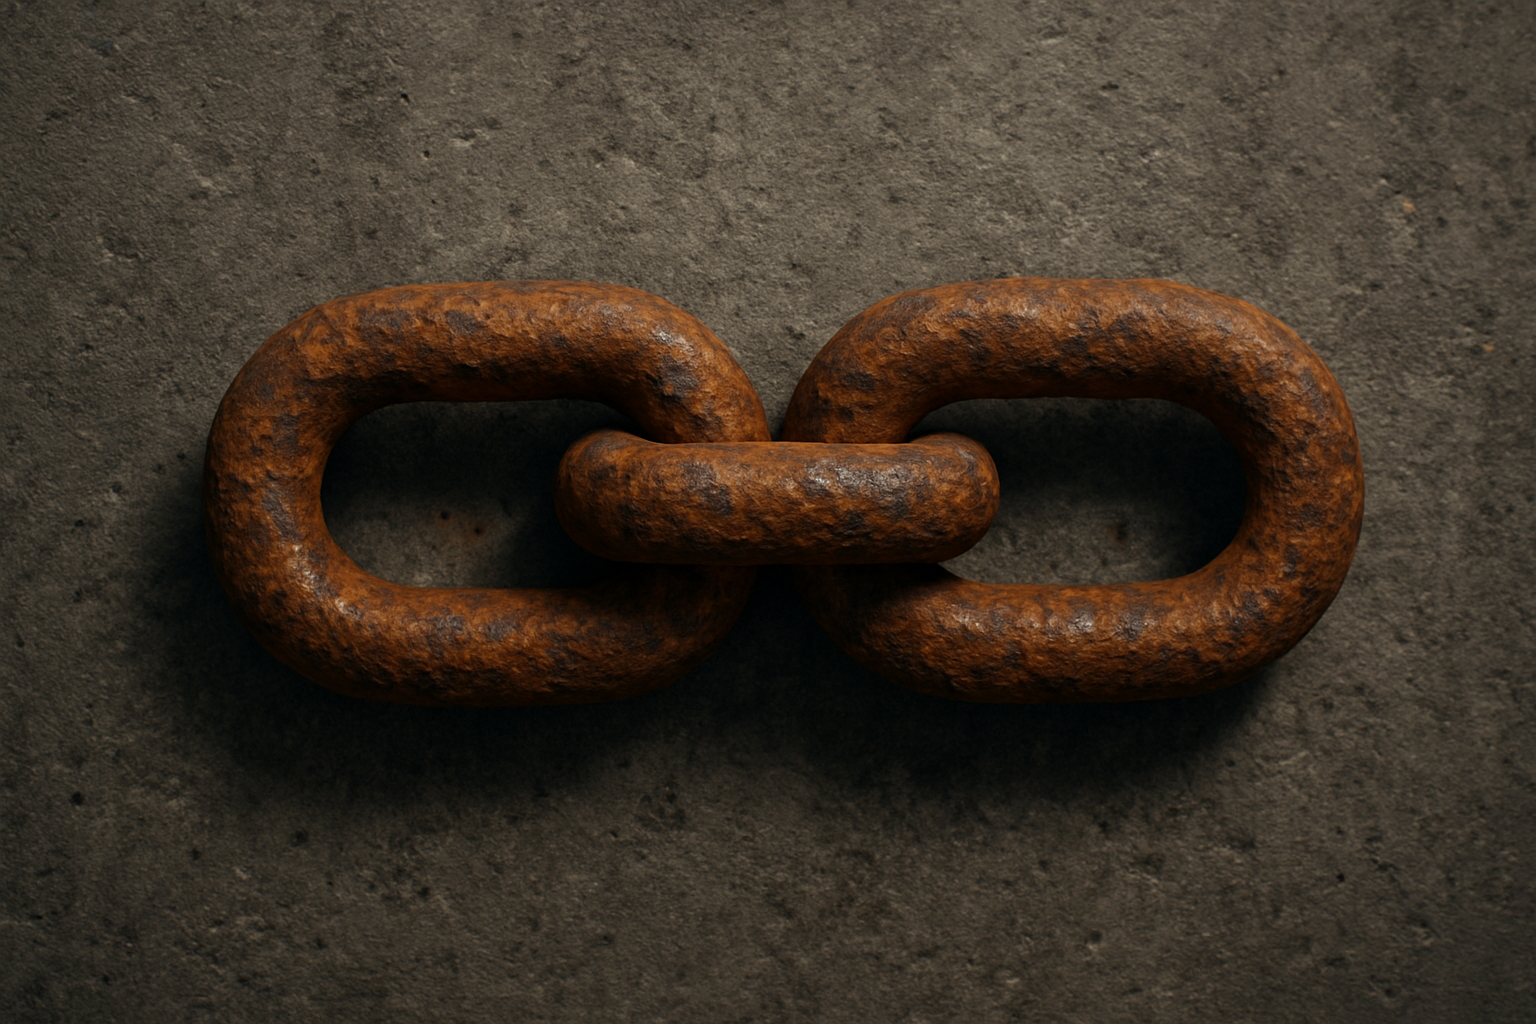
Halloween might be an annual event, but for Photoshop enthusiasts, the creations of your nightmares are just a few clicks away any time of the year. This time we’re diving into something for the fans of horror and the macabre—rusted chains perfect for adding an eerie authenticity to your next digital dungeon. With Photoshop’s versatile toolkit and a sprinkle of creativity, you’ll be twisting, turning, and rusting your way to spine-chilling designs. So grab your digital brushes and let’s dive into the cauldron!
Constructing the Shackles
Creating rusted chains may sound daunting, but fear not—we’ve got a treasure trove of tools in Photoshop to guide our journey. Begin with a document sized to 1280 x 720 pixels, a manageable canvas that keeps our work crisp and clear. The resolution of 150 pixels per inch offers us just the right balance of detail and usability, ensuring our creation maintains its terrifying aesthetics even when your recipients are zooming in with their own digital magnifying glass.
Step 1: Drawing Shapes with the Rounded Rectangle Tool
- Select the Rounded Rectangle Tool: Head over to the toolbar and pick the rounded rectangle tool. Opt for a shape with no fill and make your stroke value substantial—50 pixels is just the right thickness for a sturdy chain impression.
- Colors and Sizes: Dive into the color panel and set your stroke color at 50% brightness, particularly handy for harmonizing your design’s metallic feel with the rust texture we’ll add later.
- Dimensions: Fix the size to a width of 420 pixels by 210 pixels. As you click on your document, a work path appears—your chain’s skeletal frame.
Fine-tuning Placement and Copying
- Move and Duplicate: Make use of the Move Tool to position your shapes precisely. Duplicate the chain link by pressing Shift and ALT (or Shift and Option for Mac users). This combo not only duplicates your shape but also ensures it aligns horizontally—consistency is key for a believable chain.
- Merge Layers: Once satisfied, merge these layers via Control or Command + E. Merging helps streamline your layer list and keeps your modifications uniform across the design.
Crafting Texture with Bevel and Emboss
To give depth to your digital chains, you need to apply the Bevel and Emboss effect.
- Add a Bevel and Emboss Effect: Click on the FX icon and select Bevel and Emboss. Set the style to Inner Bevel, technique to Smooth, and depth to 100%. Tailor the size to meet your aesthetic goals—38 pixels is a good baseline.
- Reapply as Necessary: For the second chain element, slightly decrease the size to around 29 pixels to introduce variety and prevent your chain from appearing too uniform.
Transforming Links into Rusty Relics
Textures bring Photoshop projects to life, and our haunted chains step firmly into the three-dimensional realm with the magic of rust textures.
Layering Textures
- Overall Rust Texture: Begin with an overarching rust texture. Bring it into your document, set its blend mode to Multiply, and create a layer mask. This ensures the rust adheres subtly across the chain.
- Darker Textures for Depth: Add a second, darker rust texture beneath your initial one. Layer masks become your best friend here, allowing you to fine-tune visibility and integration without destructive edits.
Final Adjustments and Merging
- Opacity Tweaks: Play with opacity settings to achieve the desired haunting hierarchy of rust from darkest at the edges to lighter along the length.
- Merge Layers: Once satisfied with your rustic concoction, merge all relevant layers to streamline further editing and ensure your Photoshop file remains efficient and manageable.
Deal with the Details: Light Fringing and Shadows
Now comes the cleanup. If your chains seem haunted by any unseemly white fringing, Photoshop’s Defringe tool is here to exorcise these lingering borders. Merge your chain layers and apply defringing by a single pixel to smooth things over.
Add Subtle Shadows
- Drop Shadows for Realism: Duplicate your chain layer and apply a drop shadow effect. With a blend mode set to multiply and black as your shadow color, adjust the opacity to around 55%. The shadow should have a distance of 40 pixels and a size of 14 for a shadowy silhouette that’s creepy yet cohesive.
Final Thoughts
There you have it—deeply immersive rusted chains that will send chills down the spine when used in your digital creations. This process underscores the beauty of blending texture and technique to achieve realism in Photoshop.
Whether you’re crafting a haunted scene or just adding some gritty detail to your work, these skills unlock a new depth of digital artistry. So go ahead, let your imagination run wild across your creative landscapes!





