
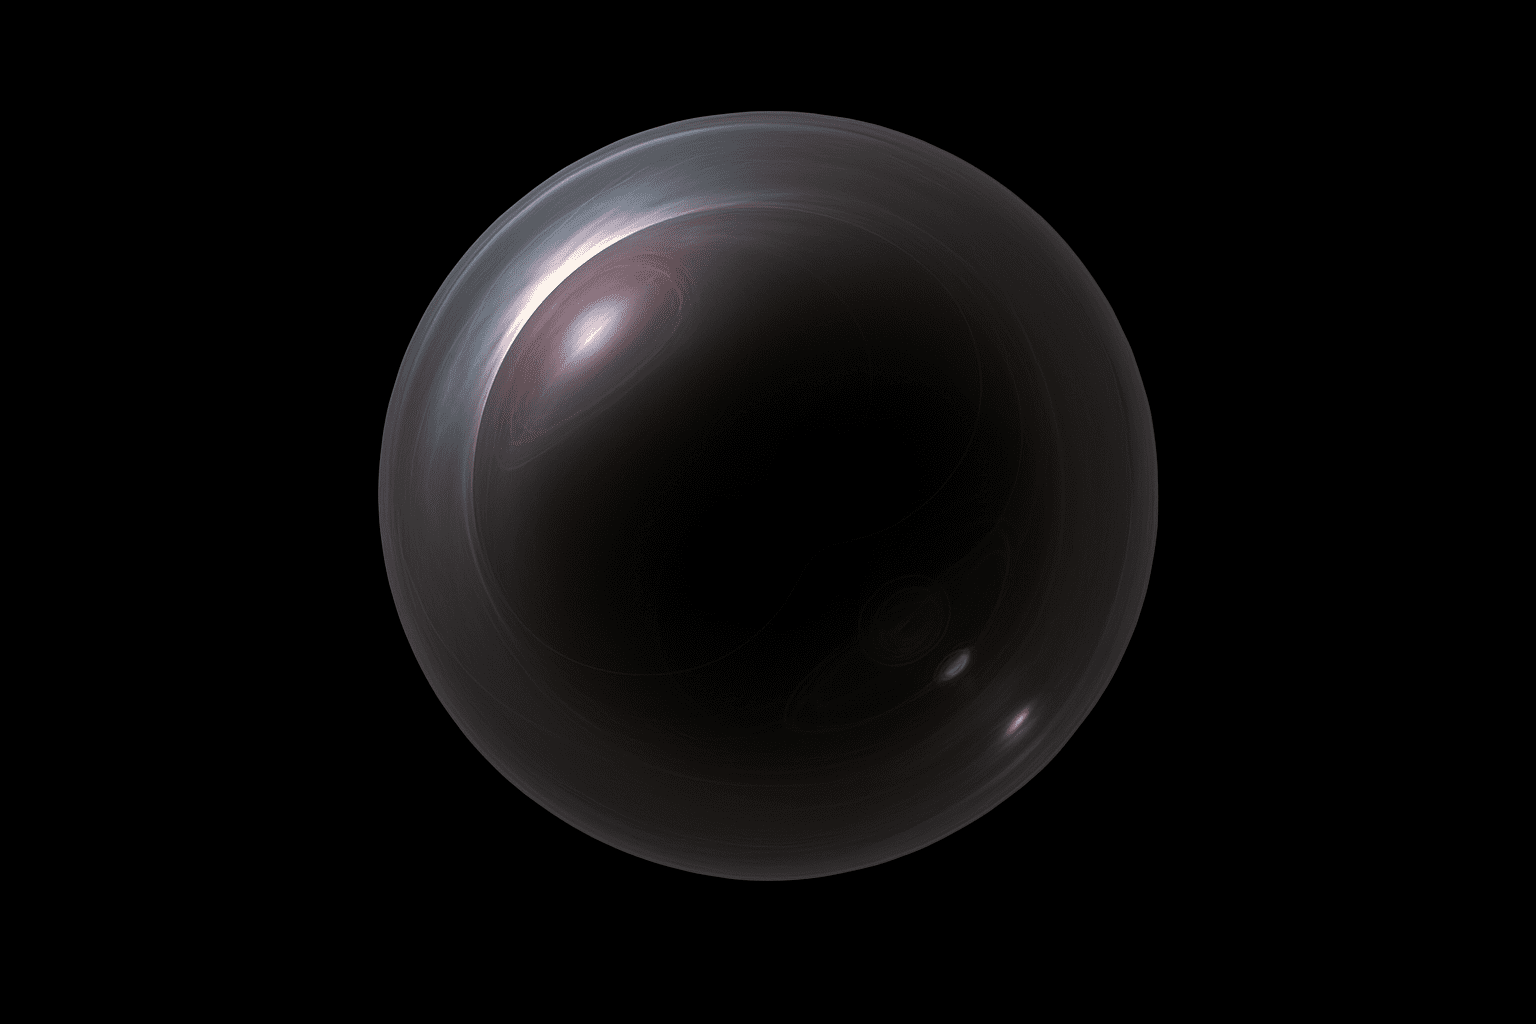
The Art of Designing Realistic Futuristic Orbs
The desire to create immersive digital art often leads us to explore fascinating visual effects that mimic scenes from sci-fi blockbusters. One such enticing effect is the creation of realistic futuristic orbs, which can add a dazzling visual component to your designs. Picture this—two orbs, with one mysteriously hovering inside the other. Sounds incredible, right? And you can achieve this in Photoshop with surprising ease. Let’s dive into this captivating process and see how you can transform a blank canvas into a digital art marvel.
A Thousand Pixels of Magic
To kickstart your orb adventure, you’ll want to set up a new document in Photoshop. Begin with a 1000 by 1000-pixel canvas at a resolution of 72 pixels per inch. This ensures you have a crisp and clear canvas to work your magic.
The journey begins with the creation of a glowing light source using the lens flare effect. Head over to the Filter menu, select Render, and then choose Lens Flare. Opt for the “50-300mm Zoom” and keep the brightness cranked to 100 percent. This will be the nucleus of your inner orb, radiating energy and mystery.
Morphing Light into Form
We’re moving into the shape-shifting area now. The steps we’re about to explore will arrange the light into a tangible, spherical object. Navigate once more to Filter, then choose Distort followed by Polar Coordinates and check Polar to Rectangular. This initial transformation molds your lens flare into a linear format.
Once you’ve laid this foundation, you’ll want to flip things — literally. This creates balance and continuity in your orb design. Hit Edit, then Transform, and select Flip Vertical. With style and ease, you’ve just mirrored the top to the bottom. Jump back into Filter, Distort, and Polar Coordinates and this time choose Rectangular to Polar. Bazinga! Your orb is born.
Snip and Sew
Next, we need some precision cutting. Grab the Magic Wand Tool and select the area outside the orb shape, then invert your selection using Ctrl + Shift + I (or Command + Shift + I for Mac). Copy this orb onto its layer by pressing Ctrl/Command + J.
Creating the Outer Orb
What’s more futuristic than a single orb? Two! Let’s create a larger outer orb using a similar process. Initiate the lens flare creation again but this time with a “105mm Prime,” repeating the previous steps with transformation and coordinate distortions.
Cutting this orb might be a bit trickier due to the similar color tones in the background. Employ the Circular Marquee Tool to circle your way around the orb. Command it onto its own layer with Ctrl/Command + J.
Playing with Opacity and Size
To add depth and transparency, layer manipulation becomes your ally. Drag this new, reddish-hued orb to the top in your layers panel and bring its opacity down to 30 percent, giving it a ghostly, ethereal quality.
Use Ctrl/Command + T to activate the Transform Tool and resize the orb by selecting and dragging the corners while holding the Shift key for proportional adjustments. Hit Enter/Return once you’re satisfied with the dimensions.
Set the Stage with a Black Canvas
Before your orbs can shine, set them against a perfect backdrop. Hide extraneous layers and create a new layer right below the orb cutouts. Fill this layer with black using Alt/Option + Delete which really lets those orbs pop.
Expanding Horizons
Ensure your orbs have ample room to dazzle by adjusting your canvas size. Go to Image, Canvas Size, change units to percent, and adjust the width to 150 percent, providing the space they deserve.
Wrapping up with these techniques, you’ll have a stunning set of realistic orbs to enhance your sci-fi designs. Let the light and shadows guide your innovative path in creating digital art that stands out in the vast cosmos of creativity.





