Breathe New Life into Renaissance Art with Photoshop
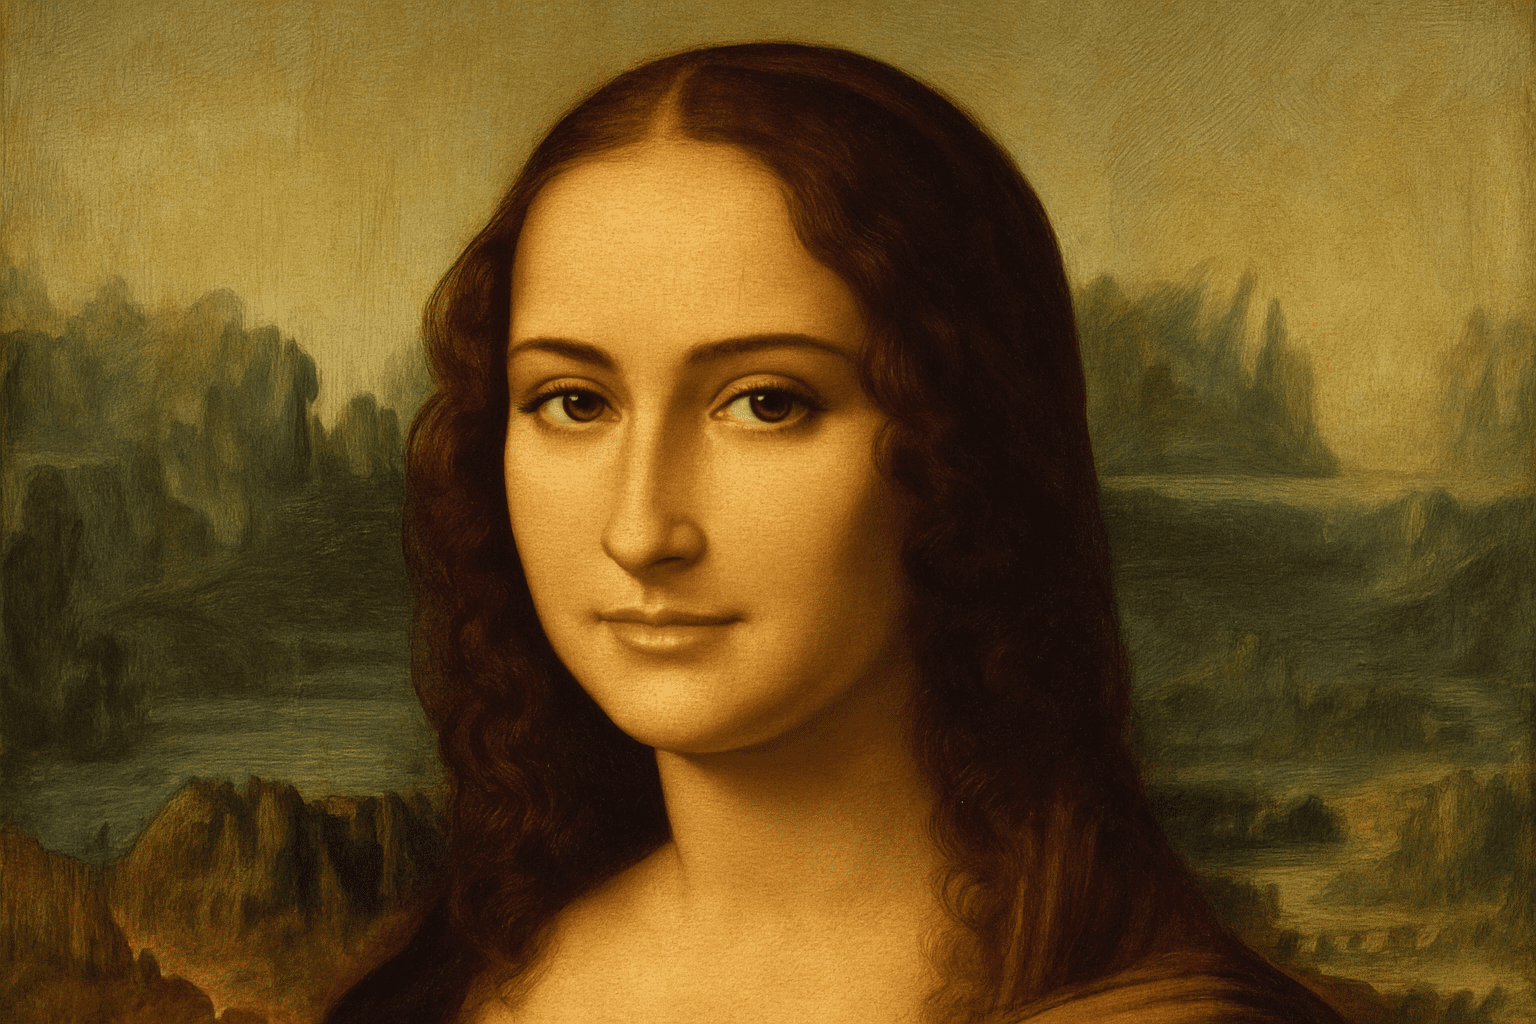
In a playful twist on classical art, you can transform a Renaissance painting like the Mona Lisa into a personalized masterpiece with someone you know taking the starring role. With just a few Photoshop tweaks, replacing the face in these historical portraits can provide both artistic fun and a unique gift. Let’s dive into how you can accomplish this modern-day fusion of old and new using Photoshop!
Finding the Right Match – Photo Selection is Key
The first essential step is selecting a photo that closely matches the angle and lighting of the existing painting. The Mona Lisa, renowned for her mysterious smile and iconic pose, serves as an exemplar of such portraits. Ensure the photo you choose has a similar facial angle and shadow placement to maintain consistency and enhance the illusion.
Seamlessly Integrating Your Chosen Photo
Once you’ve got your perfect photo, drag it into your Renaissance painting document in Photoshop. The trick here is creating a cohesive look, so you’ll want to resize and reposition the new face to fit seamlessly over Mona Lisa’s. Lower the opacity of your photo layer, making it slightly transparent, to allow for precise alignment over the original painting.
Mastering Masking Techniques
Time to get nifty with the Pen Tool! Create an accurate selection around the face you wish to insert. This step might require some patience, but it pays off in the high precision selection you’ll achieve – essential for realistic results. Convert your hard-earned path into a selection, and conjure up a layer mask to blend the new face with the painting gracefully.
Emulating the Texture of Time
Authentic Renaissance paintings have a distinct texture often due to age, known as craquelure or crazing. Download a suitable texture (for example, from CGTextures.com) that mimics the fine line cracking seen in classic oil paintings. Layer this texture over your image and adjust it using the Linear Burn blending mode, tweaking the opacity to around 35% for that perfect old-world feel.
Enhancing Realism with Blending Modes and Color Correction
To merge your new image with the historic painting authentically, experiment with different blending modes like Luminosity to allow the texture of the painting to show through while keeping your new subject as the centerpiece. You might notice unwanted gray tones – a quick fix involves selecting skin tones with the Eyedropper Tool and brushing over these areas, adjusting the layer’s opacity to blend smoothly with the original painting.
Final Touches for Artistic Perfection
With all the heavy lifting done, it’s time for those all-important finishing touches. A soft light blend with lowered opacity can accentuate the contours of the face, adding depth and shadow, and enhancing the interplay of light typical in Renaissance portraits. Adjust these to your liking, experimenting as you see fit to achieve the desired look.
Conclusion – A Timeless Work of Art
From the birth of classical painting to the modern era of digital art, you’ve now mastered the fusion of the two. This creative exercise not only showcases your mastery over Photoshop layers and tools but also provides a fun, interactive way to reinterpret classic art. It’s time to get creative and have fun inserting random people, loved ones, or even yourself into the annals of history as a timeless masterpiece!
For those with a keen interest in learning more advanced Photoshop techniques, you can explore further tutorials that focus on the magic of cloning, stamping, and texture manipulation to build your digital art skills. Whether you’re a newcomer to Photoshop or an advanced user, this guide ensures even the aspiring creative can walk away with a masterpiece worthy of a gallery showing.
Discover your inner da Vinci and let loose the modern Picasso within!


