
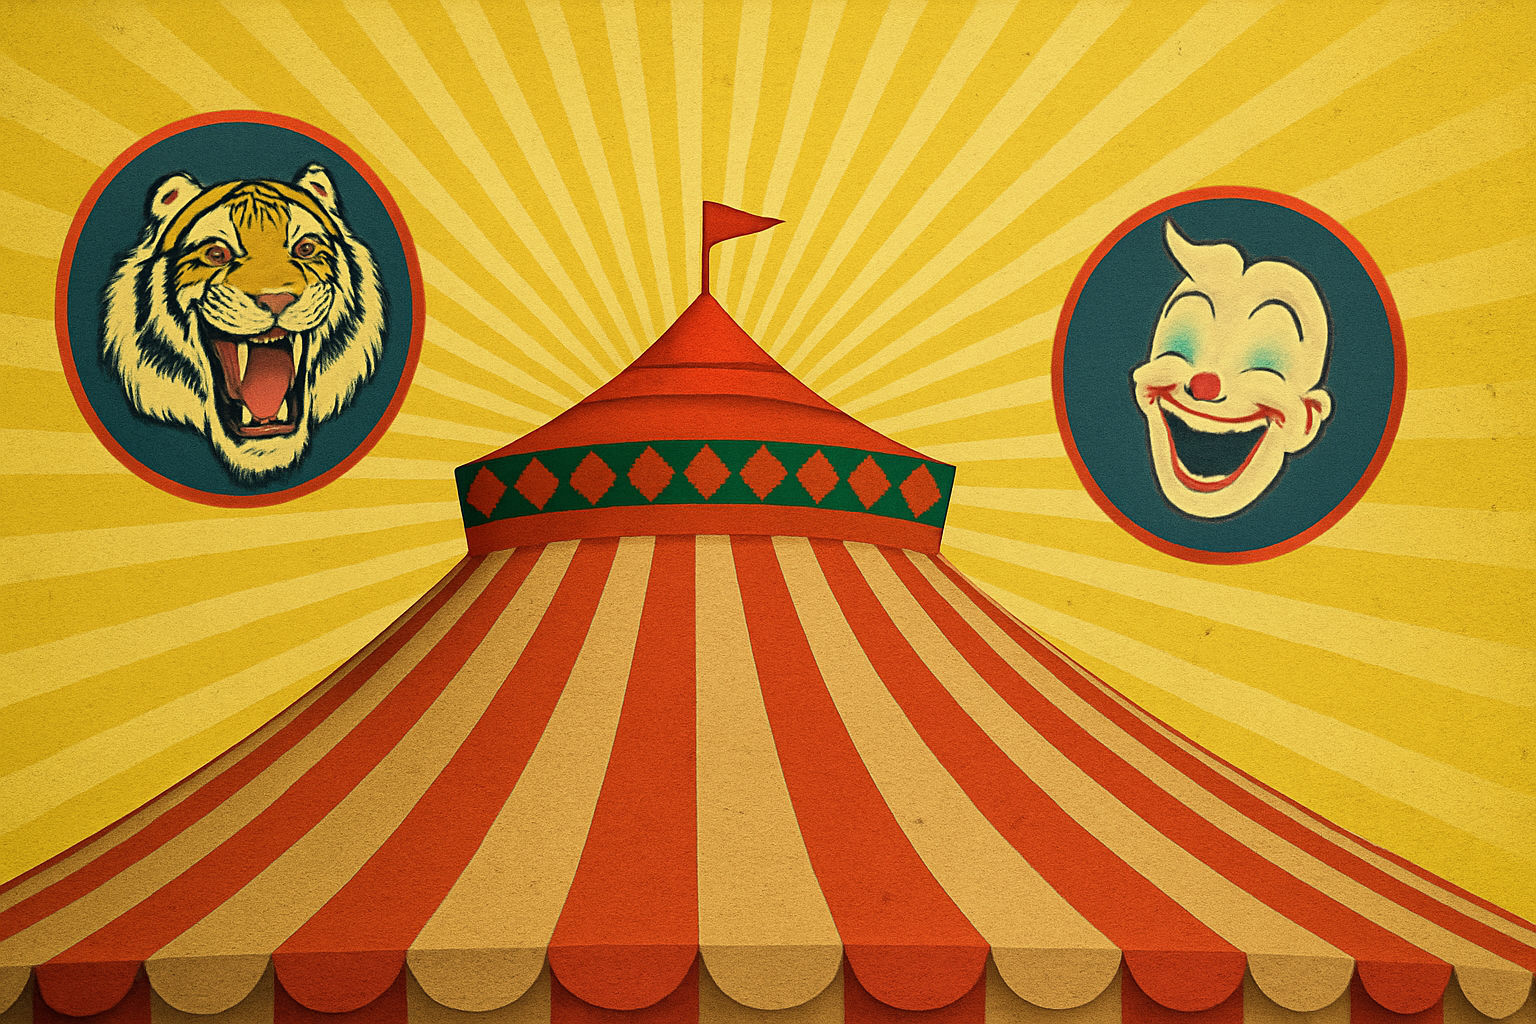
Discover the Magic of Creating a Vintage Circus Poster
Who doesn’t love the nostalgia of vintage circus posters, those vibrant and whimsical designs that transport us back to a time of thrilling spectacles and magical curiosity? Today, we’re diving into the process of conjuring up that vintage circus allure with the power of Photoshop. What better way to let your creativity run wild than by crafting your own circus-themed masterpiece? Your ticket to creative freedom starts here.
Start with Your Vintage Vision
To get started, you’ll need the right canvas. Fortunately, a basic template is provided, which you can download to follow along. This template includes essential vintage elements such as a border, a circus tent, circular hoops for backgrounds, and even a paper texture to fully embrace that aged poster look. Detailed instructions are located in the project’s files, ensuring you don’t miss a beat in your creative process.
This creative odyssey is broken down into two main parts. The first stage focuses on transforming the basic template into a stunning vintage circus background, and the second part will guide you through adding your custom text.
Building the Foundation
In the Layers panel, you will collapse the circles folder by clicking the arrow. Make your background layer active and hide all other layers by using Alt on a PC or Option on a Mac, combined with a click of the eye icon. This allows you to focus on the background, the crucial starting point of your poster.
Open your Gradient Tool and select the radial option. By setting your gradient to black and white, you’ll create the foundational visual impact. To gain control over your workspace, toggle your guidelines with Ctrl/Cmd + H.
Creating Your Iconic Circus Mood
To build that dramatic circus atmosphere, create a new document with dimensions of 3000×3000 pixels and a resolution of 150 ppi. Use the Color Picker to set your brightness at 30% and dive into the Filter Gallery under the Sketch folder by selecting ‘Halftone Pattern’ with a size of 12, contrast at 50, and pattern type as ‘Line.’
Now the magic unfolds as you make a layer copy (Ctrl/Cmd + J) and use the Transform Tool (Ctrl/Cmd + T) to rotate your creation by 90 degrees. Moving into the territory of unique design, head to Filter > Distort > Polar Coordinates, selecting ‘Rectangular to Polar’—this transforms your design into the dynamic radial pattern central to vintage aesthetics.
Incorporate Bold Graphics
Bring the pattern into your poster using the Move Tool (V). Open your Magic Wand Tool (with a tolerance of 40) and select the radial gray spokes. After cutting these to a new layer, trash the original for simplicity. Through adjustments like Hue Saturation, add color vibrancy to your poster; a hue of 58, saturation of 79, and lightness of 24 gives just the right retro flair.
At this point, your creativity should be unleashed. Add graphic elements like the tent, or import a textured paper layer provided in the templates. Using blending modes, multiply factors will help combine textures seamlessly, enhancing that worn-in, authentic look.
Final Touches Before the Big Top
Activate the borders, inner shapes, and the delightfully themed circles folder. In this step, personal preference reigns supreme—replace placeholder elements like clown or tiger illustrations with your own assets to make the poster uniquely yours. The key is maintaining organized layers, ensuring each piece sits in its rightful place.
With our background complete, the road to creating a show-stopping vintage circus poster is paved with creativity and Photoshop prowess. The next installment of this series will put the final touch, adding custom typography into this visual journey, and turning your vintage dream into reality.
And just like that, you and Adobe Photoshop can capture the bygone magic of the circus with a flair of creative eccentricity. Your poster will be one that harbors stories, sparks joy, and invites viewers into a world where imagination knows no bounds.
So, budding designers and Photoshop aficionados, what’s your circus centerpiece going to be?





